
Condition-Specific Pain Management
7 Effective Sciatica Deep Glute Stretches for Pain Relief
Introduction
Many individuals feel lost and frustrated in their search for relief from sciatica pain. This article explores seven targeted glute stretches that promise not only relief but also improved mobility and flexibility. You’ll discover practical strategies, like the Figure-4 Piriformis Stretch and the Sciatic Nerve Glide, that can help manage your pain. But with so many options available, how can you determine which stretches will yield the best results for your unique situation?
Figure-4 Piriformis Stretch for Glute Relief
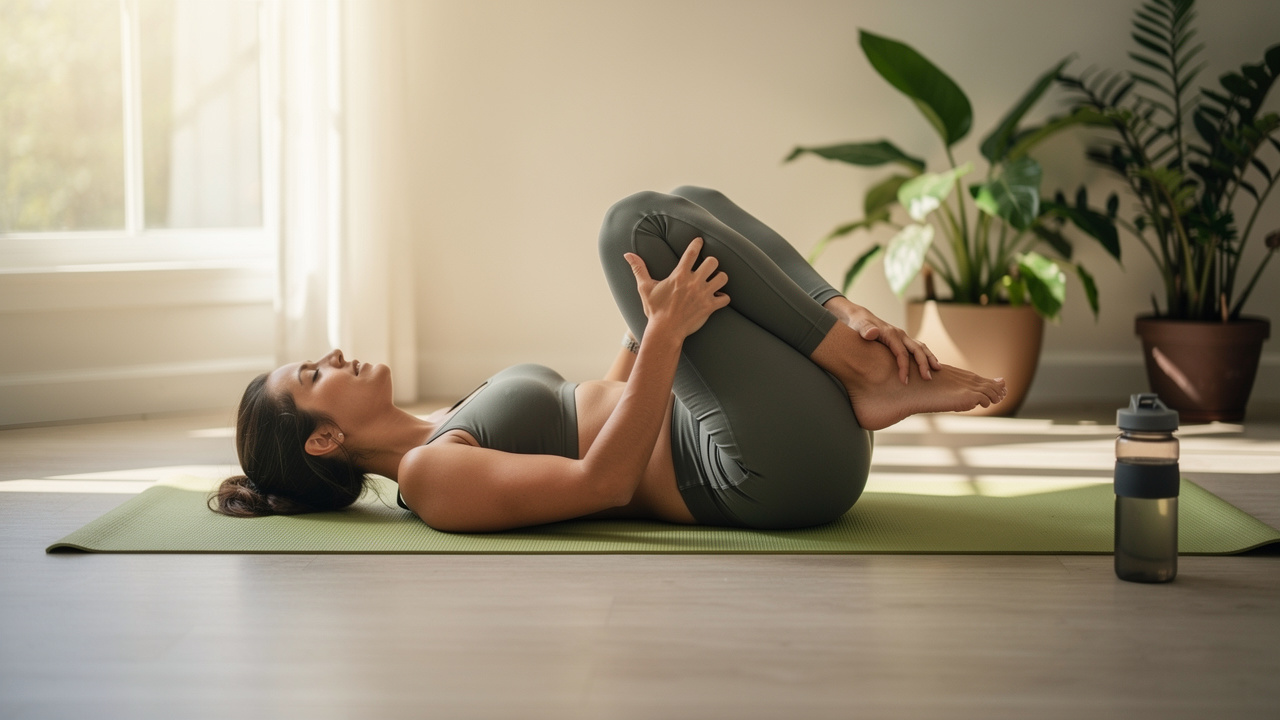
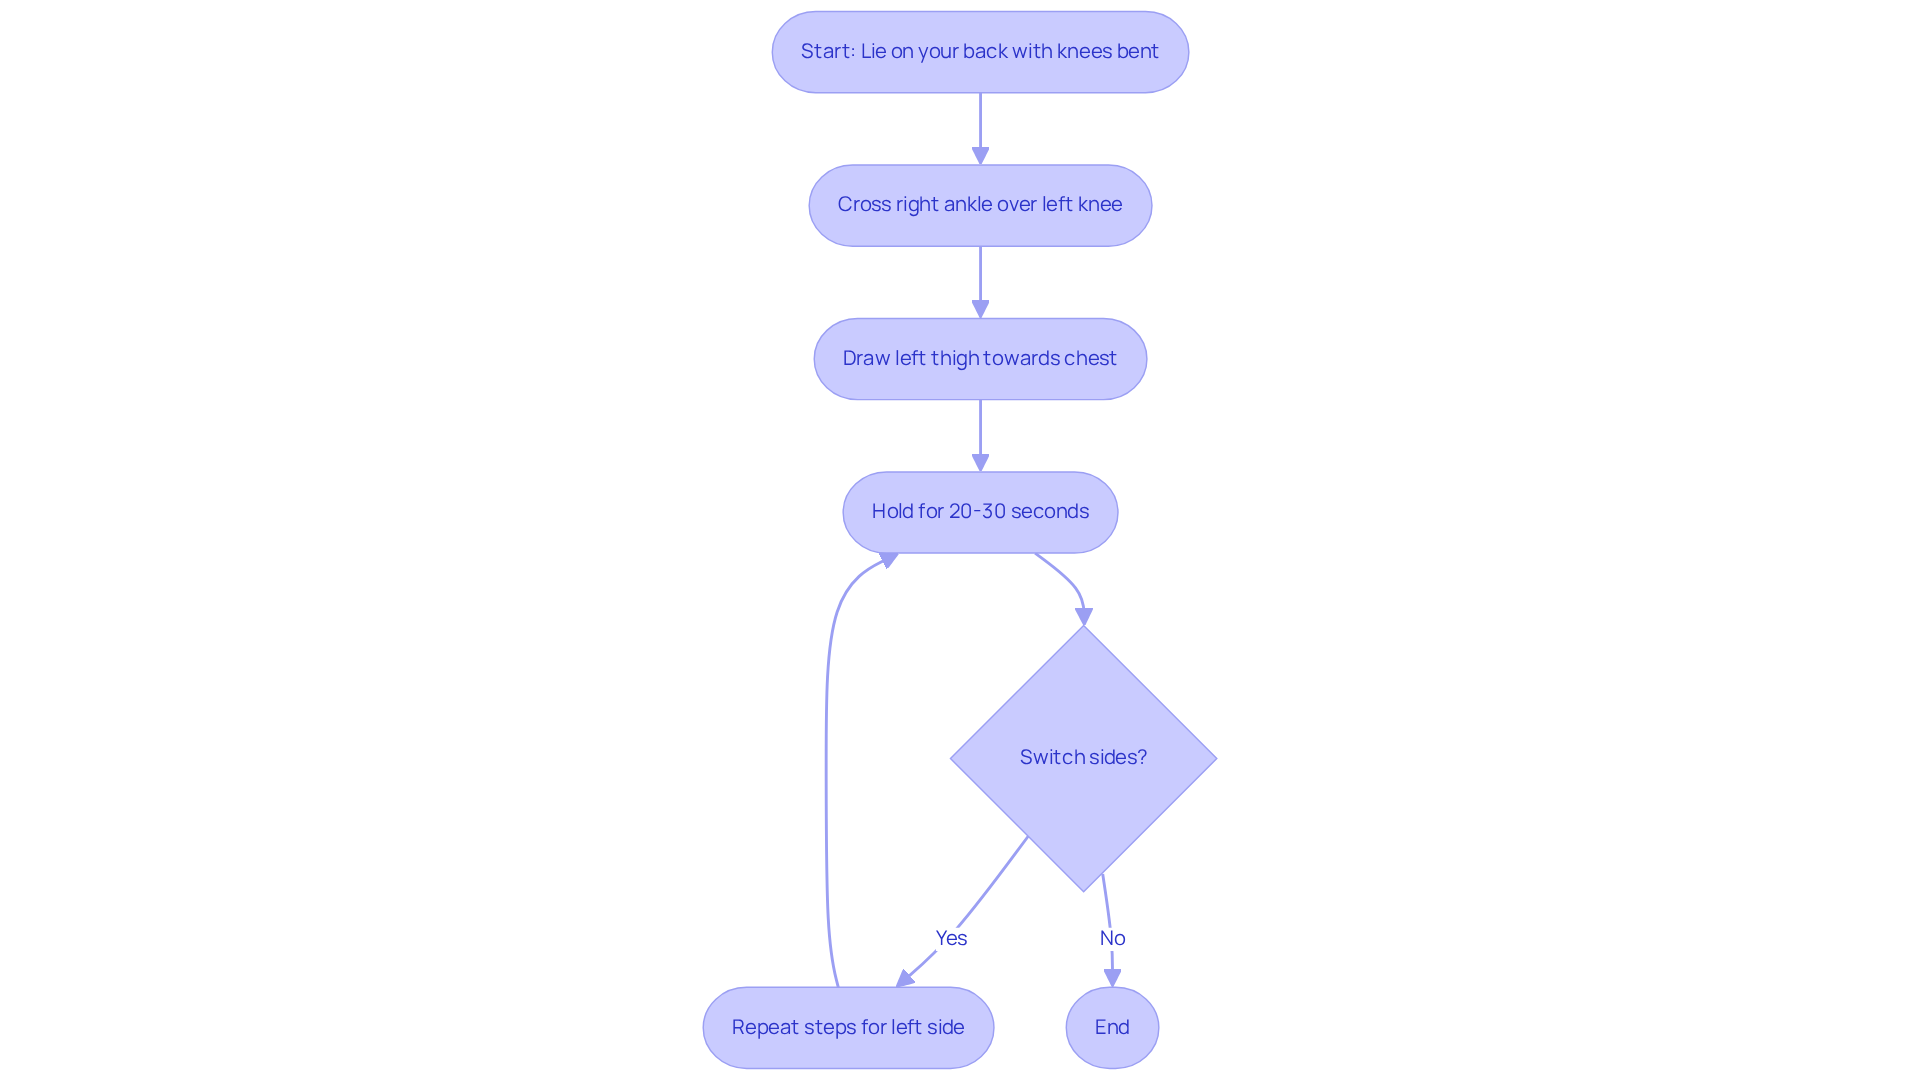
If you’re dealing with persistent discomfort, you’re not alone, and there are gentle ways to find relief. To perform the Figure-4 Piriformis Stretch, start by lying on your back with your knees bent. Cross your right ankle over your left knee, creating a ‘4’ shape. Gently draw your left thigh towards your chest, allowing the tension to focus on the right glute. Hold this position for 20-30 seconds before switching sides. The sciatica deep glute stretch can help ease pressure on the sciatic nerve by focusing on the piriformis muscle, which often plays a role in sciatica discomfort.
Recent studies indicate that regularly practicing the Figure-4 Stretch can significantly enhance hip flexibility and reduce discomfort associated with the sciatica deep glute stretch. Clinical evidence supports its effectiveness, with findings showing that patients who integrate this exercise into their routine report improved mobility and less discomfort. Many people struggle with nerve pain that can arise from multiple sources, leaving them feeling frustrated and uncertain. This exercise, the sciatica deep glute stretch, is often recommended by physiotherapists as part of a comprehensive treatment plan for managing sciatica, highlighting its importance in addressing the underlying causes of nerve irritation.
Dr. Eli Loch from Ponte Vedra Spine & Pain Center emphasizes, “Incorporating targeted movements like the Figure-4 can be a game-changer for those suffering from sciatica.” However, it’s crucial to consult with a healthcare provider before starting any new exercise routine to ensure safety and effectiveness.
Making the Figure-4 Piriformis Stretch a part of your daily routine can truly help over time, especially when combined with other targeted exercises and lifestyle changes. As a key part of effective sciatica management, the sciatica deep glute stretch not only promotes flexibility but also aids in restoring function and comfort for those affected by this condition. Understanding the various causes of nerve discomfort, such as nerve damage, medical conditions, and lifestyle factors, can inform a more comprehensive approach to management. If you feel any sharp discomfort or unease during the exercise, it’s wise to stop and seek professional guidance. Taking the time to listen to your body and reach out for help can lead you to a more comfortable life.
Knee-to-Opposite-Shoulder Stretch for Lower Back Relief
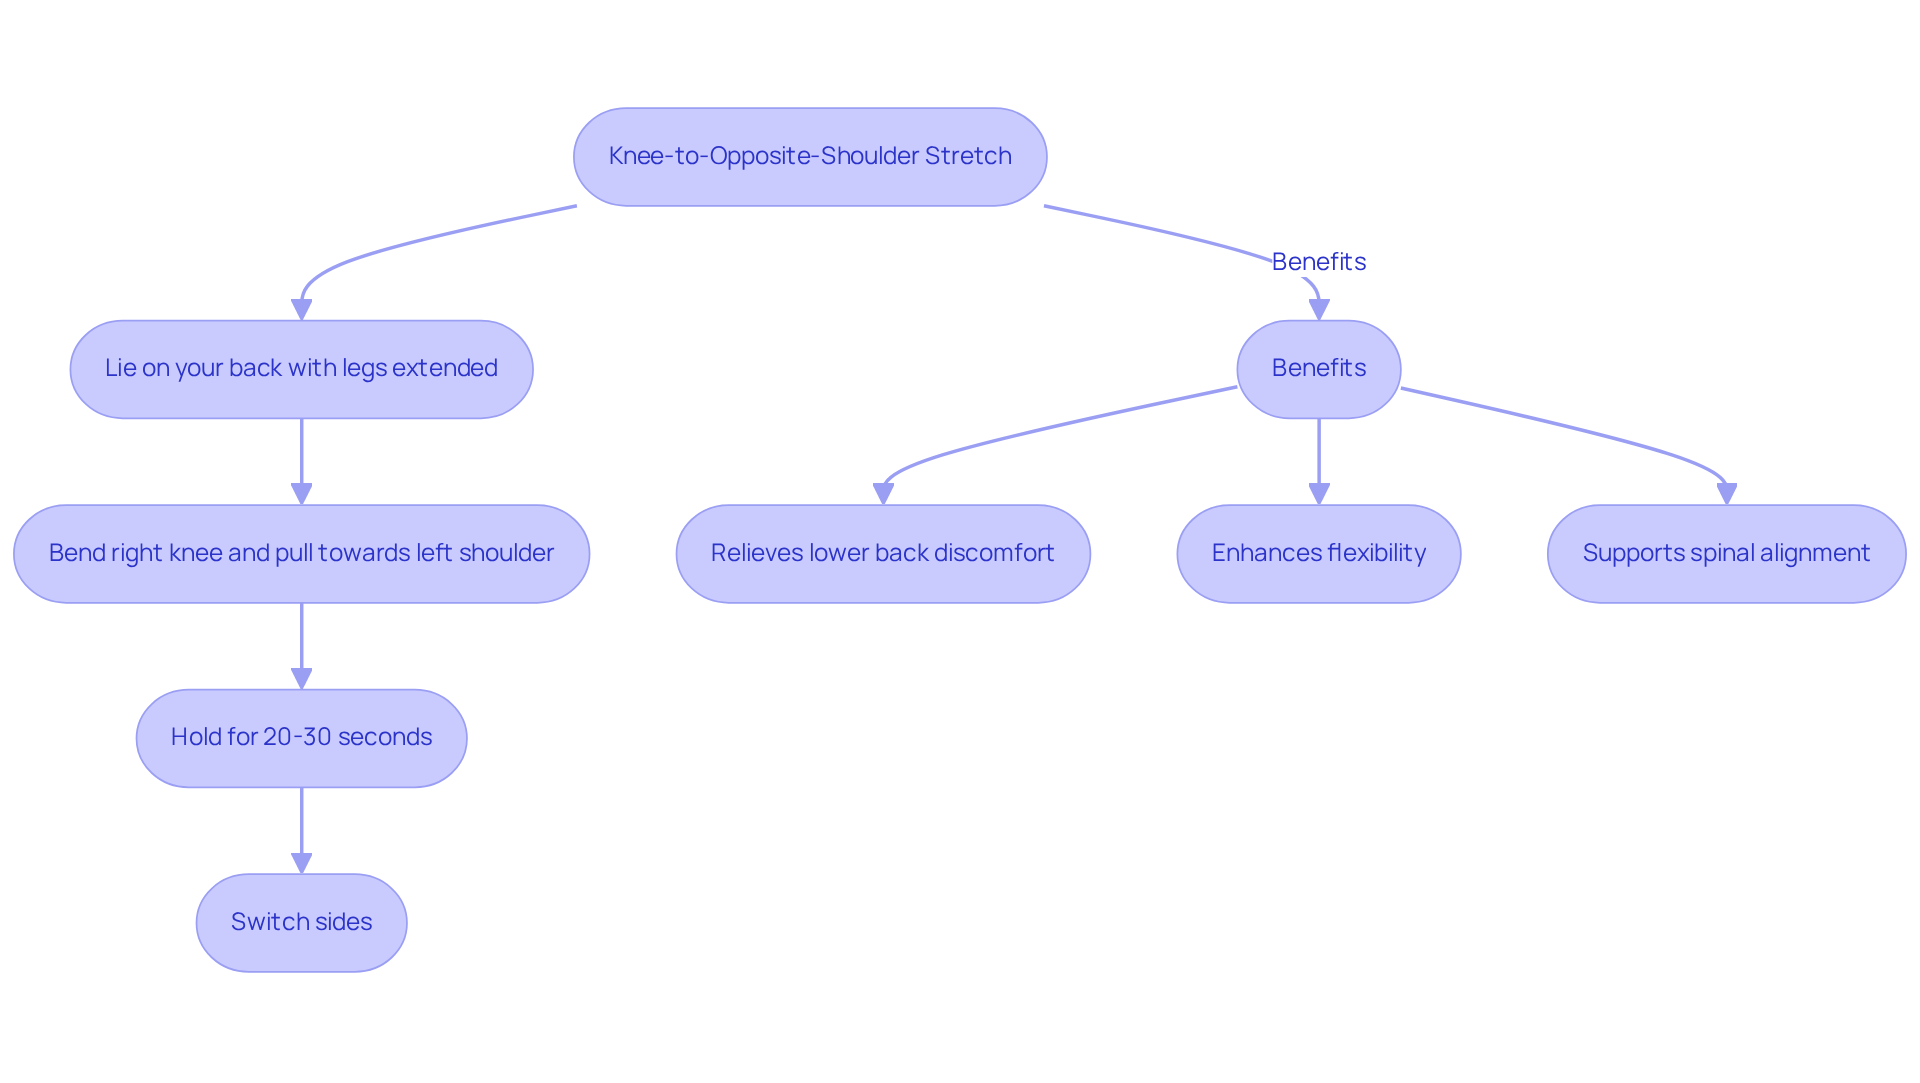
If you’re struggling with discomfort in your lower back, you’re not alone. The Knee-to-Opposite-Shoulder Stretch is a helpful exercise that can bring you relief. To do this exercise, lie on your back with your legs extended. Bend your right knee and gently pull it towards your left shoulder while keeping your left leg straight. Hold this position for 20-30 seconds before switching sides. This sciatica deep glute stretch effectively targets the glutes and the surrounding area, aiding in the alleviation of tension and discomfort.
Studies indicate that stretches like the Knee-to-Opposite-Shoulder can help you regain flexibility and mobility in your lower back, which is crucial for easing discomfort. Many individuals who consistently include this exercise in their routine report significant reductions in tension and enhanced overall comfort.
Not only does the Knee-to-Opposite-Shoulder Stretch provide immediate relief, but it also supports better spinal alignment and helps you manage discomfort in the long run. By engaging the glutes and lower torso muscles, the sciatica deep glute stretch aids in relieving tightness and enhancing functional movement, making it a valuable addition to your discomfort management regimen. We believe that incorporating stretching and strengthening exercises can be a key part of keeping your back healthy.
At Ponte Vedra Spine & Pain Center, we emphasize a comprehensive approach to discomfort management that includes evidence-based strategies such as tailored exercise programs and lifestyle modifications. These methods not only address immediate discomfort but also target the underlying causes of distress, ensuring long-lasting relief and improved function. By taking proactive steps today, you can pave the way for a more comfortable tomorrow.
Seated Spinal Twist for Hip and Back Flexibility
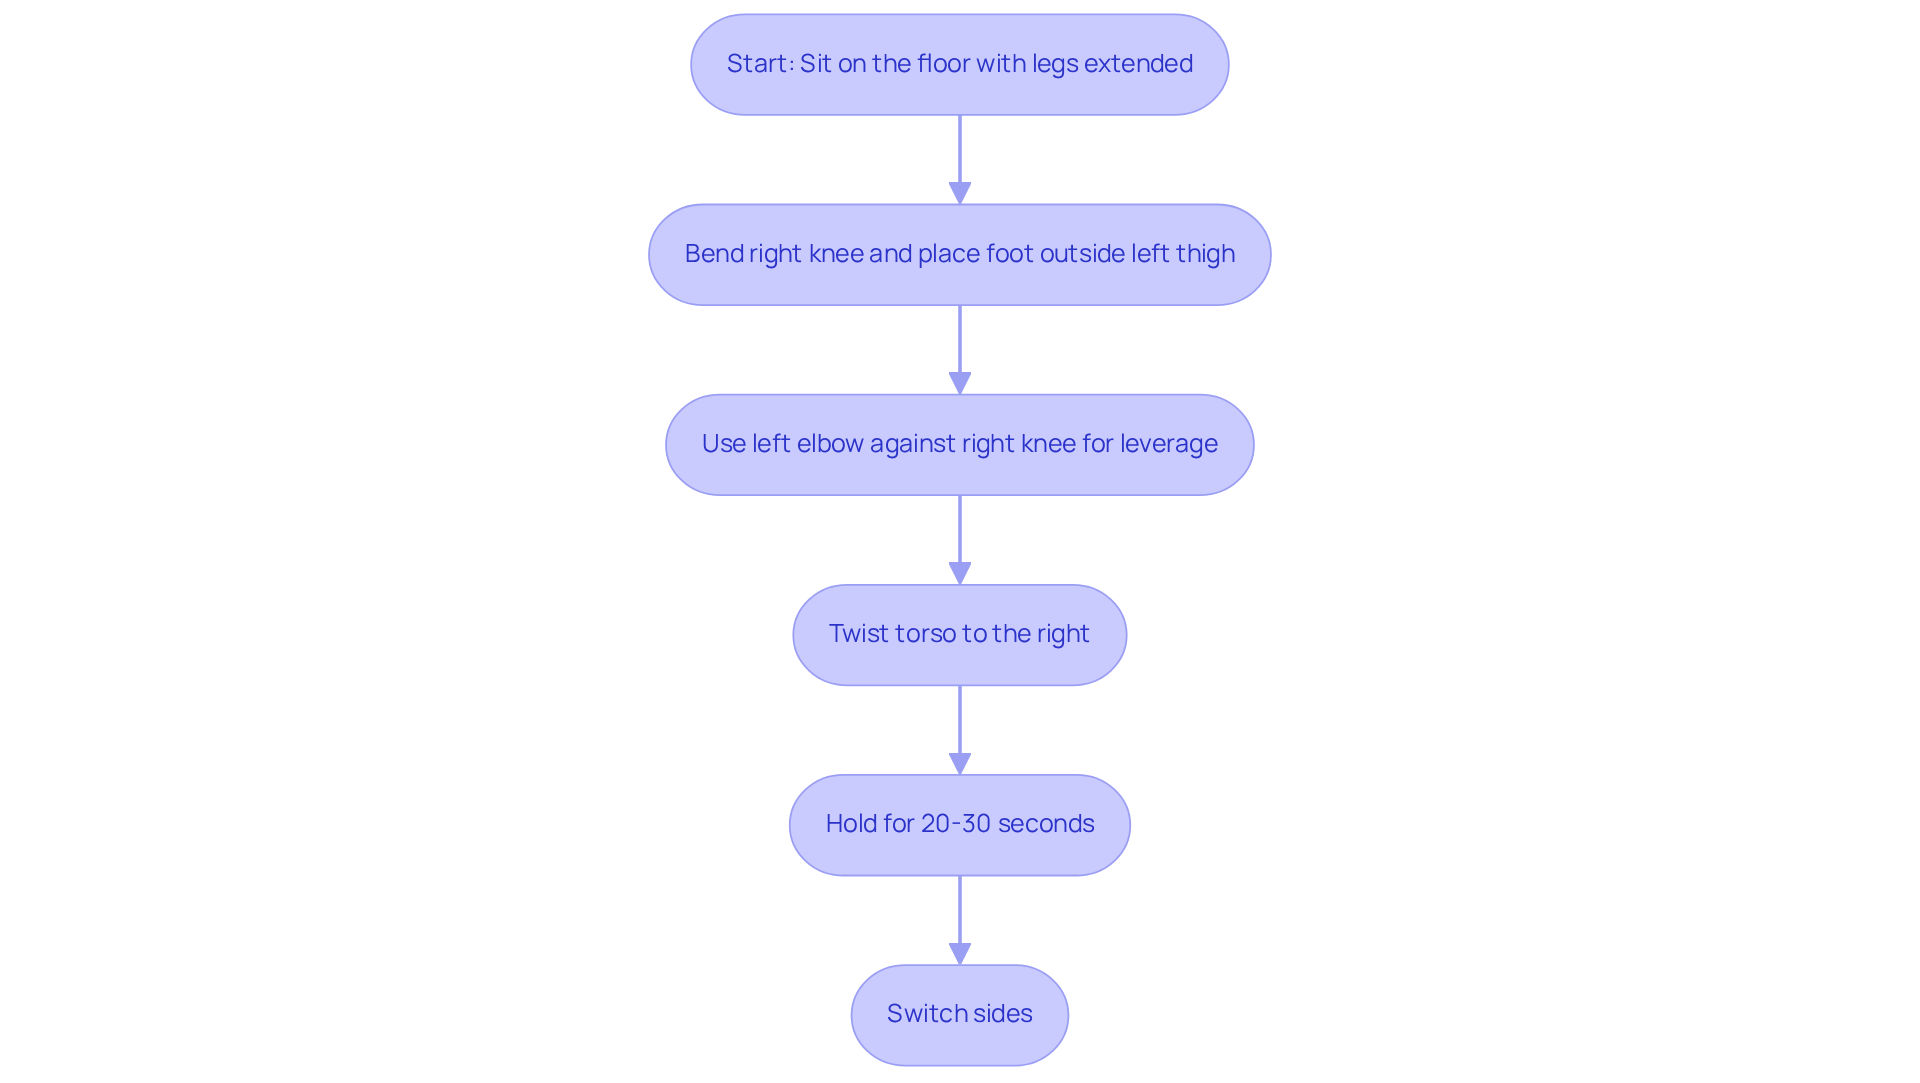
If you often feel tightness in your back or hips, you’re not alone; many people experience this discomfort, and it can be frustrating. To perform the Seated Spinal Twist, start by sitting on the floor with your legs extended. Bend your right knee and place your foot outside your left thigh. Use your left elbow against your right knee for leverage as you twist your torso to the right. Hold this position for 20-30 seconds before switching sides. Many people struggle with tightness and discomfort in their lower back, making simple movements feel challenging.
The Seated Spinal Twist not only enhances spinal mobility but also focuses on the hip and pelvic regions, making it an effective exercise for those experiencing tightness or discomfort. When your back feels tight, even bending down to pick something up can become a challenge. Gentle twisting movements can help ease muscle tension, especially in areas that often contribute to lower back pain.
It’s important to include stretches like this in your daily routine, especially if you spend a lot of time sitting. The seated spinal twist can stimulate circulation and digestion, further enhancing its therapeutic effects. Many people who practice this stretch regularly find they feel more comfortable and mobile in their daily lives, highlighting its importance in managing discomfort.
The Seated Spinal Twist is a gentle way to improve your flexibility and help relieve discomfort in your back and hips. By incorporating this stretch into your routine, you may find daily activities become easier and more comfortable.
Cat-Cow Flow for Core and Spine Mobilization
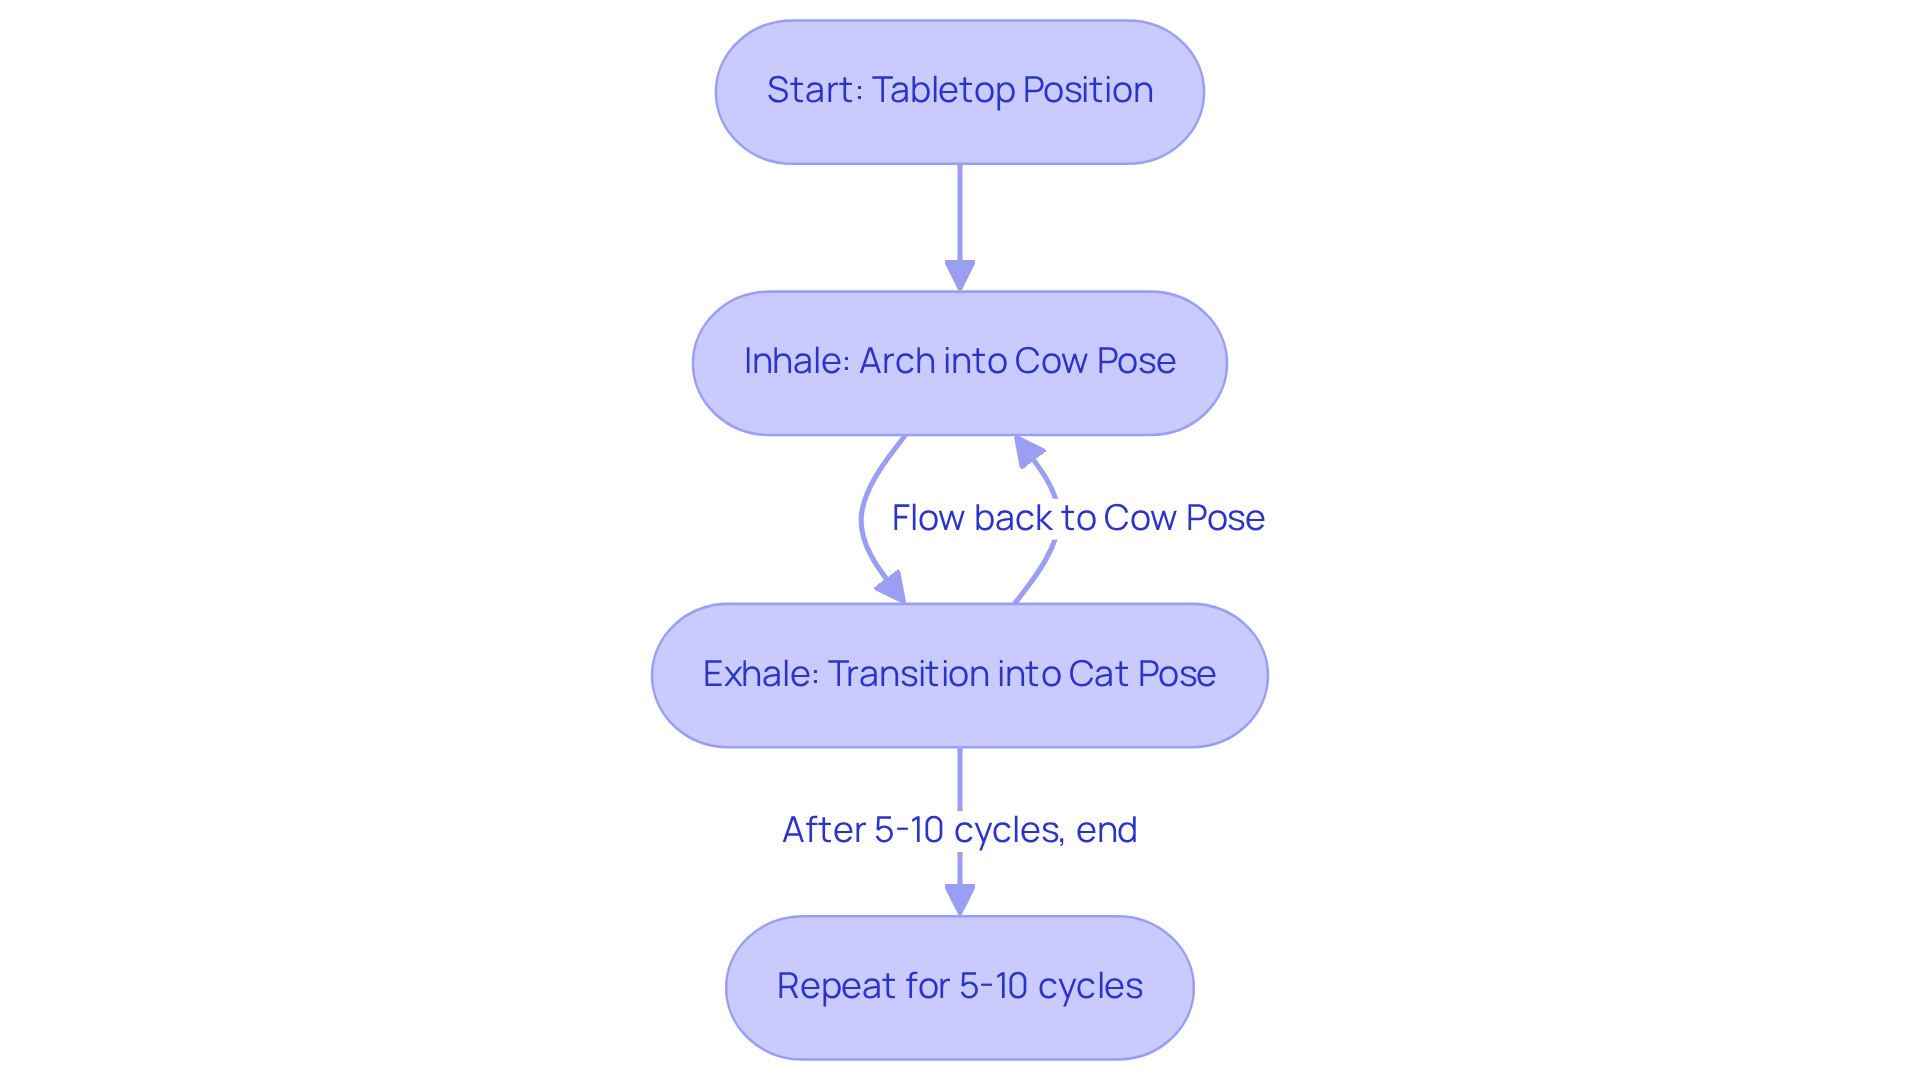
Many people struggle with persistent back discomfort that affects their daily lives. To perform the Cat-Cow Flow, begin in a tabletop position with your wrists aligned under your shoulders and knees beneath your hips. Inhale deeply as you arch your torso into Cow Pose, lifting your head and tailbone while allowing your belly to drop towards the floor. Exhale as you transition into Cat Pose, rounding your torso by tucking your chin and pelvis. Try to flow through 5 to 10 cycles, feeling how your spine moves and your core engages, bringing you relief from tension.
The Cat-Cow Flow is particularly beneficial for enhancing spinal flexibility and core strength. Many who practice this flow regularly find they feel less discomfort and enjoy greater mobility in their daily lives. For instance, participants in structured programs have reported an average 68% reduction in discomfort within the first 12 weeks, highlighting the effectiveness of such exercises in managing chronic conditions.
Expert opinions underscore the importance of mindful breathing and movement synchronization during the Cat-Cow Flow. As you practice, you’ll notice not just physical benefits, but a sense of calm that can help you manage pain more effectively. By integrating the Cat-Cow Flow into your daily routine, you can cultivate a deeper connection with your body, ultimately leading to improved health outcomes. Embracing the Cat-Cow Flow can be a transformative step towards a more comfortable and active life.
Standing Hamstring Stretch for Lower Body Relief
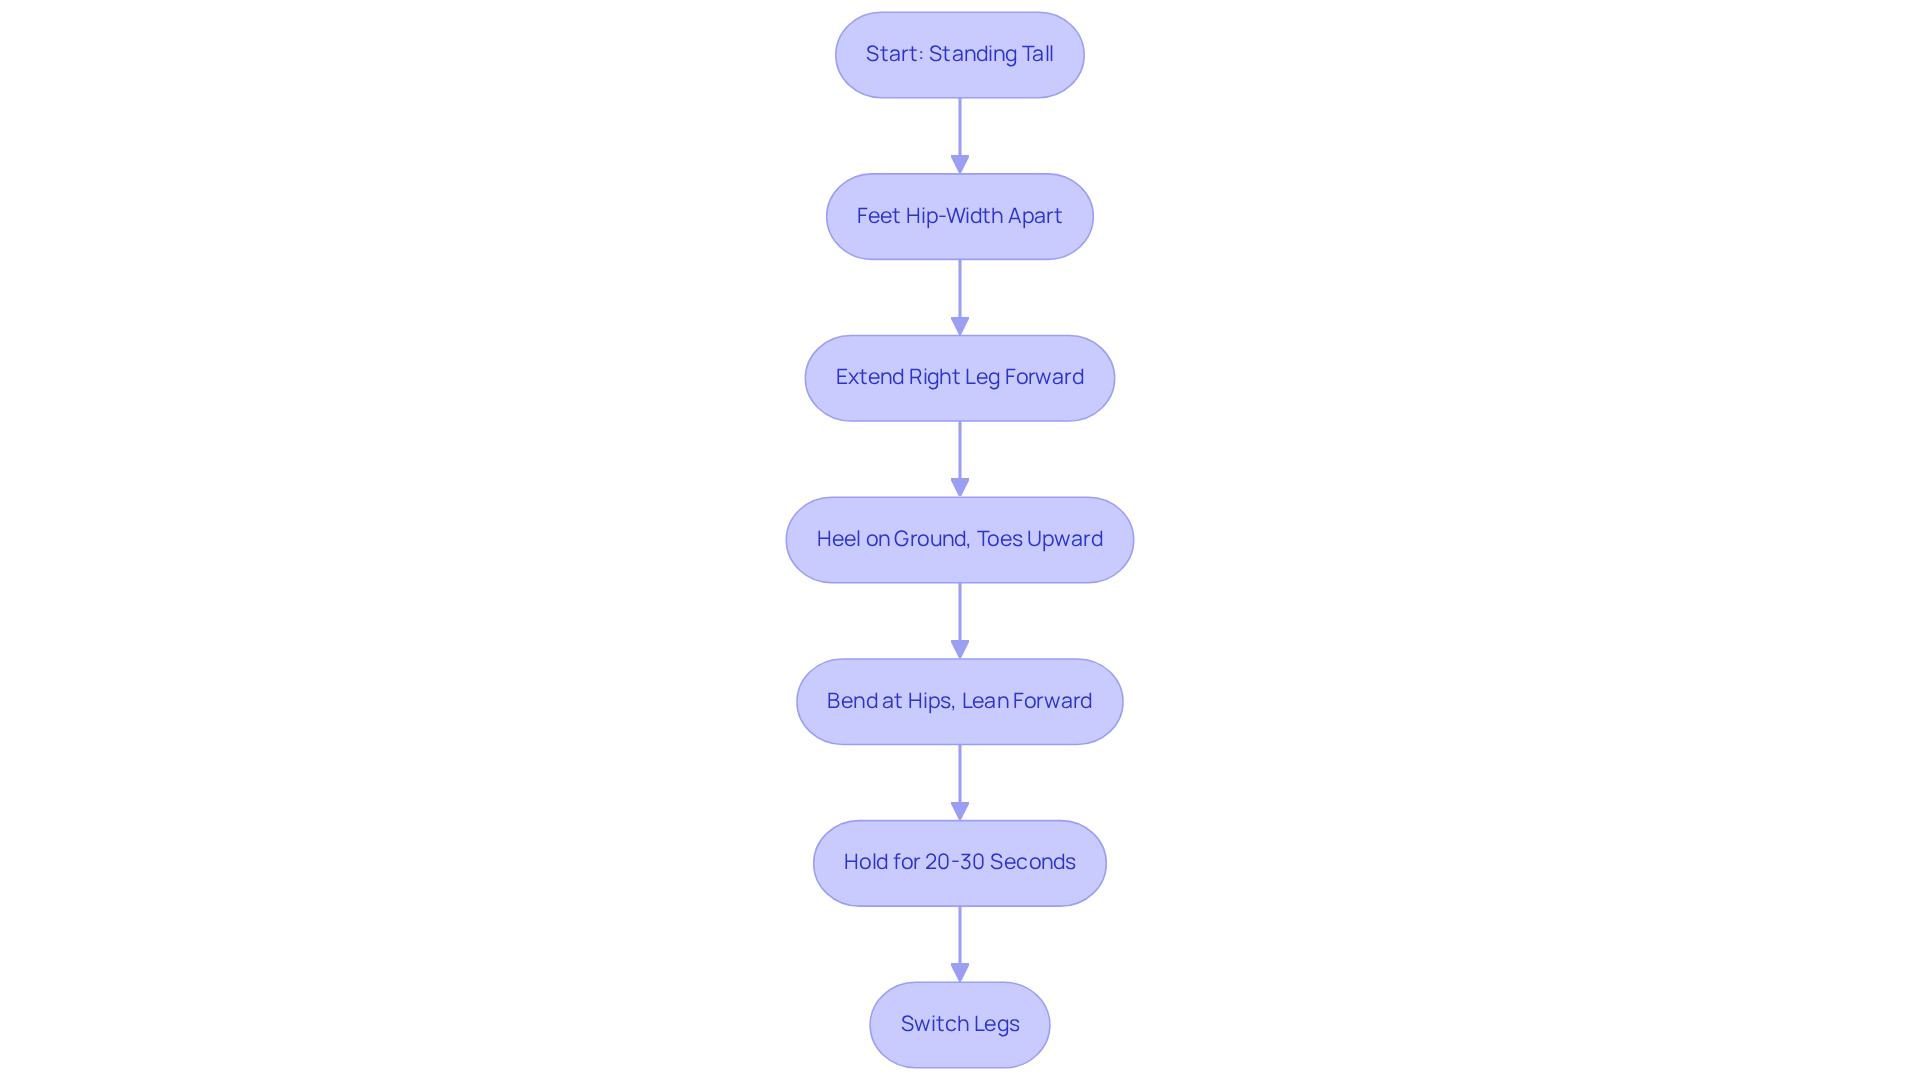
If you’ve been struggling with lower back discomfort, you’re not alone, and there’s a way to find relief. To perform the Standing Hamstring Stretch, begin by standing tall with your feet hip-width apart. Extend your right leg forward, placing your heel on the ground with your toes pointing upward. Bend at your hips and lean forward while keeping a straight posture. Hold this position for 20-30 seconds before switching legs. This stretch is a gentle way to ease tension in your hamstrings, helping you feel more aligned and comfortable.
When hamstrings are tight, they can lead to a pelvic tilt that puts extra pressure on your lower back, making discomfort worse. Consistent hamstring stretching has been shown to significantly reduce discomfort in the lumbar region. Research indicates a mean difference of -6.97 in Oswestry Disability Index (ODI) scores when compared to conventional treatments. This suggests that including hamstring stretches in your routine can improve flexibility and lessen strain on your back.
Case studies from the Ponte Vedra Spine & Pain Center highlight the positive effects of hamstring stretching on lower back discomfort. For instance, one study showed that improving hamstring flexibility through targeted stretching can restore muscle balance and alleviate discomfort. Another case emphasized that addressing tight hamstrings can correct pelvic tilt, helping to prevent further spinal issues.
Incorporating evidence-based alternatives for managing discomfort, such as exercise and dietary modifications, can further enhance the effectiveness of stretching routines. A tailored exercise program focusing on strengthening the quads and glutes can reduce pressure on the knee joint, complementing the benefits of hamstring stretching. Additionally, adopting an anti-inflammatory diet rich in omega-3s and turmeric can support your overall management strategies.
To keep your hamstrings flexible and prevent tightness that can lead to chronic discomfort, try to incorporate these stretches into your routine at least 3-4 times a week. The systematic review of hamstring stretching exercises indicates that they are effective in reducing pain intensity across various categories of low lumbar discomfort, making them a valuable addition to any pain management strategy. Embracing these stretches can be a step toward reclaiming your comfort and well-being.
Pigeon Pose for Deep Hip Opening
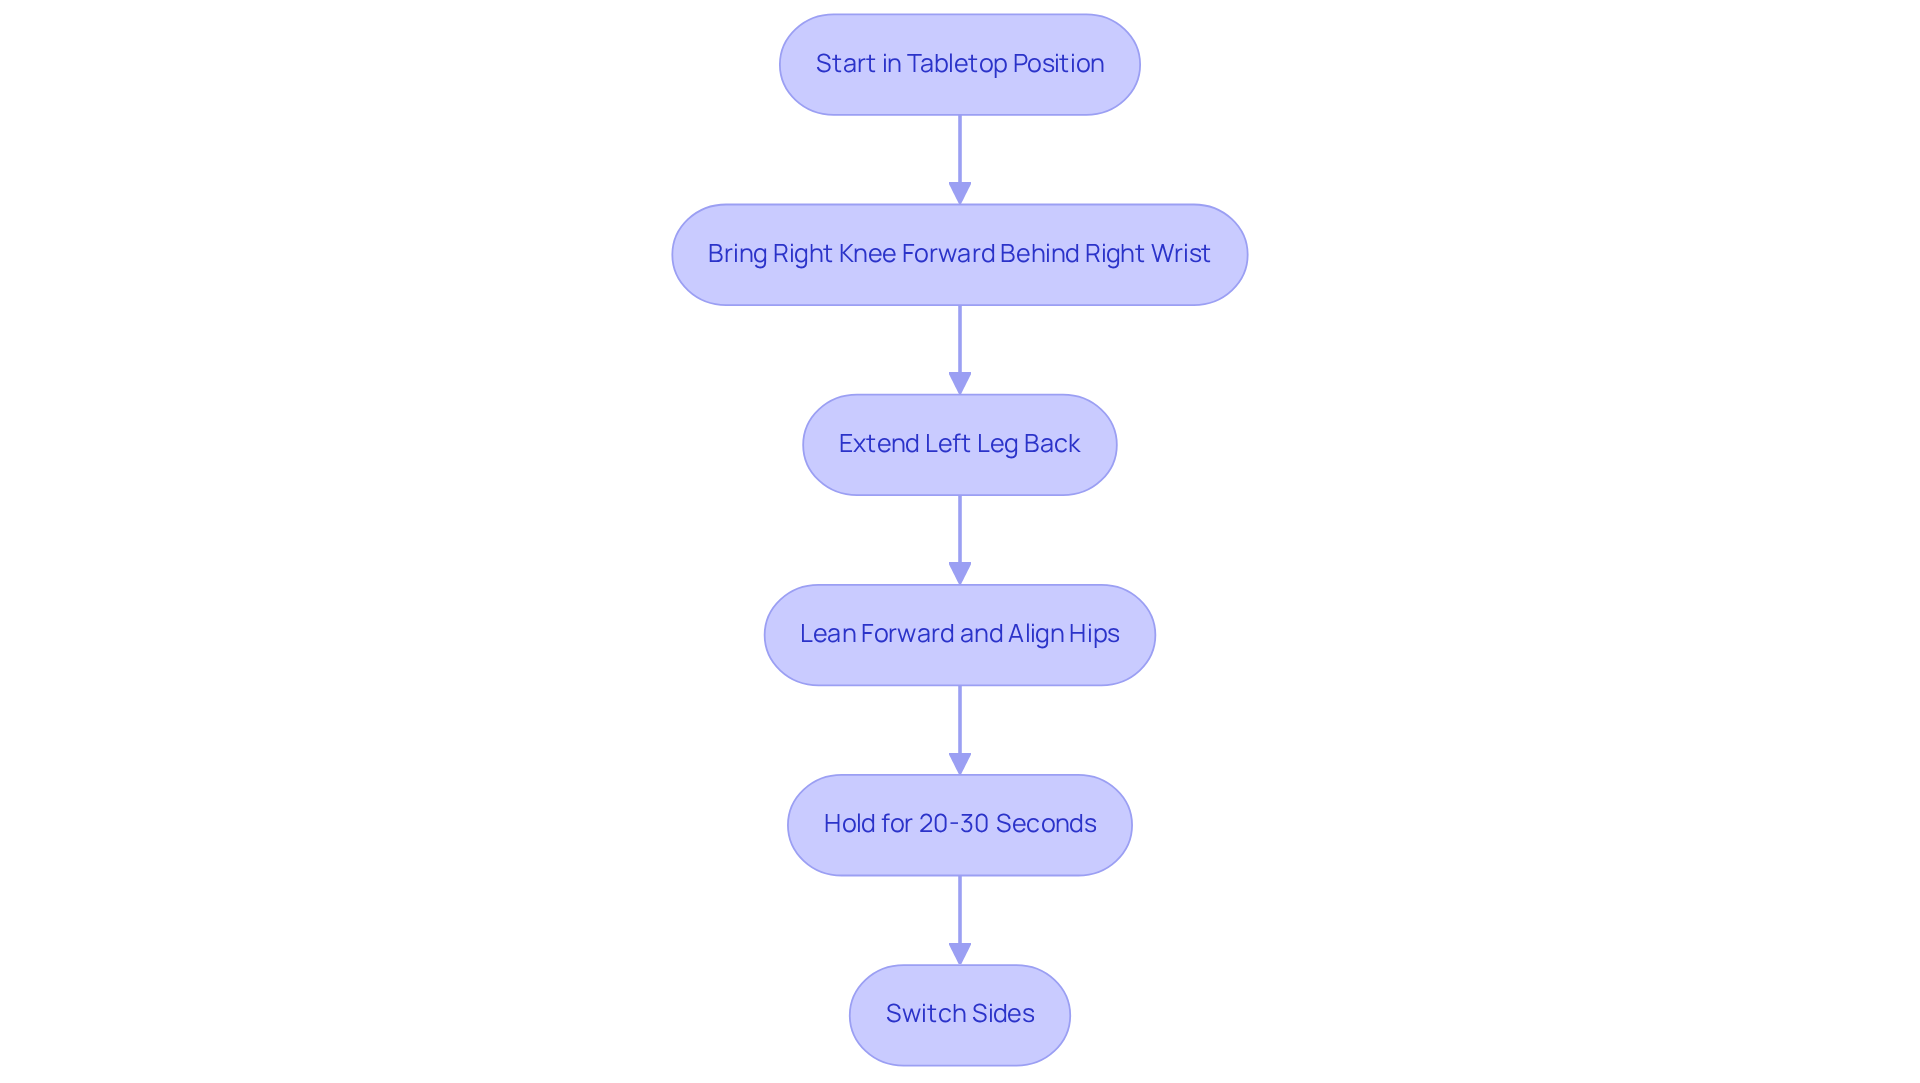
If you’re feeling tightness in your hips, let’s explore Pigeon Pose together, a gentle way to find relief. Begin in a tabletop position, bringing your right knee forward behind your right wrist while extending your left leg back. As you lean forward, focus on keeping your hips aligned, allowing your body to gently relax into the stretch. Hold this position for 20-30 seconds before switching sides. This pose is wonderful for easing tightness in your hips and glutes, helping you feel more relaxed and at ease.
Pigeon Pose, or Kapotasana, is cherished for its ability to relieve tightness in the hip flexors and spine, especially after long periods of sitting. Incorporating the sciatica deep glute stretch into your routine can lead to improved flexibility and mobility, making it a valuable addition for managing sciatica and related discomfort.
Many experts believe that Pigeon Pose can help not just your body, but also your mind, by releasing tension that builds up in your hips. This holistic benefit is particularly important for those dealing with chronic discomfort, as emotional stress often exacerbates physical symptoms.
Practitioners who integrate Pigeon Pose into their routines often report feeling more mobile and experiencing less discomfort in their lower body. For example, individuals who initially struggled with tightness in their glutes found that consistent practice of this pose led to enhanced range of motion and decreased discomfort.
By incorporating Pigeon Pose into your routine, you may discover a newfound sense of ease and balance in your body and mind.
Sciatic Nerve Glide for Enhanced Nerve Mobility
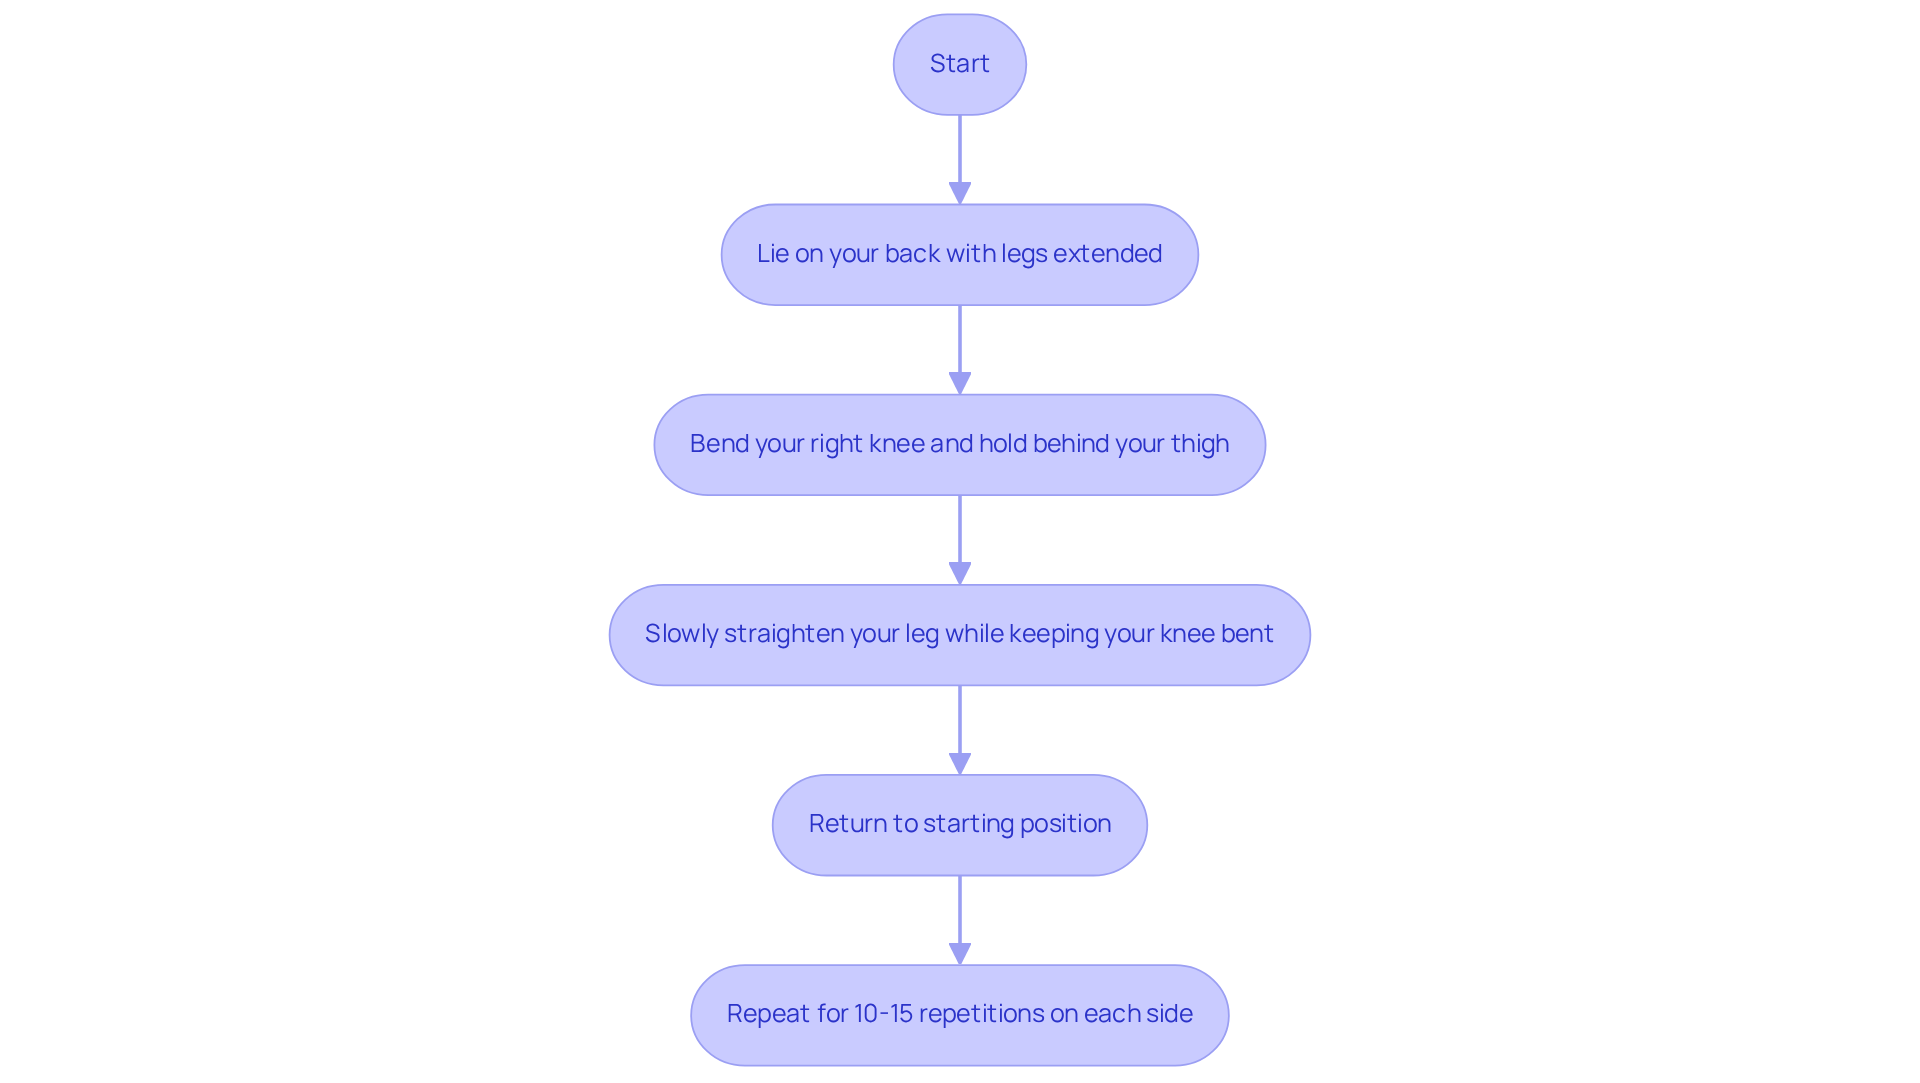
If you’re struggling with sciatic nerve pain, you’re not alone; many people face this challenge, and there are ways to find relief. Performing the Sciatic Nerve Glide can be a gentle yet effective way to ease tension in your sciatic nerve, helping you feel more comfortable and mobile. To do this, lie on your back with both legs extended. Bend your right knee and hold behind your thigh. Slowly straighten your leg while keeping your knee bent, then return to the starting position. Repeat for 10-15 repetitions on each side.
Understanding what causes nerve discomfort, like injuries or certain health conditions, is important for finding the right support. Incorporating this glide into your routine, along with exercise and healthy choices, can really help improve your mobility and overall well-being. Research shows that nerve glides can be effective; a systematic review found that 9 out of 11 studies reported positive outcomes from neural mobilization techniques, including nerve gliding. Additionally, patients who included nerve flossing exercises in their routines often reported less discomfort and better mobility.
This highlights the importance of personalized care. Consulting with healthcare providers can ensure you receive tailored recommendations that suit your needs. By practicing the Sciatic Nerve Glide regularly and seeking professional guidance, you can take meaningful steps toward a more comfortable life.
Conclusion
Many people find themselves grappling with persistent pain that disrupts their daily lives, leaving them searching for relief. Incorporating effective stretches into a daily routine can significantly alleviate the discomfort associated with sciatica. This article highlights seven targeted glute stretches that not only promote flexibility but also address the underlying causes of nerve irritation. Focusing on stretches like the Figure-4 Piriformis Stretch, Knee-to-Opposite-Shoulder Stretch, and Pigeon Pose can help improve your mobility and ease pain, making daily activities more enjoyable.
Each stretch discussed offers unique benefits, supported by clinical evidence that underscores their effectiveness in managing sciatica. From the gentle movements of the Cat-Cow Flow to the targeted relief provided by the Sciatic Nerve Glide, these exercises serve as valuable tools in a comprehensive pain management strategy. We want you to feel confident in your approach to managing discomfort, knowing that these practices are backed by evidence.
By taking these proactive steps, you can reclaim your comfort and embrace a more fulfilling life, knowing that relief is within reach. We understand that finding relief can feel overwhelming, but committing to regular practice and reaching out for professional support can make a significant difference. Embracing these evidence-based strategies not only fosters physical well-being but also empowers you to lead a more active and fulfilling life.
Frequently Asked Questions
What is the Figure-4 Piriformis Stretch and how is it performed?
The Figure-4 Piriformis Stretch involves lying on your back with knees bent, crossing your right ankle over your left knee to form a ‘4’ shape, and gently drawing your left thigh towards your chest. This position should be held for 20-30 seconds before switching sides.
How does the Figure-4 Piriformis Stretch help with sciatica?
This stretch targets the piriformis muscle, which can contribute to sciatica discomfort by applying pressure on the sciatic nerve. Regular practice can enhance hip flexibility and reduce discomfort associated with sciatica.
What evidence supports the effectiveness of the Figure-4 Piriformis Stretch?
Clinical studies indicate that patients who incorporate the Figure-4 Stretch into their routines report improved mobility and reduced discomfort, highlighting its effectiveness in managing sciatica.
What is the Knee-to-Opposite-Shoulder Stretch and how is it performed?
The Knee-to-Opposite-Shoulder Stretch involves lying on your back with legs extended, bending your right knee, and gently pulling it towards your left shoulder while keeping the left leg straight. This position should be held for 20-30 seconds before switching sides.
How does the Knee-to-Opposite-Shoulder Stretch benefit lower back discomfort?
This stretch effectively targets the glutes and surrounding areas, aiding in the alleviation of tension and discomfort in the lower back, while also supporting better spinal alignment.
What are the long-term benefits of incorporating the Knee-to-Opposite-Shoulder Stretch into a routine?
Regular practice can help regain flexibility and mobility in the lower back, reduce tension, and enhance overall comfort, making it a valuable addition to a discomfort management regimen.
What approach does Ponte Vedra Spine & Pain Center recommend for managing discomfort?
Ponte Vedra Spine & Pain Center emphasizes a comprehensive approach that includes evidence-based strategies such as tailored exercise programs and lifestyle modifications to address both immediate discomfort and underlying causes for long-lasting relief.
Should individuals consult a healthcare provider before starting these stretches?
Yes, it is crucial to consult with a healthcare provider before beginning any new exercise routine to ensure safety and effectiveness, especially if experiencing discomfort.
List of Sources
- Figure-4 Piriformis Stretch for Glute Relief
- Knee-to-Opposite-Shoulder Stretch for Lower Back Relief
- Seated Spinal Twist for Hip and Back Flexibility
- Revitalize Your Spine with the Seated Spinal Twist
- This 1 simple stretch has major benefits for back pain and sleep
- When back pain won’t quit: A large clinical trial points to the power of self-management
- Modern Trends in Preventing Back Pain: A Guide for Everyday Adults
- New Treatments We’re Watching for Back Pain Relief in 2026
- Cat-Cow Flow for Core and Spine Mobilization
- Standing Hamstring Stretch for Lower Body Relief
- Pigeon Pose for Deep Hip Opening
- Sciatic Nerve Glide for Enhanced Nerve Mobility
Living with this?
We treat this in Ponte Vedra Beach.
Dr. Eli Loch, D.O. — double board-certified in anesthesiology and pain medicine. Reading about it only goes so far; a diagnosis tells you which of these actually applies to you.