
Condition-Specific Pain Management
10 Effective Sciatic Nerve Pain Stretches for Quick Relief
Introduction
Living with sciatic nerve pain can feel overwhelming, affecting your daily life and overall well-being. Many individuals struggle with the debilitating effects of this condition, which can disrupt daily activities and diminish quality of life. But there is hope; with the right stretches, you can reclaim your mobility and ease your discomfort.
This article will guide you through ten effective stretches designed to alleviate the discomfort associated with sciatica, offering you evidence-based techniques to enhance your mobility and reduce tension. You are not alone in this journey, and we are here to help you find relief.
Figure 4 Stretch for Sciatic Nerve Relief
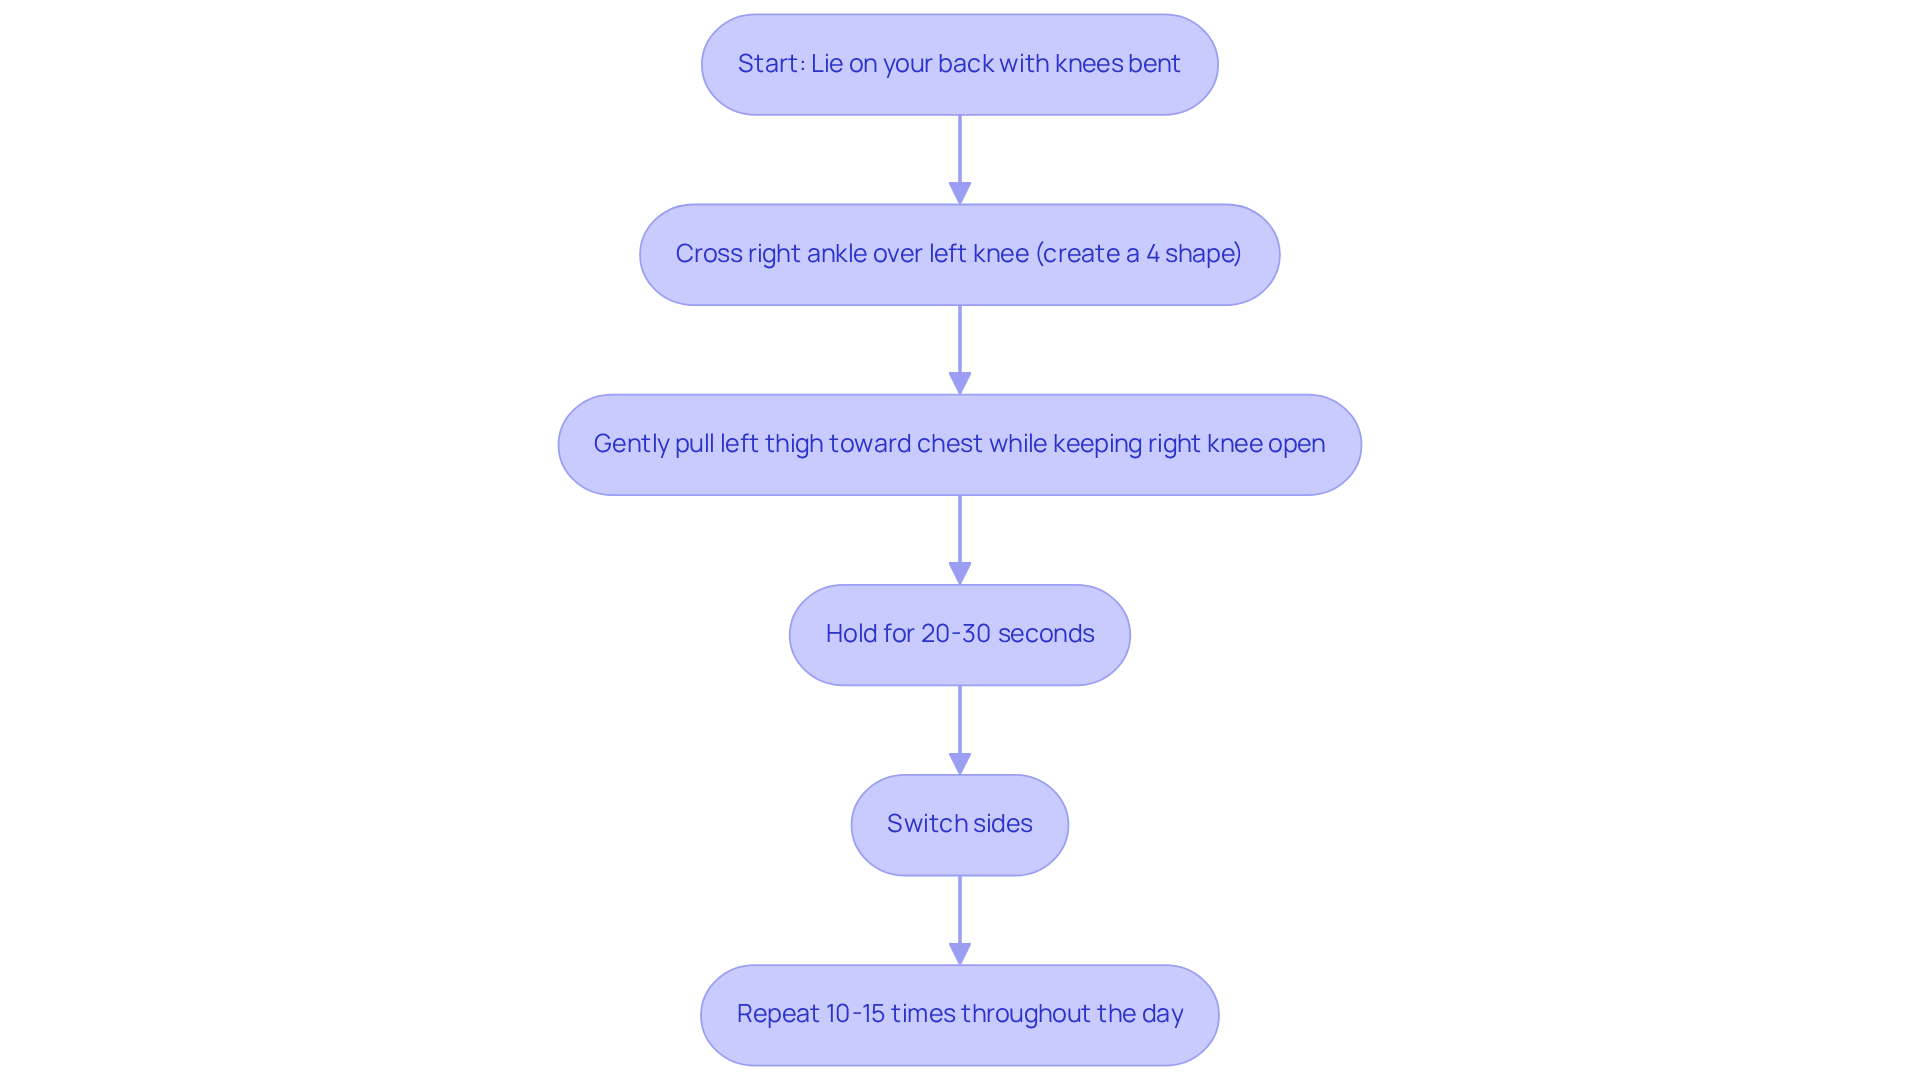
Many individuals struggle with persistent discomfort that affects their daily lives. To perform the Figure 4 Stretch, begin by lying on your back with your knees bent. Cross your right ankle over your left knee, creating a ‘4’ shape. Gently pull your left thigh toward your chest while keeping your right knee open. Hold this position for 20-30 seconds before switching sides. This stretch effectively targets the piriformis muscle, which, when tight, can compress the sciatic nerve and lead to discomfort.
We know that the Figure 4 Stretch can really help ease the discomfort that comes with sciatic nerve pain stretches. It’s particularly helpful for those dealing with symptoms of piriformis syndrome, a common cause of lower back discomfort. Regular practice of this stretch can enhance flexibility and reduce tension in the hips and lower back, making it a valuable addition to any routine that includes sciatic nerve pain stretches.
We’ve seen that when patients include the Figure 4 Stretch in their daily routine, they often feel more mobile and experience less discomfort. The stretch not only offers physical relief but also enhances psychological well-being by alleviating feelings of discomfort and isolation often linked with chronic conditions.
For optimal results, it is recommended to perform the stretch multiple times throughout the day, aiming for 10-15 repetitions in the active version. Listening to your body is crucial; if you experience sharp discomfort, it is essential to stop and consult a healthcare provider. Incorporating the Figure 4 Stretch into your routine can be a gentle yet powerful step toward a more comfortable life.
Seated Piriformis Stretch to Alleviate Pain
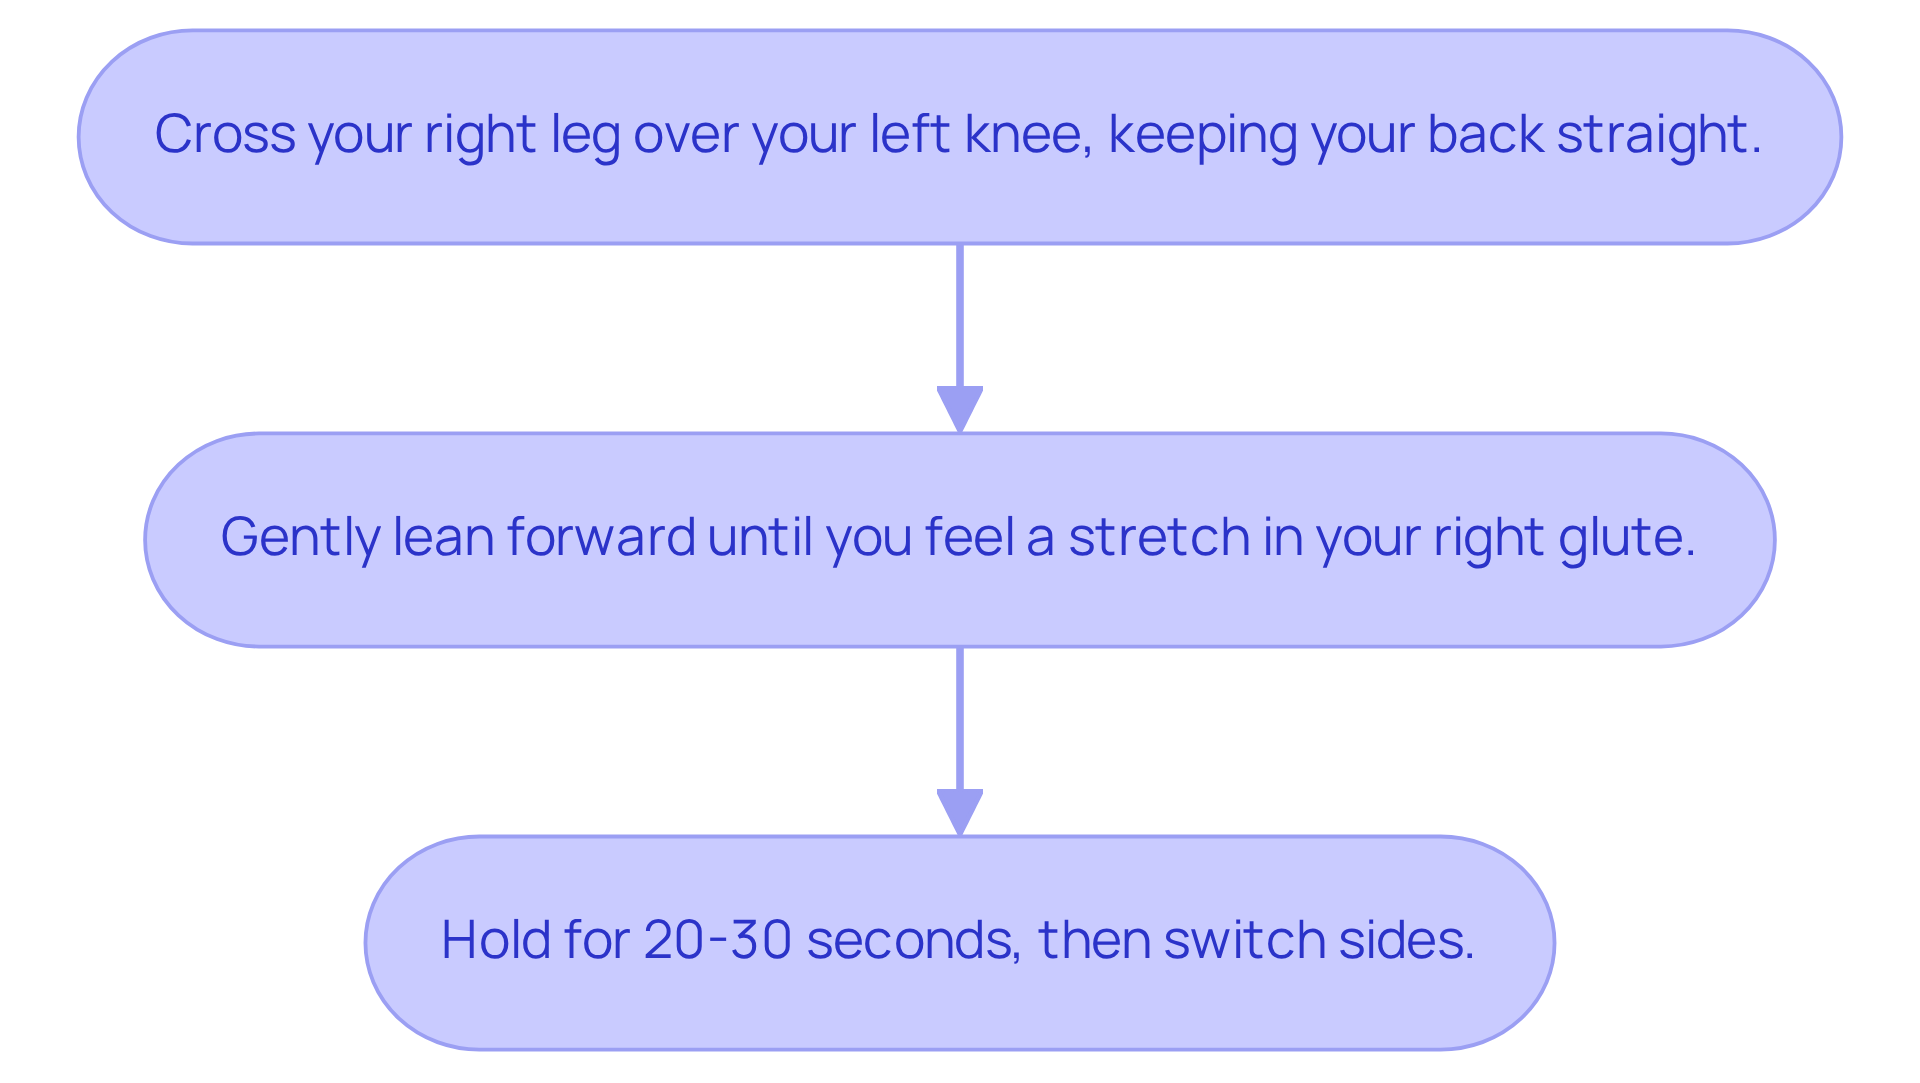
Many people struggle with persistent discomfort that can disrupt daily activities and affect overall well-being. The Seated Piriformis Stretch is an effective method for relieving discomfort associated with the lower back, particularly advantageous for individuals experiencing tightness in the piriformis muscle. We invite you to find a comfortable chair, placing your feet flat on the ground as you prepare to ease your discomfort.
- Cross your right leg over your left knee, ensuring your back remains straight.
- Gently lean forward until you feel a stretch in your right glute.
- Hold this position for 20-30 seconds before switching sides.
This stretch targets the piriformis muscle, which, when tense, can irritate the lower back pathway, leading to discomfort that radiates down the leg. Many have found that gentle stretching of the piriformis can bring relief, enhancing flexibility and easing the pressure on the lower back. A case study highlighted the effectiveness of targeted stretching routines, including the Seated Piriformis Stretch, in improving mobility and reducing symptoms in patients with piriformis syndrome.
Incorporating this stretch into a regular routine can be particularly beneficial for those who spend extended periods sitting, as prolonged sitting can exacerbate symptoms. We encourage you to incorporate this stretch into your daily routine, especially during breaks, to nurture your body and maintain comfort. Overall, the Seated Piriformis Stretch serves as a beneficial method for managing discomfort through sciatic nerve pain stretches and improving overall hip flexibility. Embracing this simple stretch can be a step toward a more comfortable and active life.
Standing Hamstring Stretch for Enhanced Flexibility
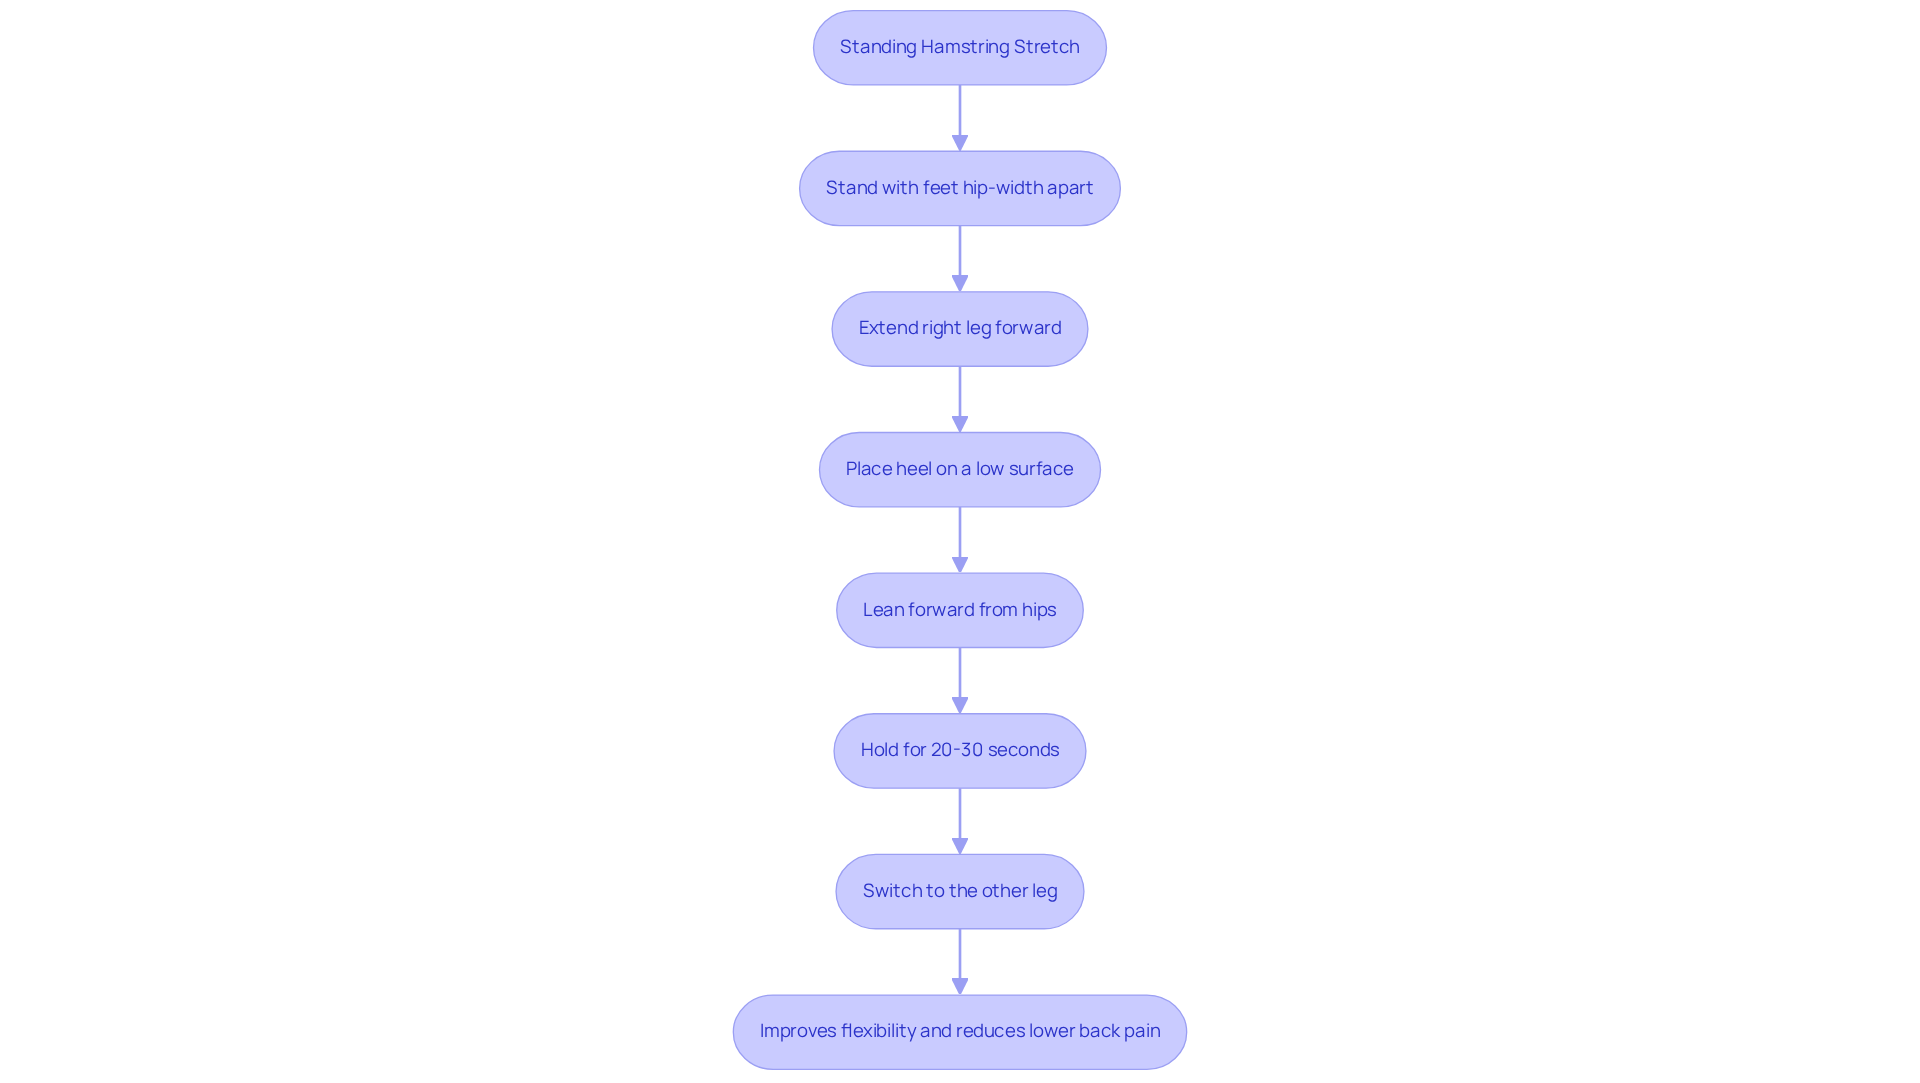
If you’re struggling with lower back pain, you’re not alone, and there’s a gentle way to find relief. To perform the Standing Hamstring Stretch, start by standing with your feet hip-width apart. Extend your right leg forward, placing your heel on a low surface, like a step or a sturdy chair. Stand tall and gently lean forward from your hips until you feel a nice stretch in the back of your thigh. Hold this position for 20 to 30 seconds before switching to the other leg. This stretch is a great way to help lengthen your hamstrings and ease tension that might be causing your lower back pain.
Tight hamstrings can lead to increased pain and discomfort, making daily activities challenging. Research shows that they can worsen lower lumbar issues and sciatica symptoms, affecting how your spine and pelvis work together. That’s why a regular routine of hamstring stretching is often recommended as part of comprehensive sciatica treatment programs that include sciatic nerve pain stretches. Incorporating this stretch into your routine can bring relief and improve your quality of life.
Case studies highlight the effectiveness of this stretch in clinical settings. For instance, individuals who included the Standing Hamstring Stretch in their daily routines reported improved flexibility and a reduction in irritation of the lower back pathway. Moreover, expert insights emphasize that addressing hamstring tightness through sciatic nerve pain stretches can alleviate sciatic nerve root pressure, enhancing overall lower body health.
By embracing the Standing Hamstring Stretch, you can take a meaningful step towards alleviating your pain and enhancing your mobility.
Pigeon Pose for Hip and Lower Back Relief
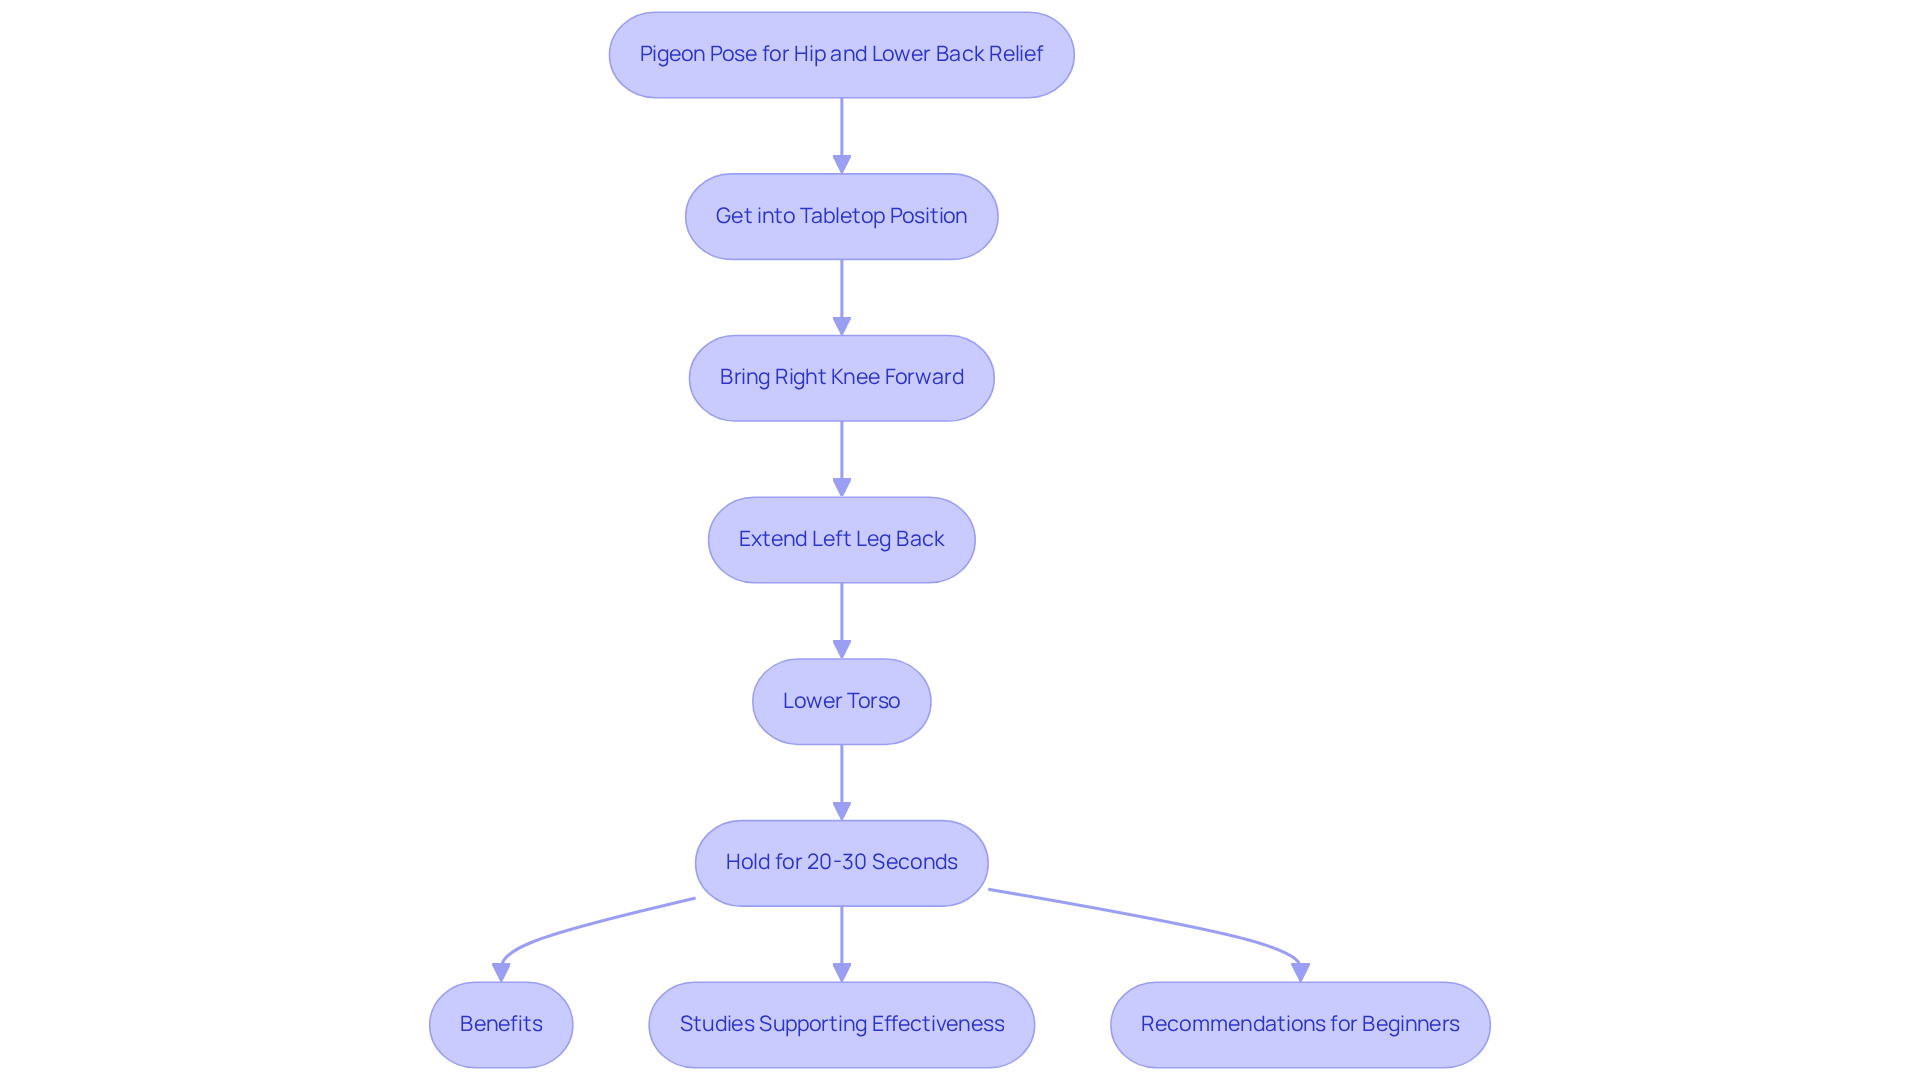
Many people struggle with tightness in their hips and lower back, especially if they spend long hours sitting. Pigeon Pose, a well-known yoga stretch, can be particularly effective for relieving this discomfort. To perform Classic Pigeon Pose, start by getting into a tabletop position on your hands and knees. Bring your right knee forward and position it behind your right wrist, extending your left leg towards the back. Lower your torso towards the ground, resting on your forearms or forehead. Hold this position for 20-30 seconds before switching sides. This pose not only opens the hips but also elongates the lower region, offering substantial relief through sciatic nerve pain stretches.
You might be wondering if Pigeon Pose can really help with that nagging discomfort in your lower back and hips. Well, recent studies show it can! A 2019 study indicated that individuals with chronic discomfort who practiced yoga, including Pigeon Pose, experienced a notable reduction in distress and its interference with daily activities. Furthermore, a small study found that consistent practice of Hatha yoga, which includes Pigeon Pose, for 12 weeks led to increased flexibility in the lower back and hamstrings, enhancing overall mobility.
Case studies further support the benefits of Pigeon Pose. For example, one study focused on individuals with piriformis syndrome, where tightness in the piriformis muscle can compress the sciatic pathway, resulting in discomfort. Participants who incorporated sciatic nerve pain stretches, including Pigeon Pose, into their routine reported significant relief from discomfort and improved nerve mobility. Additionally, another case study highlighted the importance of proper warm-up sequences, such as Downward-Facing Dog and Cat-Cow, to prepare the body for Pigeon Pose, thereby reducing the risk of injury.
If you’re new to yoga or have had hip or knee issues, starting with an easier version of Pigeon Pose is a smart choice. This approach minimizes the risk of overstretching and allows for gradual progression. Regular practice of Pigeon Pose can enhance hip flexibility and mobility, which is crucial for individuals experiencing tightness due to prolonged sitting or physical inactivity. Overall, Pigeon Pose acts as a beneficial addition to a daily regimen focused on managing lower lumbar discomfort and enhancing overall quality of life. Embracing Pigeon Pose can be a gentle yet effective step towards a more comfortable and active life. Incorporating evidence-based alternatives such as exercise, dietary adjustments rich in omega-3s and turmeric, and other modalities can further enhance management strategies for chronic discomfort sufferers.
Knee-to-Chest Stretch for Lower Back Relief
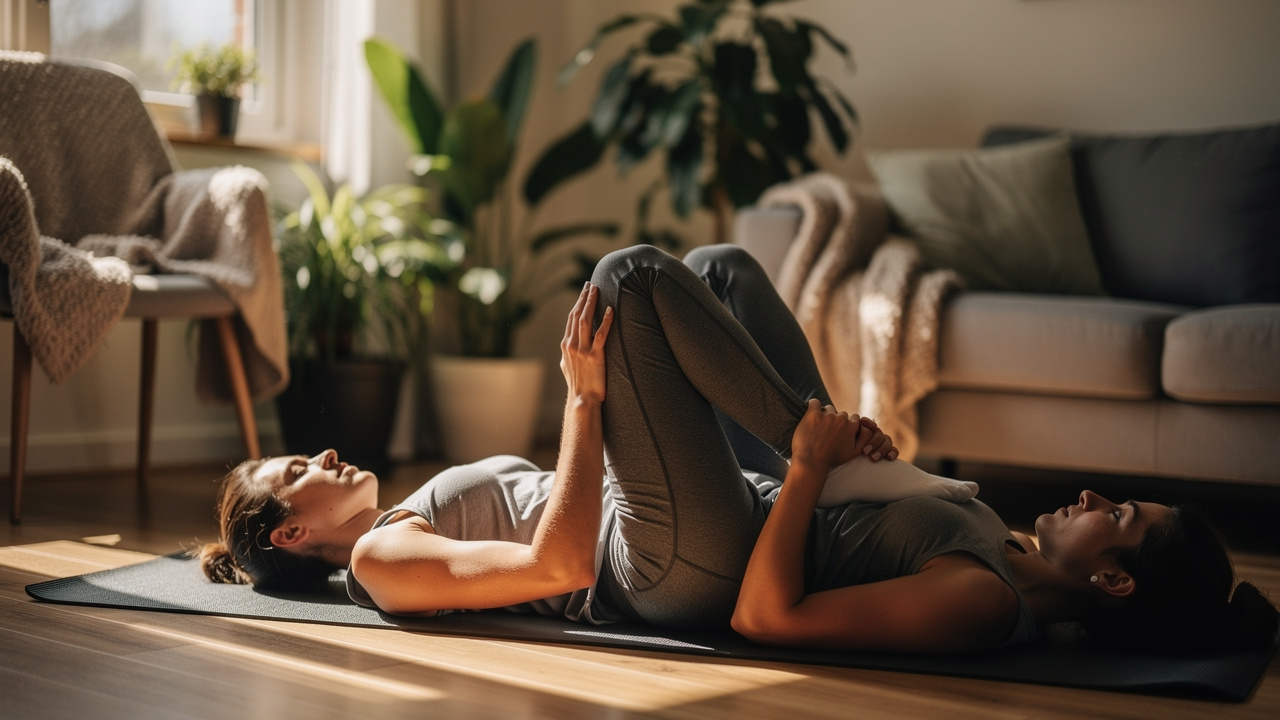
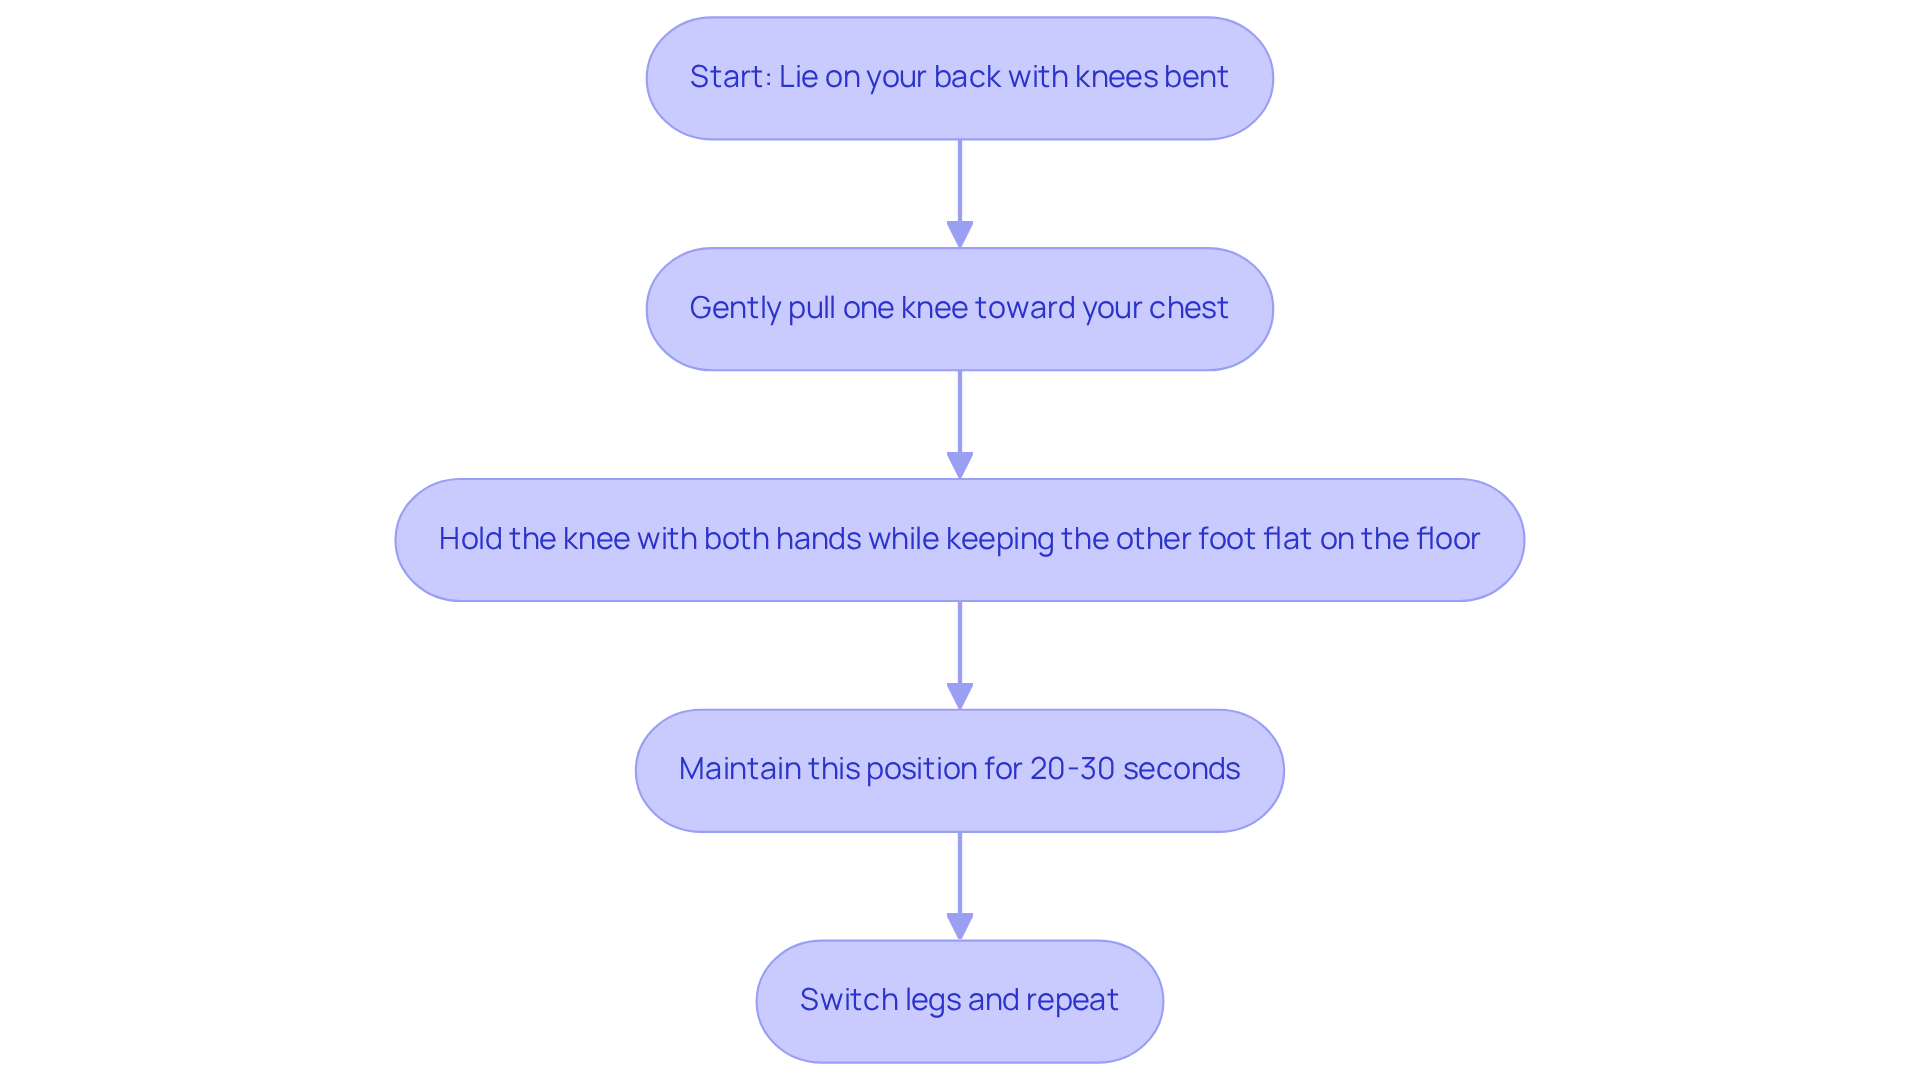
Many people struggle with persistent lower back pain, making daily activities feel daunting. To execute the Knee-to-Chest Stretch, lie on your surface with your knees bent and gently pull one knee toward your chest, holding it with both hands while keeping the other foot flat on the floor. Maintain this position for 20-30 seconds before switching legs. This stretch helps ease tension in your lower back and is one of the effective sciatic nerve pain stretches that provide relief.
We understand that managing lower back pain can be overwhelming, but this stretch can help target key muscle groups, including the hip flexors, glutes, and lower back, enhancing your overall mobility and flexibility. Regular practice can lead to improved core strength and reduced muscle tension, which are crucial for daily activities such as walking and climbing stairs.
Case studies from Ponte Vedra Spine & Pain Center have shown that individuals incorporating this stretch into their routine report notable improvements in lower discomfort. For instance, patients utilizing the Knee-to-Chest Stretch as part of their rehabilitation experienced a significant decrease in discomfort levels and improved functional capabilities. Furthermore, expert insights suggest that sciatic nerve pain stretches are particularly beneficial for those suffering from conditions like sciatica, as they promote relaxation and support spinal health.
By embracing this simple stretch, you can take a proactive step towards relief and regain control over your body. Significantly, statistics indicate that 56% of individuals will encounter a recurrence of low back discomfort within six months after recovery, highlighting the necessity of ongoing management strategies like this stretch. Furthermore, effective non-pharmaceutical approaches such as lifestyle modifications, physical therapy, and exercise can further improve management outcomes. As always, it is advisable to consult with a healthcare provider before starting any new exercise program, particularly if experiencing significant pain or recent injury. Taking this step can empower you to manage your discomfort and enhance your quality of life.
Seated Sciatic Nerve Flossing for Pain Management
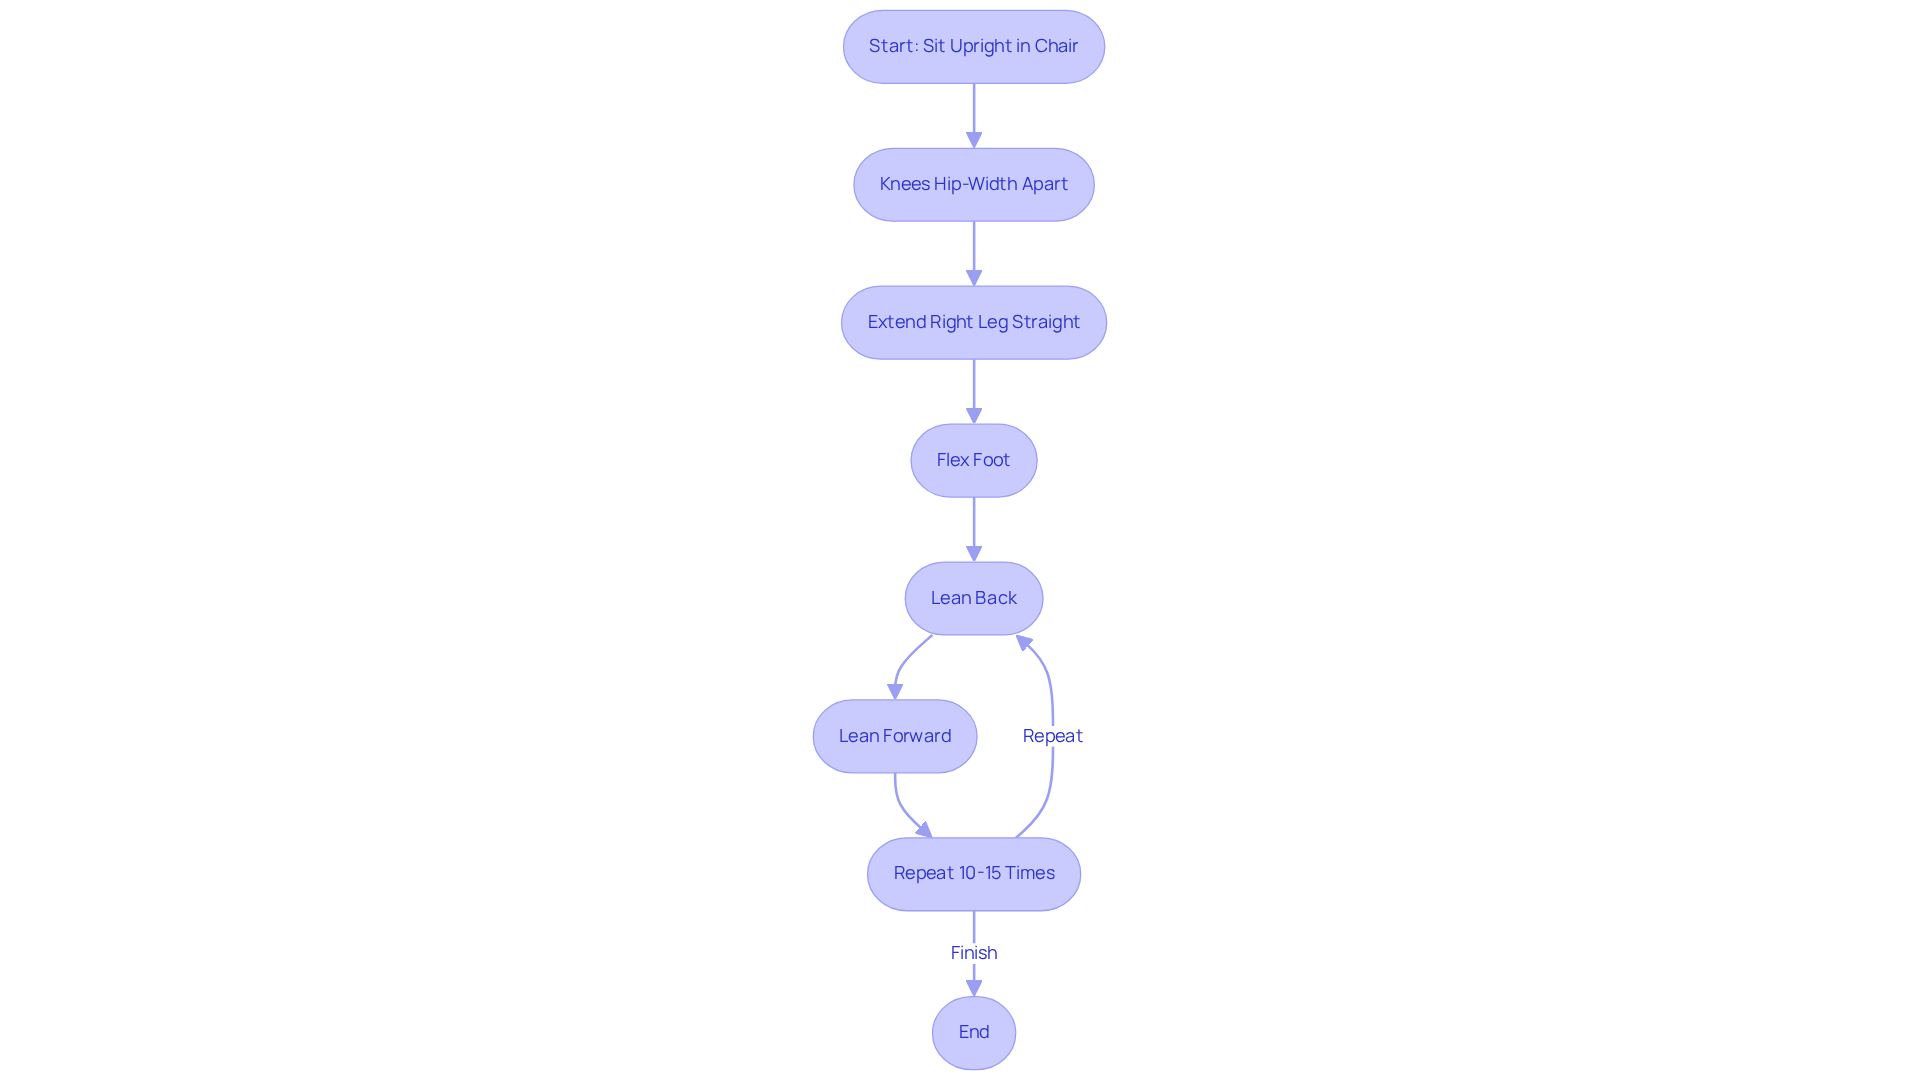
If you’re struggling with nerve discomfort, you’re not alone, and there are ways to find relief. Sit upright in a chair with your knees hip-width apart. Extend your right leg straight out in front of you, flexing your foot. While keeping your leg straight, gently lean back and then forward, alternating between tension and relaxation. Repeat for 10-15 repetitions. This seated sciatic flossing exercise is designed to glide the sciatic pathway, helping to reduce irritation and promote mobility.
Studies show that flossing can help ease sciatica symptoms, making it easier for you to move comfortably. Consistent practice of these exercises can lead to noticeable improvements in discomfort levels and functional mobility. For the best results, try to perform these exercises daily; regular practice is key to achieving lasting relief. While you might feel some relief after doing these exercises, remember that regular practice is key to lasting comfort.
Nerve discomfort, or neuropathic distress, can arise from various underlying conditions, including herniated discs, diabetes, and autoimmune disorders. Understanding its characteristics and causes is essential for effective management. Many patients who include seated flossing exercises in their rehabilitation programs report a significant decrease in shooting discomfort and improved overall function. We believe that a personalized evaluation is crucial before starting any new exercise, ensuring you feel safe and supported.
In summary, sciatic nerve pain stretches, such as seated sciatic flossing, serve as a valuable tool in managing discomfort, especially for those experiencing sciatica. By focusing on proper technique and regular practice, you can enhance your recovery and regain mobility, ultimately improving your quality of life. At Ponte Vedra Spine & Pain Center, we emphasize a comprehensive approach to managing discomfort, incorporating evidence-based strategies such as exercise, lifestyle modifications, and personalized treatment plans tailored to your needs. By embracing these techniques, you can take meaningful steps toward a more comfortable and active life.
Supine Sciatic Nerve Flossing for Nerve Relief
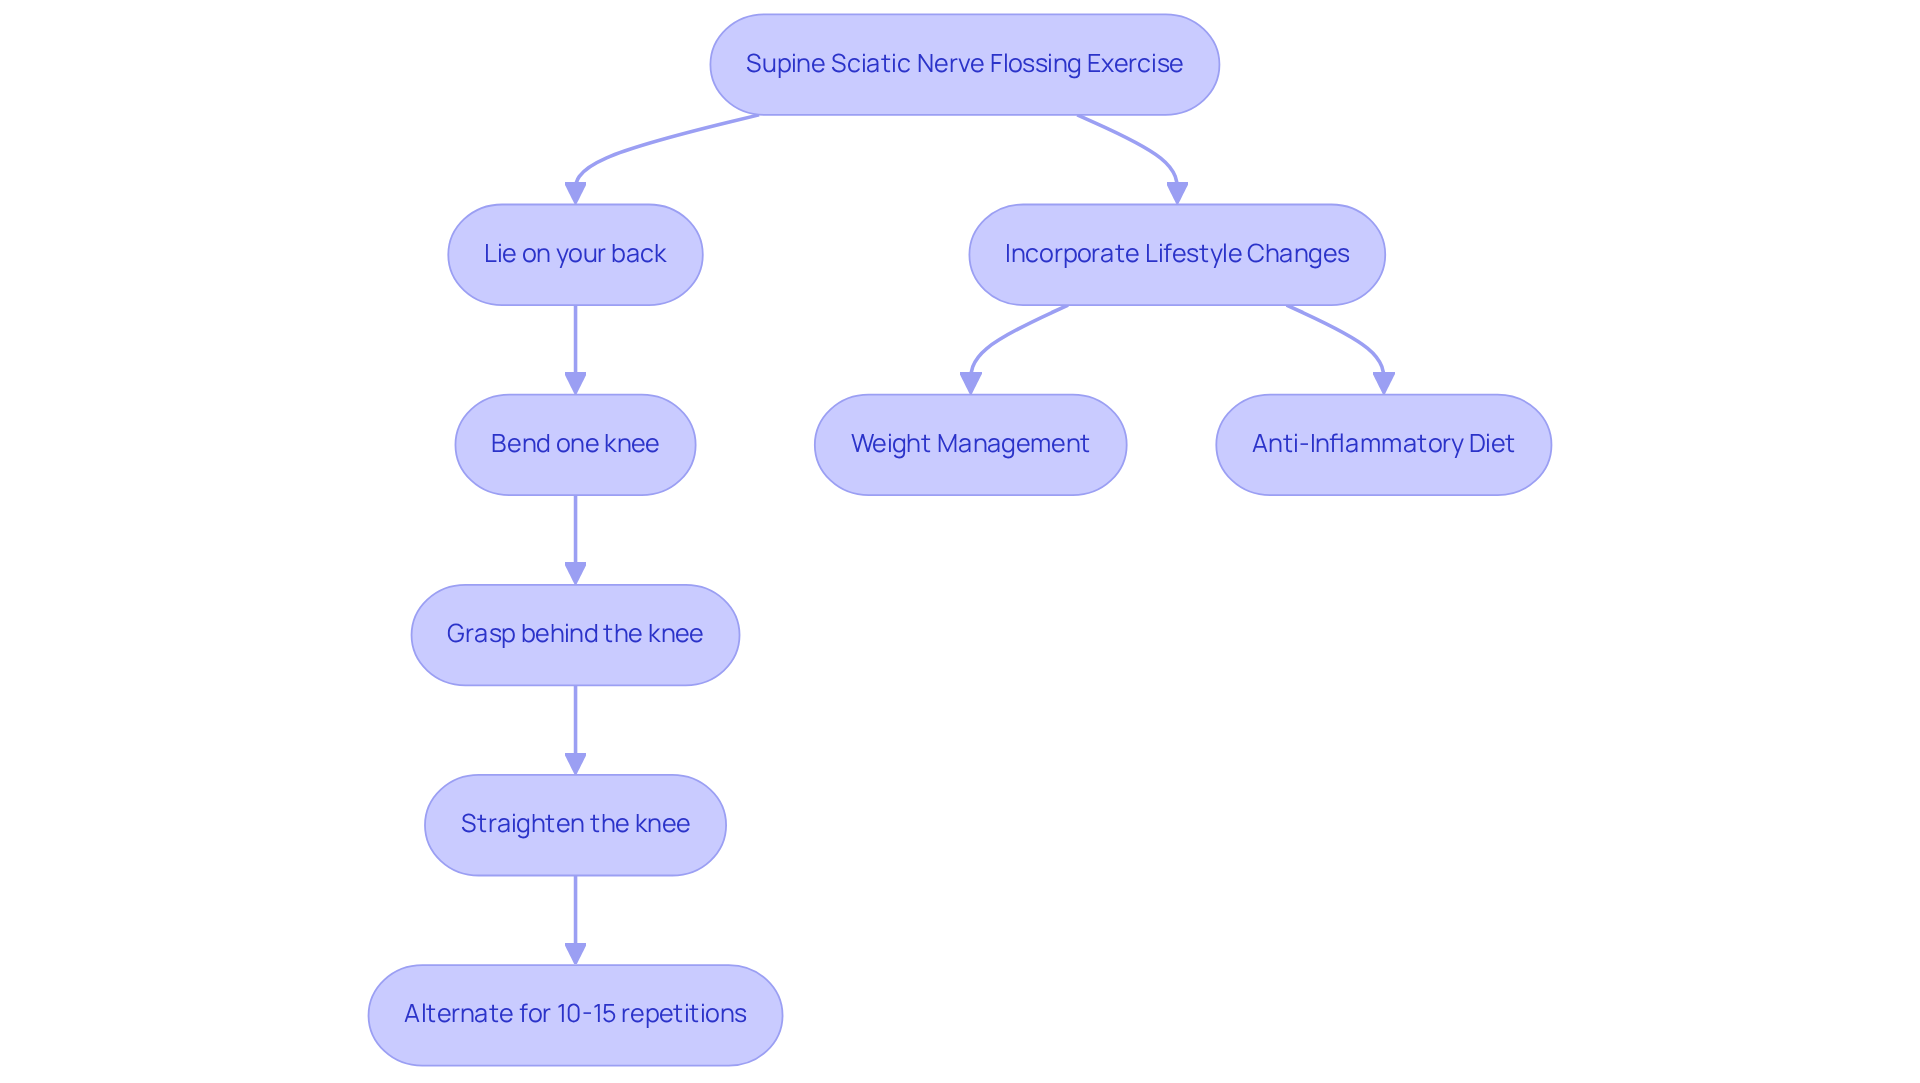
Living with sciatica can feel overwhelming, leaving you frustrated and searching for relief. To perform the Supine Sciatic Nerve Flossing exercise, lie on your back with both legs extended. Bend one knee and grasp it with both hands behind the knee. Gradually straighten the knee while keeping the other leg flat on the ground. Alternate between bending and straightening the knee for 10-15 repetitions. This exercise helps ease tension and supports your healing journey.
Incorporating this exercise into a broader strategy that includes lifestyle changes, such as weight management and a diet rich in anti-inflammatory foods, can significantly enhance your relief efforts. Many have found that regularly practicing these techniques brings noticeable relief and improves mobility. For example, a study on self-mobilization techniques showed enhanced physical function and decreased discomfort in patients with lower limb radiating sensations. Furthermore, the seated sciatic floss has been demonstrated to improve glide of the tissues, aiding in relief when practiced regularly.
Experts agree that gentle sciatic nerve pain stretches can be an effective way to ease your sciatica symptoms. Dr. Dhanani highlights that incorporating gentle movements, such as sciatic nerve pain stretches like the Supine Sciatic Nerve Flossing, can help manage inflammation and prevent flare-ups. Furthermore, statistics reveal that lifestyle changes and first-line medication options provide relief for approximately 80% to 90% of individuals suffering from sciatica, underscoring the effectiveness of conservative management strategies.
Incorporating this exercise into a daily routine can be beneficial, particularly for those experiencing chronic sciatica. However, it is crucial to consult with a healthcare provider before initiating any new exercise regimen, especially for individuals with pre-existing conditions or those recovering from injury. This ensures a tailored approach that maximizes the potential for pain relief and functional improvement. By taking these steps, you can reclaim your comfort and enjoy life again.
Glute Bridge for Strengthening and Stretching
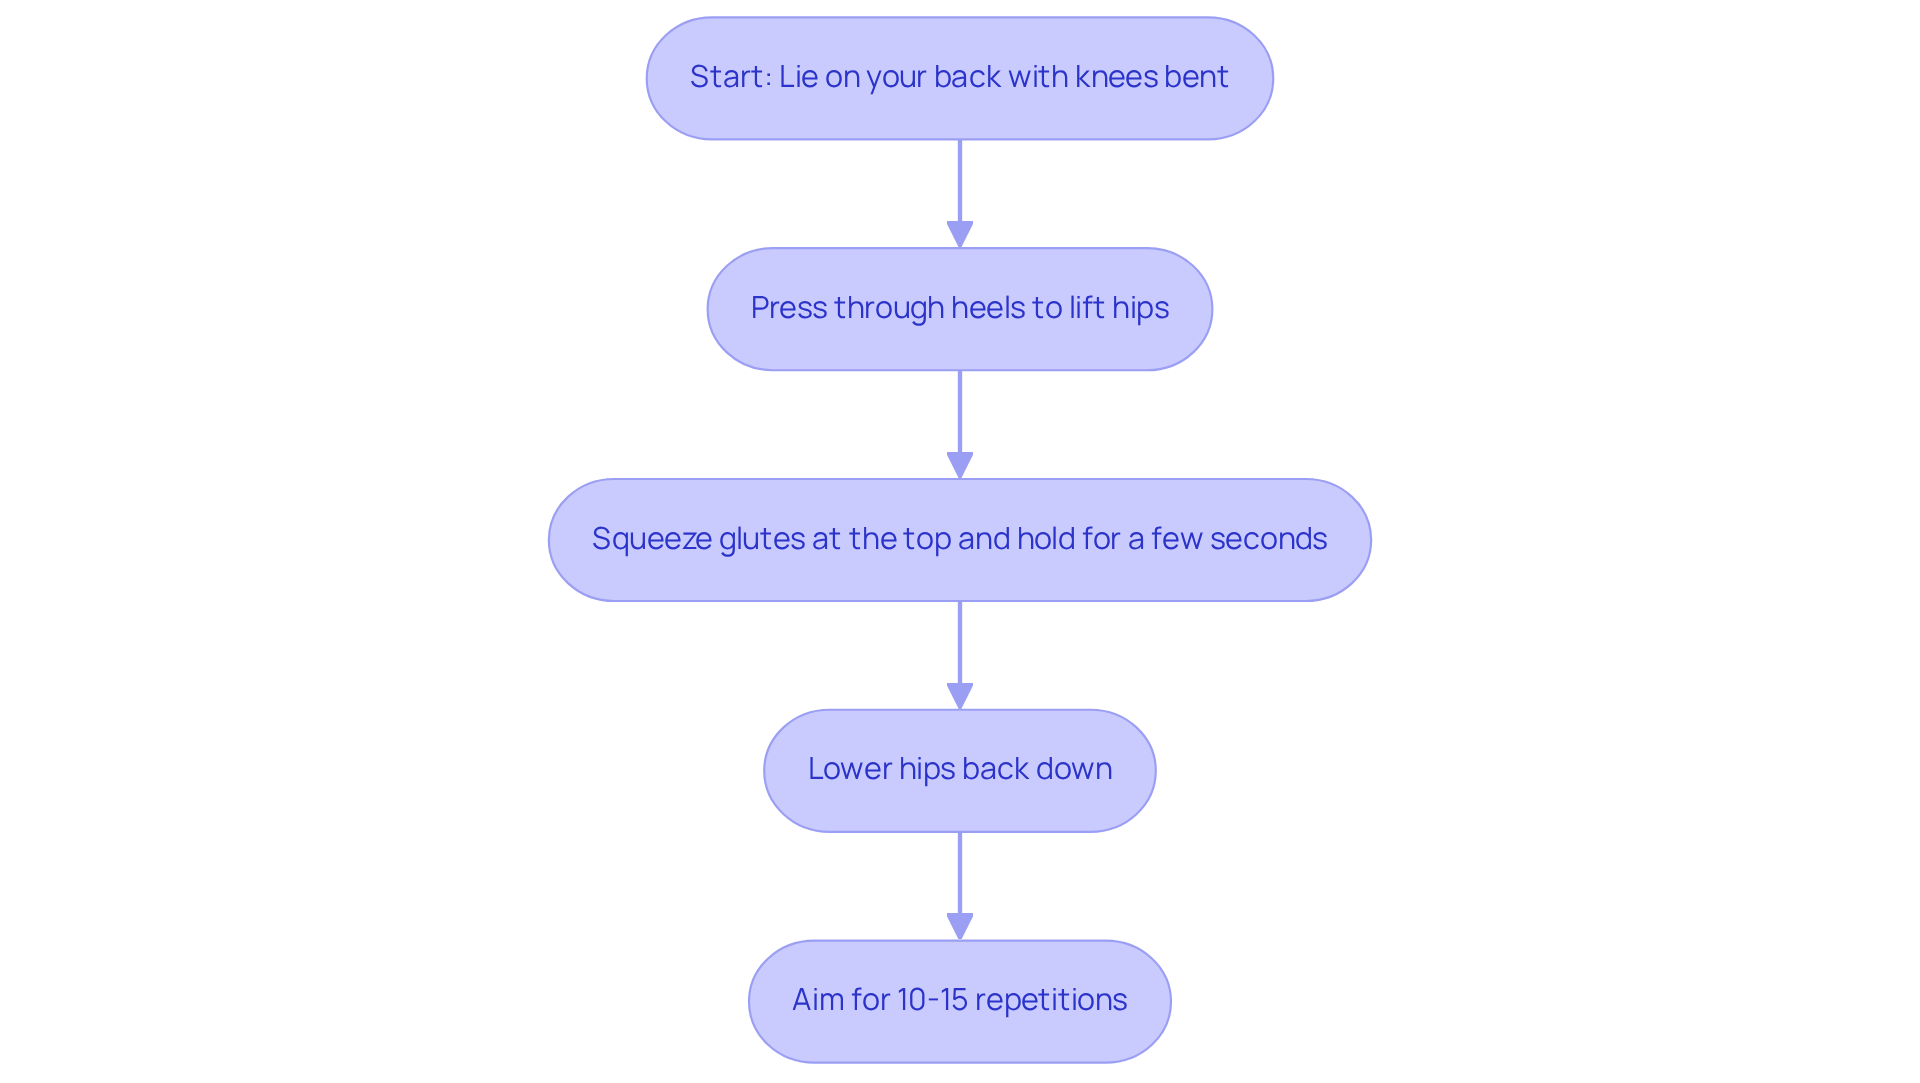
If you’re struggling with discomfort that affects your daily life, you’re not alone. The Glute Bridge is a simple yet effective exercise that can help. To execute it, lie on your back with your knees bent and feet flat on the floor. Press through your heels to lift your hips towards the ceiling, squeezing your glutes at the top. Hold this position for a few seconds before lowering down. Aim for 10 to 15 repetitions. Many people find that adding the Glute Bridge to their routine can really help strengthen muscles and improve how they feel when dealing with lower back discomfort.
Research shows that incorporating the Glute Bridge into a regular exercise routine can lead to significant improvements in muscle strength and overall well-being for those experiencing lower back discomfort. A study published in the Journal of Orthopaedic & Sports Physical Therapy found that patients who included the bridge in their core stabilization routines reported noticeable reductions in discomfort and improved mobility.
Case studies further highlight the effectiveness of the Glute Bridge in managing discomfort related to nerve issues. For instance, one study revealed that patients who engaged in targeted glute exercises experienced better pelvic positioning and benefited from sciatic nerve pain stretches, resulting in less discomfort. This shows just how important it is to activate your glutes to help ease the discomfort that comes with sciatic nerve pain stretches.
Plus, the Glute Bridge helps strengthen important muscles and can really make a difference in your posture, helping to prevent injuries down the road. Regular practice of this exercise can enhance spinal stability, reducing the risk of postural issues like hyperkyphosis. Specialists emphasize that strengthening the gluteus maximus while minimizing strain on the lower back is essential for effectively managing discomfort.
Incorporating the Glute Bridge into a comprehensive treatment plan for sciatica, along with other exercises and lifestyle changes, can lead to long-term relief and a better quality of life for those affected by chronic discomfort, especially when combined with sciatic nerve pain stretches. By embracing this simple yet effective exercise, you can take a meaningful step towards reclaiming your comfort and well-being.
Cobra Stretch for Spinal Relief
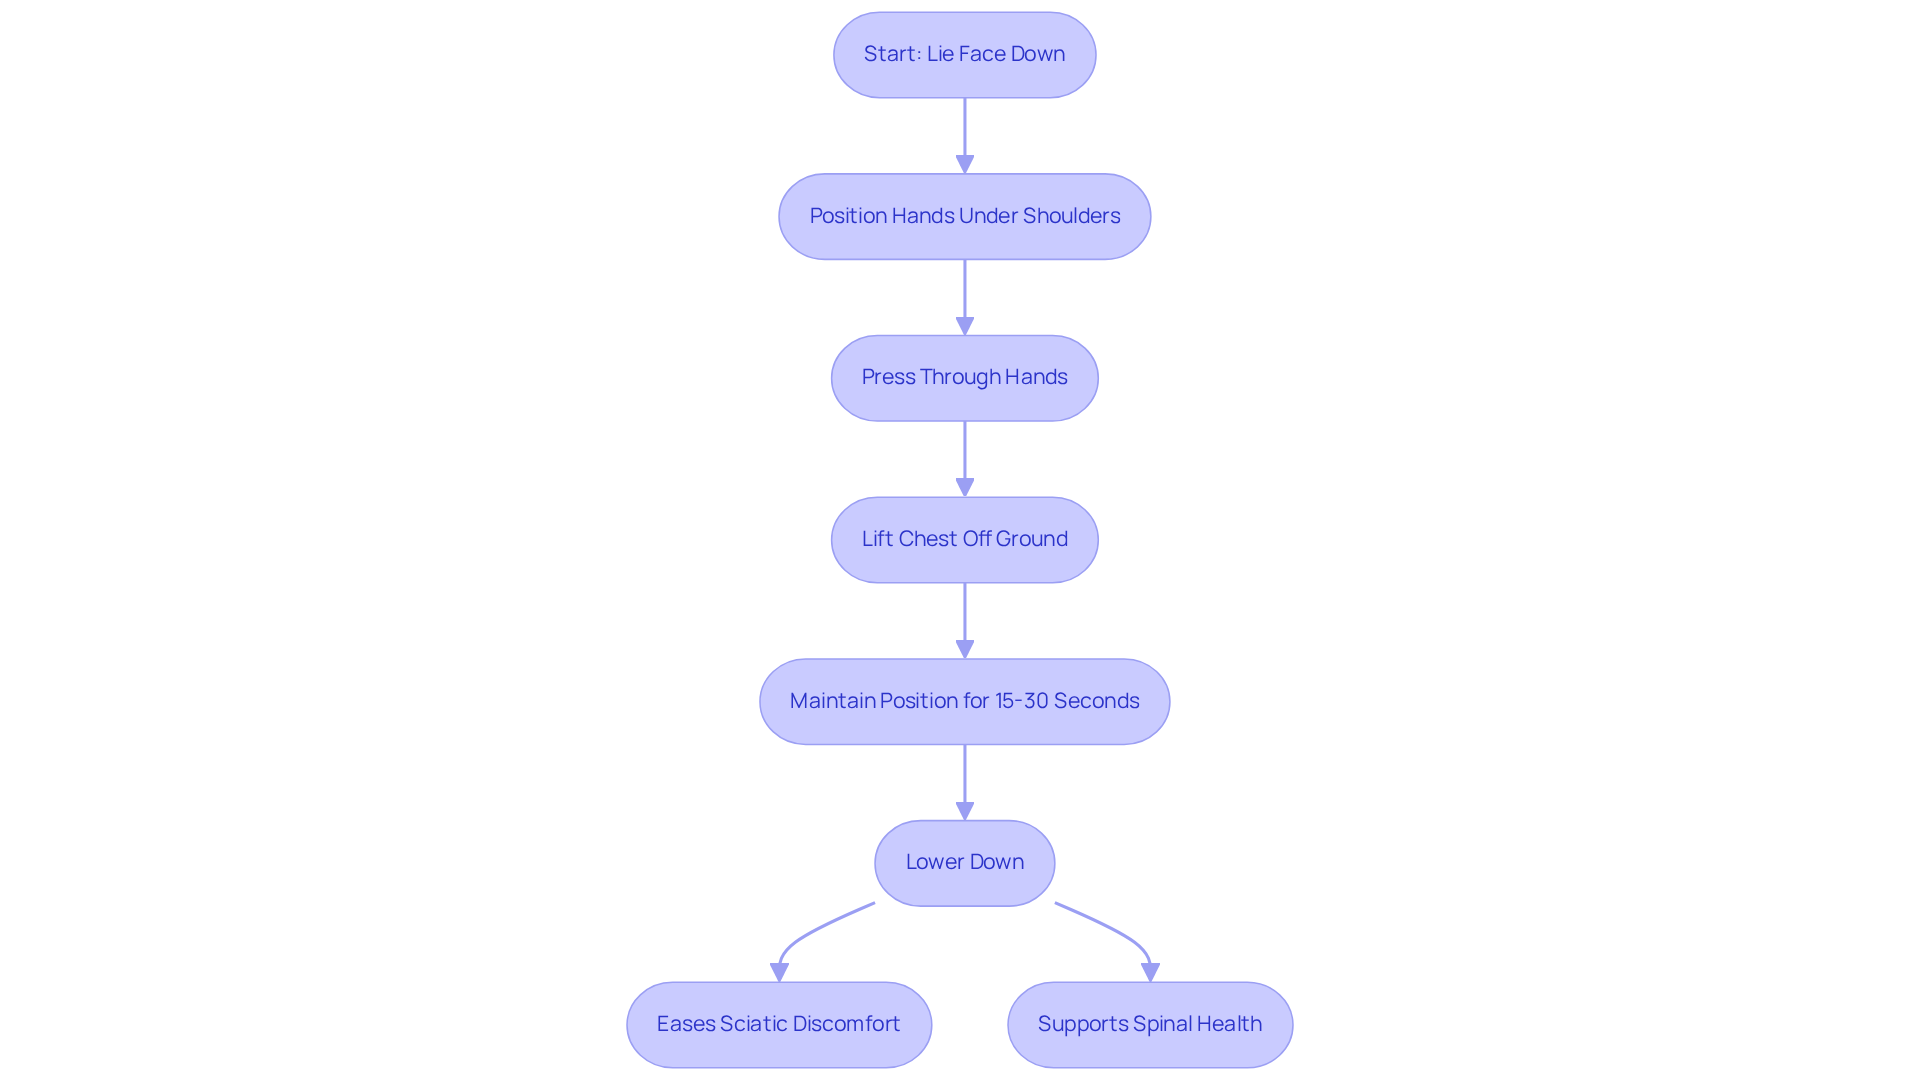
If you’re struggling with sciatic discomfort, you’re not alone, and there’s hope for relief through sciatic nerve pain stretches like the Cobra Stretch. To perform the Cobra Stretch, lie face down on the floor with your hands positioned under your shoulders. Press through your hands to lift your chest off the ground while keeping your hips down. Maintain this position for 15 to 30 seconds before lowering down. This stretch is especially beneficial for elongating the spine and easing tension in the lower back, which can greatly reduce the need for sciatic nerve pain stretches.
Many people find that the Cobra Stretch not only helps ease their discomfort but also serves as one of the effective sciatic nerve pain stretches that support their overall spinal health. A study involving an 8-week hatha yoga intervention, which included the Cobra Stretch, showed that participants often report feeling more confident and uplifted after incorporating this stretch into their routines. Moreover, regular practice of this stretch has been linked to a reduction in inflammatory markers, indicating its effectiveness in managing chronic discomfort conditions.
At Ponte Vedra Spine & Pain Center, we’ve seen firsthand how the Cobra Stretch can transform lives by alleviating discomfort. For instance, one participant experienced a remarkable 90% reduction in discomfort after consistently practicing sciatic nerve pain stretches like the Cobra Stretch, highlighting its potential as a valuable resource in a comprehensive discomfort management strategy that includes lifestyle modifications, physical therapy, and exercise. Additionally, incorporating assistive devices may further enhance the effectiveness of these strategies.
Expert insights emphasize the importance of integrating the Cobra Stretch into a broader regimen of active stretches. Active stretching allows individuals to control the intensity of the stretch, promoting natural relaxation and enhancing overall spinal health. By embracing the Cobra Stretch, you can take a proactive step towards not just alleviating discomfort but also nurturing your overall spinal health for the future.
Child’s Pose for Relaxation and Lower Back Stretch
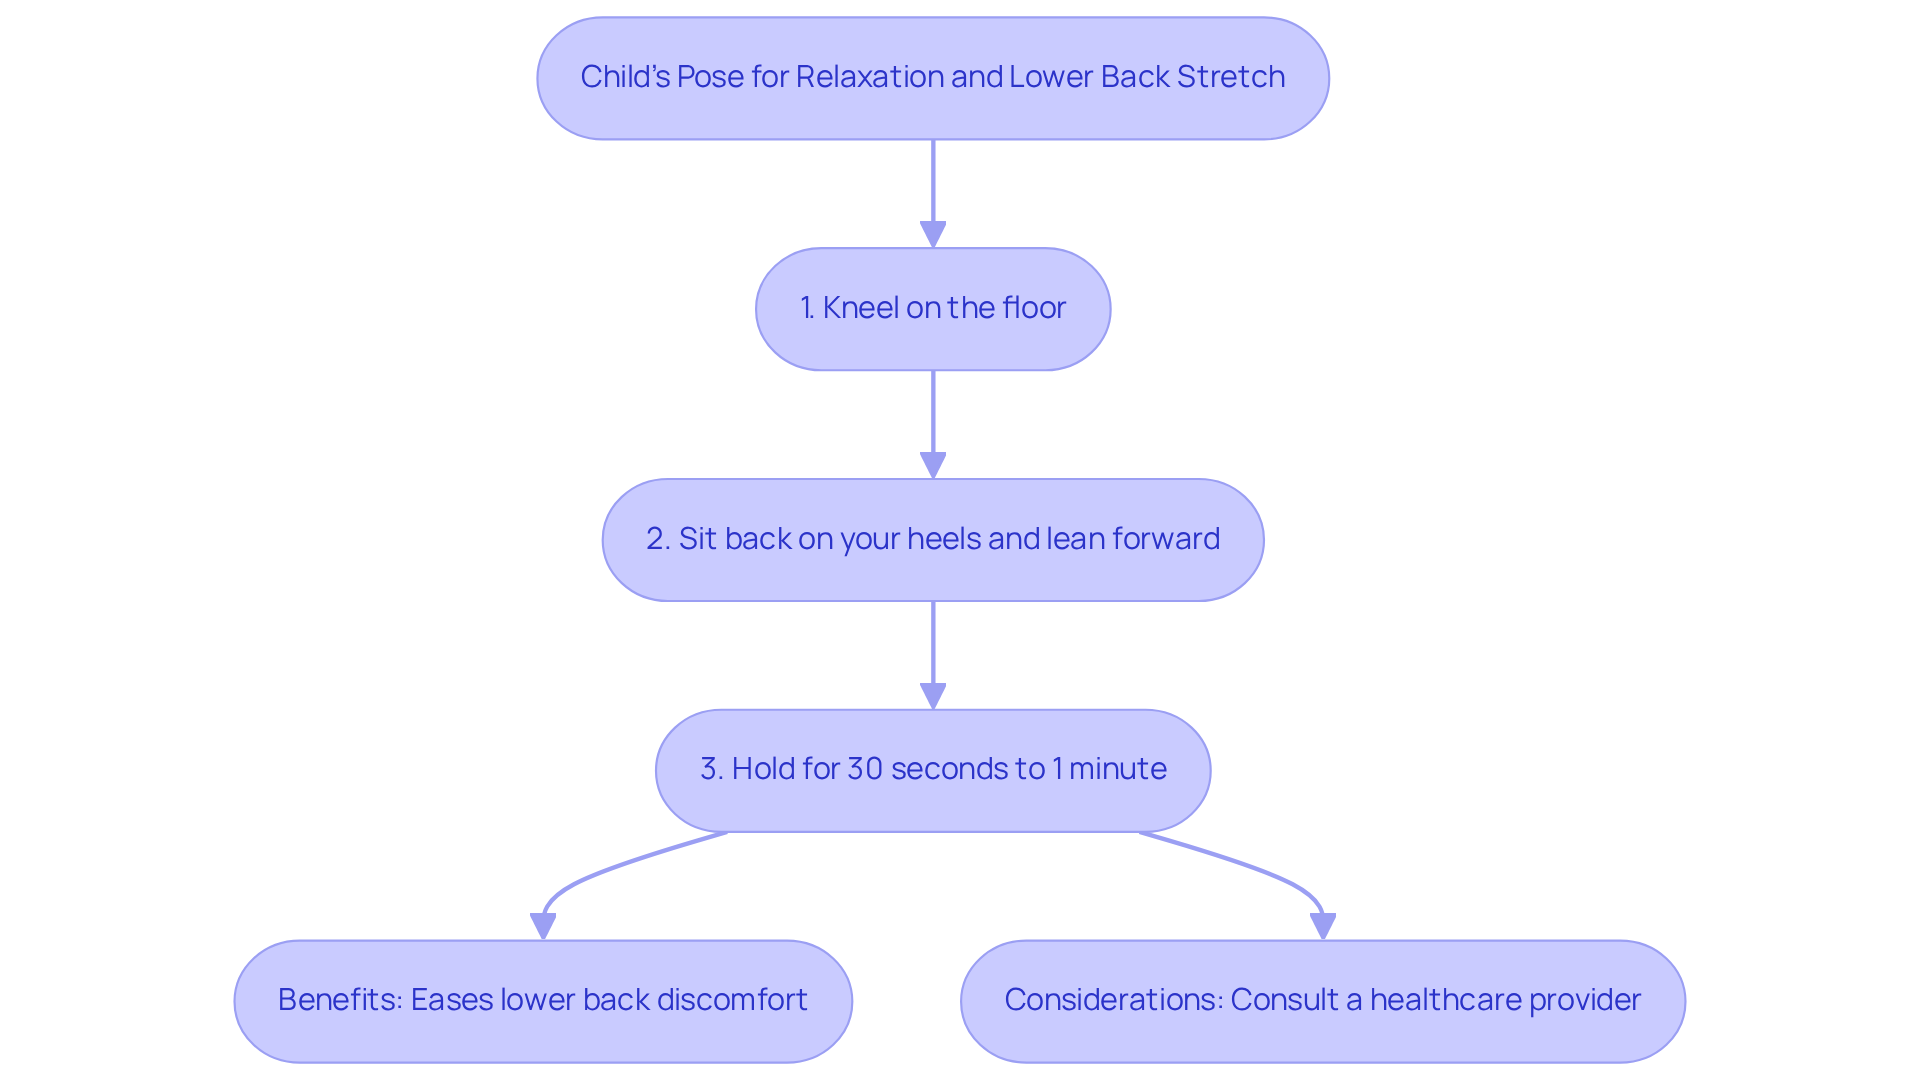
If you’re feeling the weight of discomfort in your lower back, you’re not alone; many people face similar challenges every day. To perform Child’s Pose, let’s explore how to do it together:
- Start by kneeling on the floor, bringing your big toes together and allowing your knees to spread apart.
- Sit back on your heels and lean forward, extending your arms in front of you.
- Hold this position for 30 seconds to 1 minute.
This gentle pose includes sciatic nerve pain stretches that target your lower back and hips, helping you relax and ease the discomfort that often comes with sciatica.
Child’s Pose, or Balasana, is particularly effective for those experiencing discomfort in the lower spine. It promotes spinal decompression and offers a gentle stretch to the muscles in that area, which can be beneficial for those dealing with chronic pain. Many have found that practicing this pose regularly can ease lower back discomfort and support a healthier spine, making it a valuable part of sciatic nerve pain stretches.
Incorporating Child’s Pose into your daily routine not only enhances flexibility but also fosters a sense of calm. The inward fold of your body signals safety to your brain, promoting relaxation and reducing anxiety. This calming effect is further supported by mindful breathing, which enhances oxygen flow and aids in stress relief.
Case studies highlight how effective Child’s Pose can be in alleviating tension caused by prolonged sitting, a common issue for many chronic pain sufferers. By widening your knees during the pose, you can achieve a deeper stretch in your hips, helping to release tightness and improve mobility. Additionally, this pose can aid digestion through gentle abdominal compression, further contributing to your overall well-being.
For optimal results, consider pairing Child’s Pose with extension poses like Cobra or Sphinx, which bend the spine backward, creating a balanced approach to spinal health. Remember to listen to your body and adjust your practice as needed, ensuring a safe and effective experience. As with any exercise, it’s wise to consult a healthcare provider before starting therapeutic yoga, especially if you have existing back conditions. By incorporating this gentle pose into your routine, you can find relief and reclaim your comfort.
Conclusion
If you’re struggling with sciatic nerve pain, you’re not alone, and there’s hope for relief. Incorporating simple stretches into your daily routine can help ease sciatic nerve pain and improve your mobility. This article highlights ten specific stretches, each designed to target key muscle groups and promote flexibility, ultimately addressing the root causes of discomfort. By integrating these stretches, you can take proactive steps toward managing your pain and enhancing your functional capabilities.
We understand that consistency is key, and practicing these stretches with the right technique can make a real difference in your comfort. From the Figure 4 Stretch to the Cobra Stretch, each exercise offers unique benefits, such as reducing tension in the lower back, enhancing hip flexibility, and promoting spinal health. Evidence-based studies support the effectiveness of these stretches, demonstrating their role in alleviating symptoms associated with sciatica and other related conditions.
When you embrace these stretches, you’re not just finding relief; you’re taking a step toward a more balanced approach to managing your pain. We encourage you to consult with healthcare providers to tailor your stretching routines to your specific needs, ensuring a safe and effective practice. By prioritizing these evidence-based techniques, you can take meaningful steps toward a more active and fulfilling life, filled with comfort and ease.
Frequently Asked Questions
What is the Figure 4 Stretch and how is it performed?
The Figure 4 Stretch involves lying on your back with your knees bent, crossing your right ankle over your left knee to form a ‘4’ shape. You then gently pull your left thigh toward your chest while keeping your right knee open. Hold this position for 20-30 seconds before switching sides.
What benefits does the Figure 4 Stretch provide?
The Figure 4 Stretch effectively targets the piriformis muscle, which can compress the sciatic nerve when tight, leading to discomfort. Regular practice can enhance flexibility, reduce tension in the hips and lower back, and alleviate symptoms of piriformis syndrome.
How often should the Figure 4 Stretch be performed for optimal results?
It is recommended to perform the Figure 4 Stretch multiple times throughout the day, aiming for 10-15 repetitions in the active version.
What should I do if I experience sharp discomfort while performing the Figure 4 Stretch?
If you experience sharp discomfort while performing the stretch, it is essential to stop and consult a healthcare provider.
How is the Seated Piriformis Stretch performed?
To perform the Seated Piriformis Stretch, sit in a comfortable chair with your feet flat on the ground. Cross your right leg over your left knee, keeping your back straight, and gently lean forward until you feel a stretch in your right glute. Hold for 20-30 seconds before switching sides.
What are the benefits of the Seated Piriformis Stretch?
The Seated Piriformis Stretch targets the piriformis muscle, which can irritate the lower back pathway when tense. This stretch enhances flexibility, eases pressure on the lower back, and is particularly beneficial for individuals who spend extended periods sitting.
What is the Standing Hamstring Stretch and how is it performed?
The Standing Hamstring Stretch involves standing with feet hip-width apart, extending your right leg forward with your heel on a low surface, and gently leaning forward from your hips until you feel a stretch in the back of your thigh. Hold for 20-30 seconds before switching to the other leg.
Why is the Standing Hamstring Stretch important?
The Standing Hamstring Stretch helps lengthen tight hamstrings, which can contribute to lower back pain and discomfort. Regular stretching can alleviate sciatic nerve root pressure and improve overall lower body health.
How can incorporating these stretches into my routine improve my quality of life?
Incorporating the Figure 4 Stretch, Seated Piriformis Stretch, and Standing Hamstring Stretch into your routine can enhance flexibility, reduce discomfort, and improve mobility, contributing to a more comfortable and active life.
List of Sources
- Figure 4 Stretch for Sciatic Nerve Relief
- The Best Stretches and Exercises for Sciatica Pain – Goodman Campbell
- How to Practice Figure 4 Stretch | The Output by Peloton
- June Stretch of the Month – The Figure 4 Stretch : RRC Polytech: Campus Well-Being
- Relieve Sciatica Discomfort & Tight Hips with Active Figure-4 Stretch – Hosmer Chiropractic Health, LLC
- Piriformis Syndrome – StatPearls – NCBI Bookshelf
- Seated Piriformis Stretch to Alleviate Pain
- Effectiveness of Piriformis Muscle Inhibition Technique on Piriformis Syndrome
- Piriformis Syndrome: Symptoms, Causes & Treatment
- Piriformis Syndrome: Practice Essentials, Epidemiology, Functional Anatomy
- Sitting Pretty: How to Conquer Piriformis Syndrome and Sciatica Pain — Wildflower Physical Therapy & Wellness
- Effective Therapy for Treating Sciatica Pain from Piriformis Syndrome | PAINWeek
- Standing Hamstring Stretch for Enhanced Flexibility
- The Best Stretches and Exercises for Sciatica Pain – Goodman Campbell
- Daily Stretching for Chronic Sciatic Nerve Pain Relief – Hooman Melamed, MD
- Safe Hamstring Stretches for Sciatica Pain Relief
- 10 Best Back Stretches for Sciatica Relief You Can Do at Home – Ponte Vedra Spine & Pain Center
- Hamstring Stretching Exercises for Sciatica Pain Relief
- Pigeon Pose for Hip and Lower Back Relief
- Knee-to-Chest Stretch for Lower Back Relief
- Seated Sciatic Nerve Flossing for Pain Management
- Supine Sciatic Nerve Flossing for Nerve Relief
- 7 ways to help nix sciatica pain
- Sciatica self-care: How to ease leg and back pain at home
- Sciatic Nerve Flossing: 5 Nerve Gliding Exercises for Pain Relief – GoodRx
- Sciatic Nerve Flossing – Goodman Campbell
- 4 Nerve Flossing Exercises that Treat Sciatica When Traditional Treatments Fail | Heskett Family Chiropractic
- Glute Bridge for Strengthening and Stretching
- Benefits of the Bridge Exercise | Dr Notley Chiropractic & Athletic Therapy | Winnipeg
- Lower-back pain made me want to quit glute workouts—a physical therapist changed my mind and gave me five l…
- Glute Exercises for Sciatica Pain
- The 3 Best Exercises For Sciatica In 2022 – Fit2Function Clinics
- 10 Effective Sciatica Stretches for Pain Relief and Mobility | Ponte Vedra Spine & Pain Center
- Cobra Stretch for Spinal Relief
- The McKenzie Cobra Stretch: Why It’s Failing Your Herniated Disc
- 7 Reasons Why We Love Cobra Stretching – InstructorLive
- Relieve Back Pain and Sciatica with the Cobra Stretch | Chiropractic Centre for Optimum Health
- Using Yoga for Sciatica Pain – Colorado Spine and Scoliosis
- 10 Best Back Stretches for Sciatica Relief You Can Do at Home – Ponte Vedra Spine & Pain Center
- Child’s Pose for Relaxation and Lower Back Stretch
Living with this?
We treat this in Ponte Vedra Beach.
Dr. Eli Loch, D.O. — double board-certified in anesthesiology and pain medicine. Reading about it only goes so far; a diagnosis tells you which of these actually applies to you.