
Sciatica & Nerve Pain
10 Effective Sciatica Exercises to Relieve Pain and Improve Mobility

Introduction
Many individuals face the daily challenge of sciatica, a condition that can make even simple tasks feel daunting. This pain can make it hard to move freely and enjoy life to the fullest. We’re here to share ten effective exercises that can help ease your sciatica pain and improve your mobility. But finding the right exercises doesn’t have to be a struggle.
Knee-to-Chest Stretch for Sciatica Relief
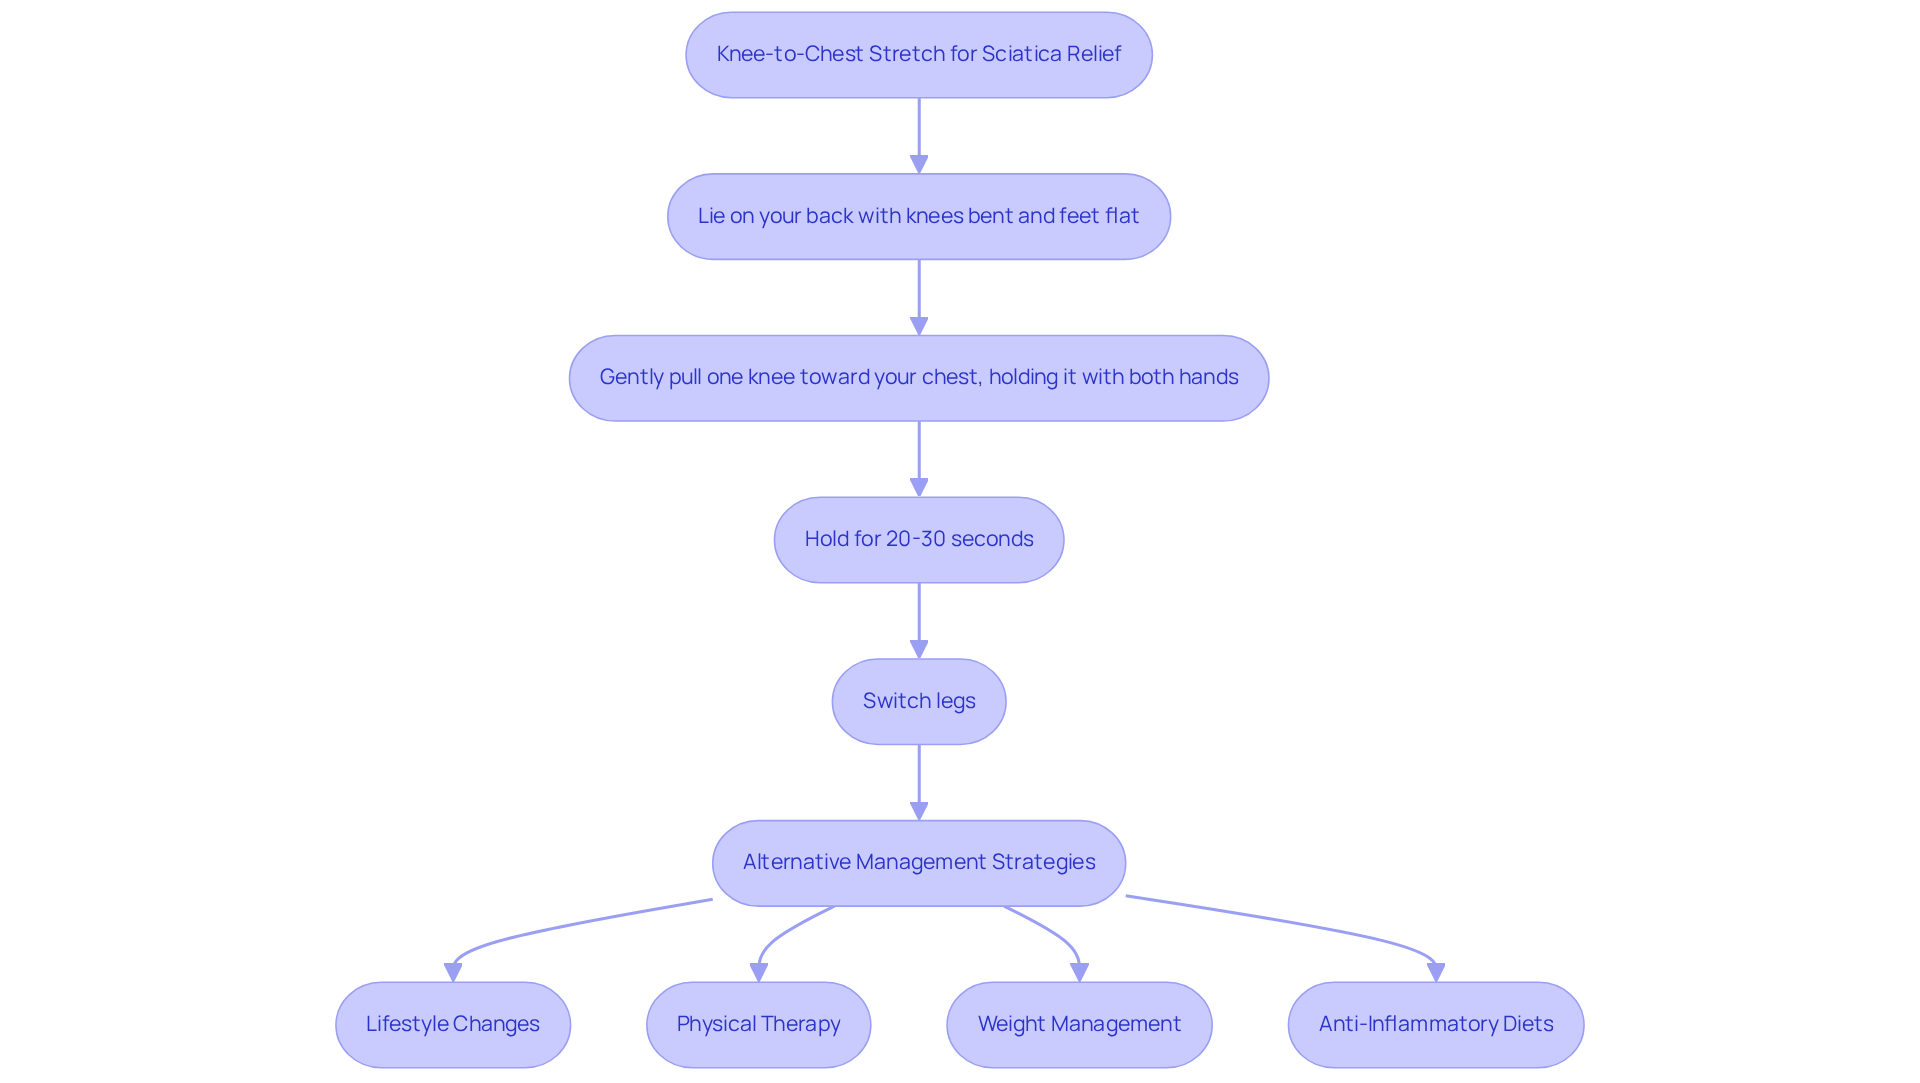
Many people find themselves grappling with persistent discomfort that disrupts their daily lives. To perform the Knee-to-Chest Stretch, lie on your back with your knees bent and feet flat on the floor. Gently pull one knee toward your chest, holding it with both hands while keeping the other foot flat on the ground. Hold this position for 20-30 seconds before switching legs. This stretch can help ease tension in your lower back and glutes, providing quick relief from nerve discomfort.
Research indicates that a sciatica exercise, like holding the Knee-to-Chest Stretch for 30 seconds and repeating it 2-3 times on each side, can significantly alleviate discomfort associated with sciatica. This practice enhances flexibility and reduces pressure on the sciatic nerve. Dr. Rohan Desai, an orthopedic spine surgeon, shares that this sciatica exercise focuses on the large muscles in your upper leg and buttocks, which play a key role in easing sciatic discomfort.
Integrating this sciatica exercise into a more comprehensive discomfort management approach is crucial. Evidence-based alternatives, such as:
- lifestyle changes
- physical therapy
- weight management
- anti-inflammatory diets
have been shown to effectively manage joint discomfort without medication. Case studies highlight the effectiveness of the Knee-to-Chest Stretch in clinical settings. Patients who integrated sciatica exercise into their routine reported notable improvements in pain levels and mobility. For example, individuals suffering from sciatica found that regular practice of this sciatica exercise not only alleviated their immediate discomfort but also contributed to long-term relief.
It is important to listen to your body while performing this stretch. If you encounter any discomfort, stop right away and seek advice from a healthcare professional if needed. Consider making the Knee-to-Chest Stretch a part of your daily routine, and experience the difference it can make in your journey towards relief.
Piriformis Stretch to Alleviate Sciatica Pain
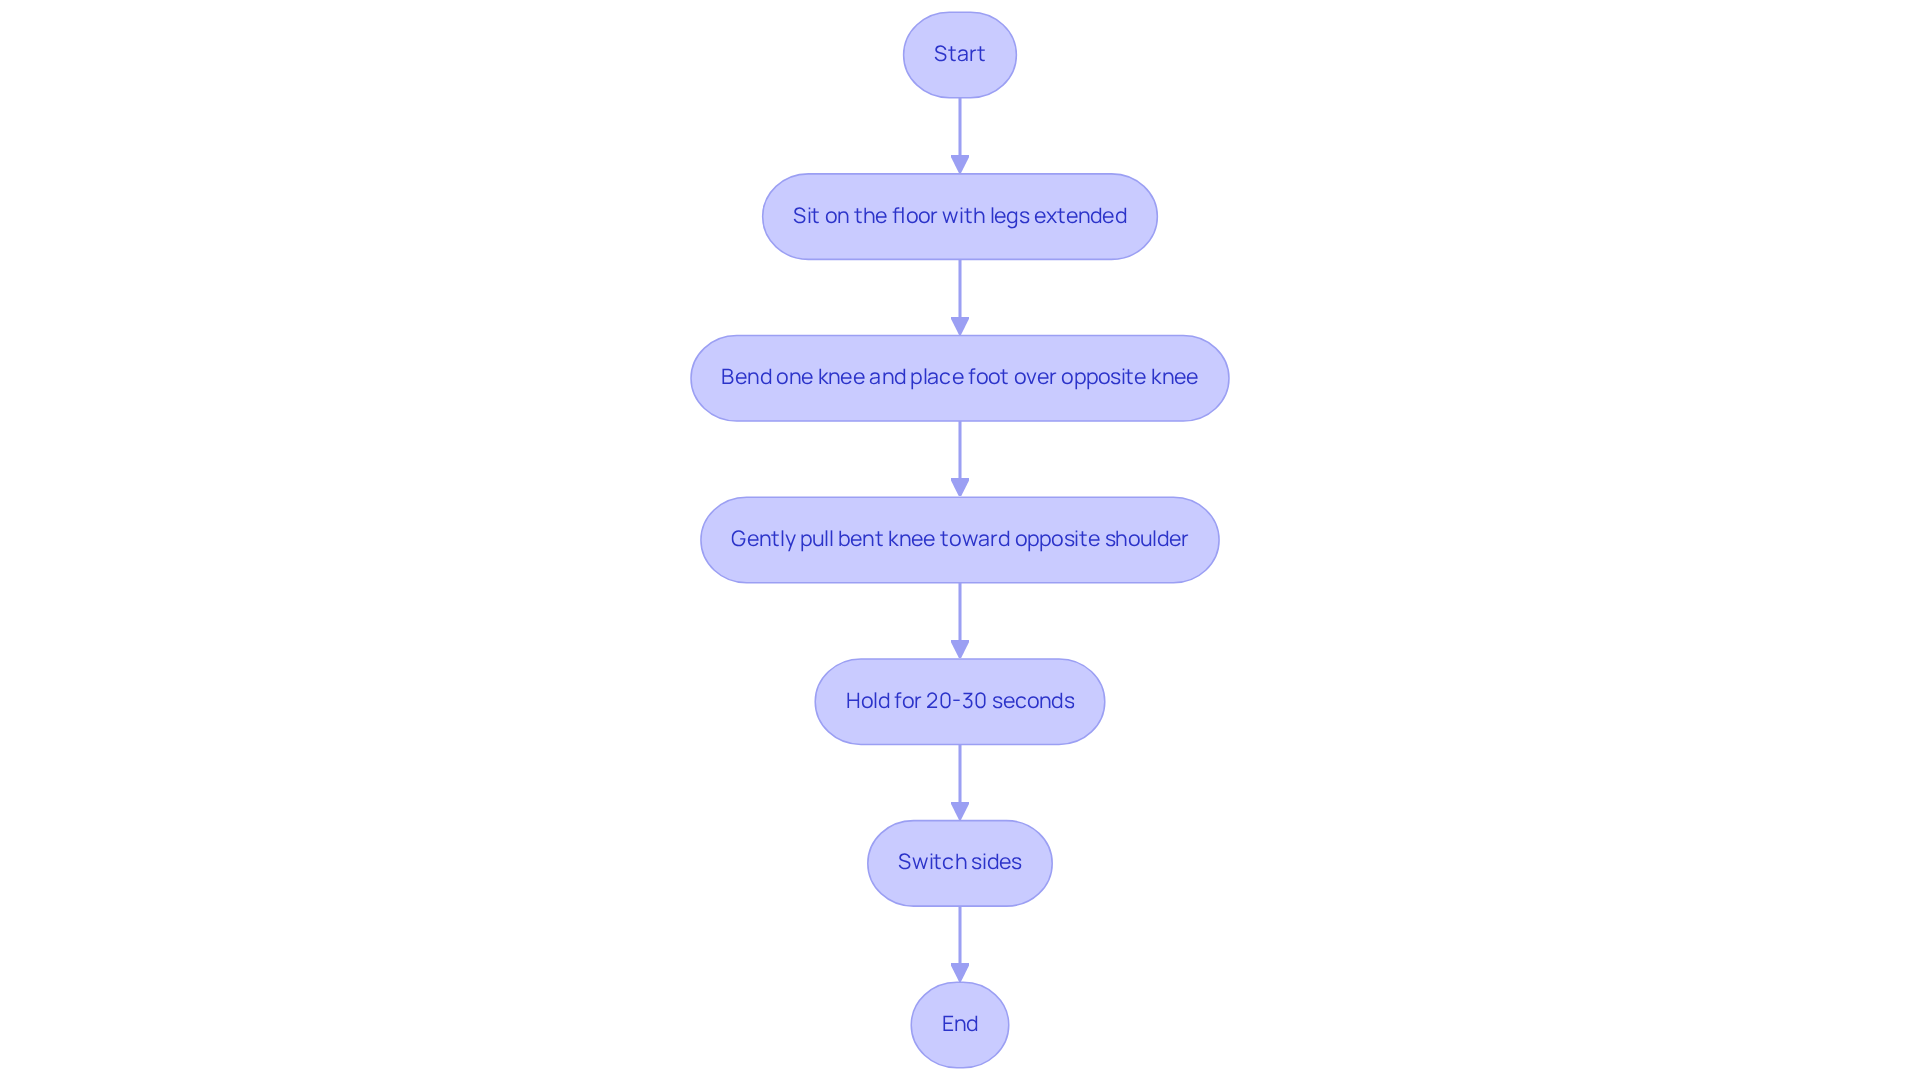
If you’re struggling with discomfort in your lower back or legs, you’re not alone. To perform the Piriformis Stretch, start by sitting on the floor with your legs extended. Bend one knee and place that foot over the opposite knee. Gently pull the bent knee toward your opposite shoulder until you feel a gentle tension in your buttock. Hold this position for 20-30 seconds, then switch sides. This stretch is designed to relieve tightness in the piriformis muscle, which can help lessen pressure on the sciatic nerve, making it an effective sciatica exercise for many individuals.
Many people, about 46.79% worldwide, experience discomfort in their thighs and buttocks due to a condition called piriformis syndrome, which can compress the sciatic nerve. This condition often mimics symptoms that require sciatica exercise, leading to misdiagnosis and ineffective treatment strategies. A systematic review highlighted that early diagnosis and appropriate conservative management can lead to significant improvements in discomfort levels within days to weeks.
A recent study explored two effective stretching techniques for piriformis syndrome, showing that both can help ease discomfort and improve how you feel in your daily life. Notably, the external rotator stretching technique showed superior results on the Functional Performance of Lower Extremity Scale (FPLES), emphasizing the importance of targeted stretching in managing symptoms.
Patients are encouraged to incorporate the Piriformis Stretch as a sciatica exercise into their daily routines, as it not only aids in pain relief but also enhances mobility. By addressing the tightness in the piriformis muscle, individuals may experience a reduction in discomfort and an overall improvement in their quality of life. Incorporating this simple stretch into your routine could be the key to reclaiming your comfort and mobility.
Bridges to Strengthen Core and Relieve Sciatica
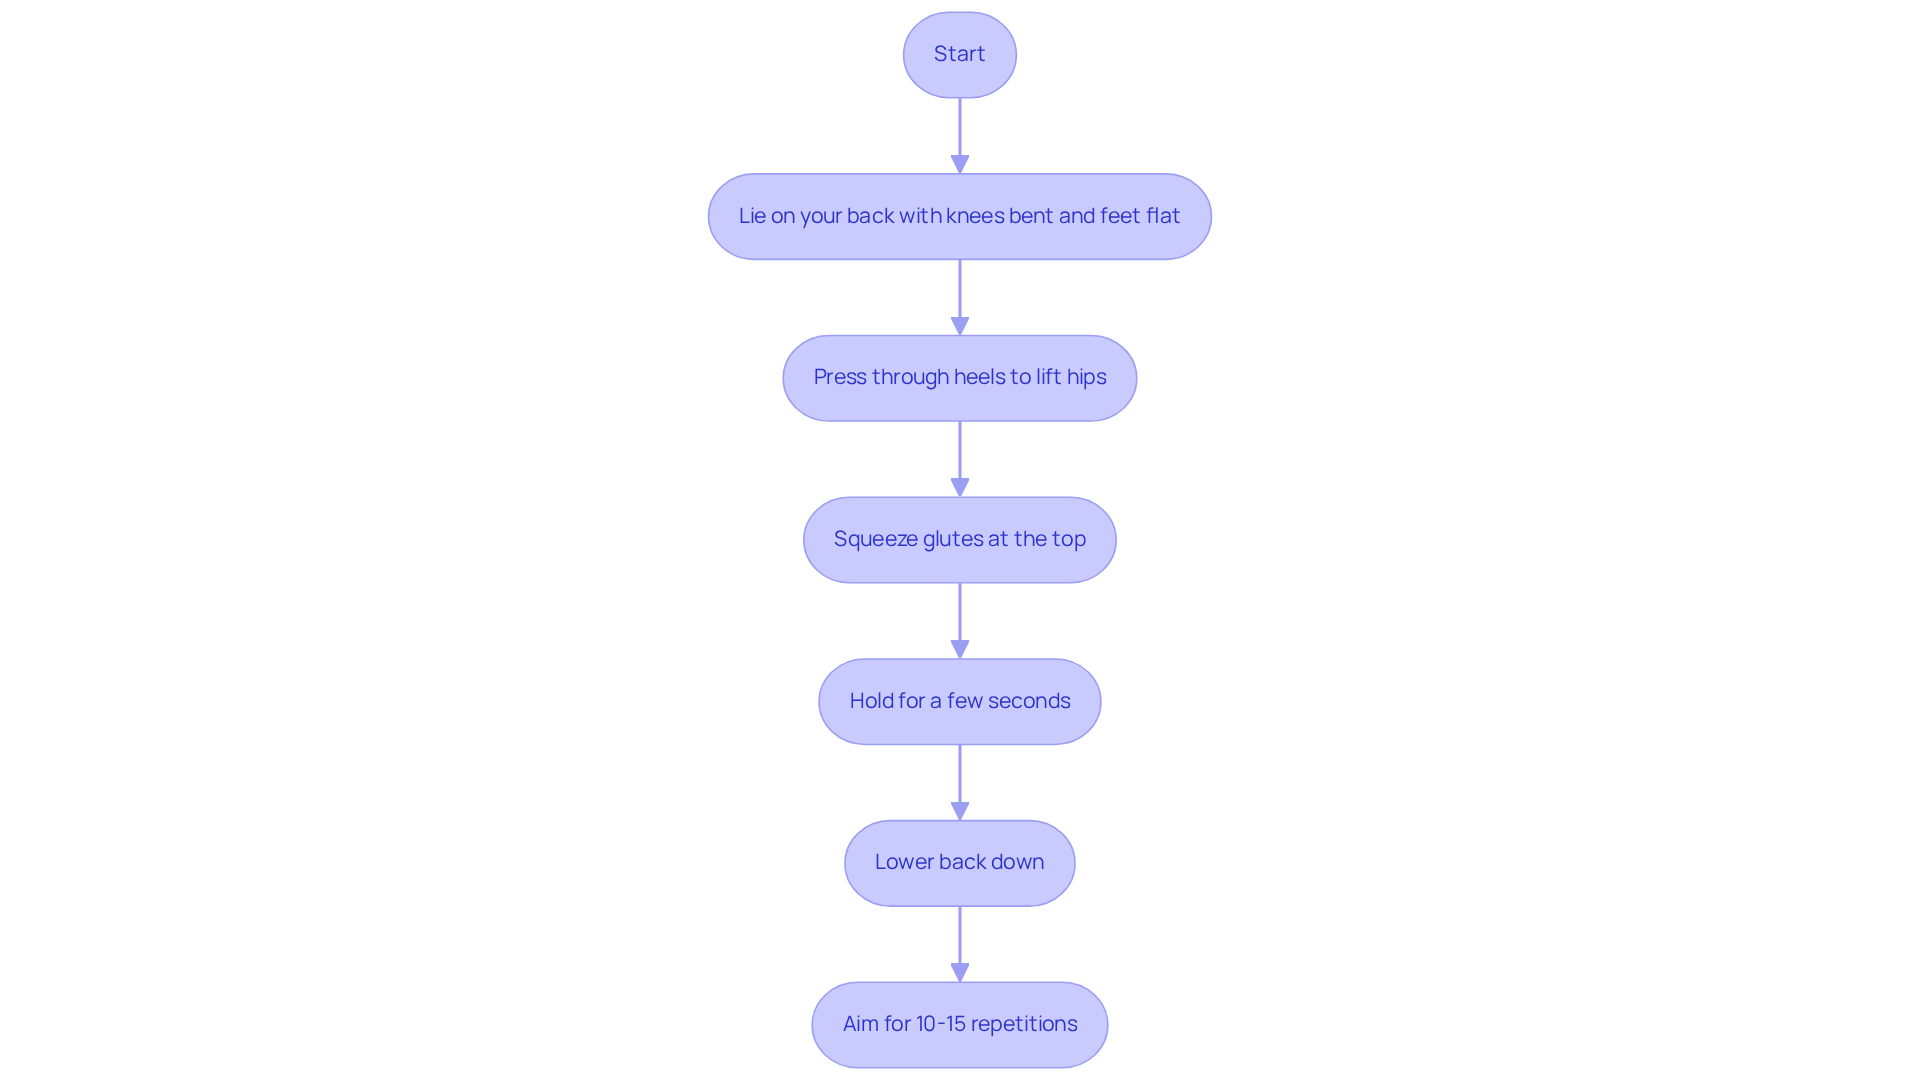
Many people struggle with nerve pain, feeling overwhelmed and unsure of how to find relief. To perform the Bridge movement, lie on your back with your knees bent and feet flat on the floor, positioned hip-width apart. Press through your heels to lift your hips toward the ceiling, squeezing your glutes at the top of the movement. Hold for a few seconds before lowering back down. Aim for 10-15 repetitions. This sciatica exercise helps strengthen your glutes and lower back, providing essential support to your spine and easing nerve pain.
We know that sciatica exercise routines, such as the Bridge, can really help with nerve pain. They stabilize the lumbar spine, reduce abnormal motion, and alleviate pressure on the sciatic nerve through sciatica exercise. Roughly 80% to 90% of people experiencing lower back pain achieve relief through lifestyle modifications and primary medication alternatives, but integrating specific physical activities can improve these results.
Case studies have shown that consistent practice of the Bridge movement contributes to enhanced core stability and decreased nerve irritation. For instance, individuals who incorporated the Bridge into their routines reported significant relief from nerve-related symptoms and improved overall mobility. Experts emphasize the importance of maintaining correct posture during this activity to maximize its benefits and prevent further discomfort.
By incorporating the Bridge into your routine, you can take a proactive step towards reclaiming your comfort and mobility. Regular practice of sciatica exercise not only strengthens key muscle groups but also promotes better posture and alleviates discomfort, making it a valuable addition to any strategy for managing sciatica.
Seated Spinal Twist for Lower Back Flexibility
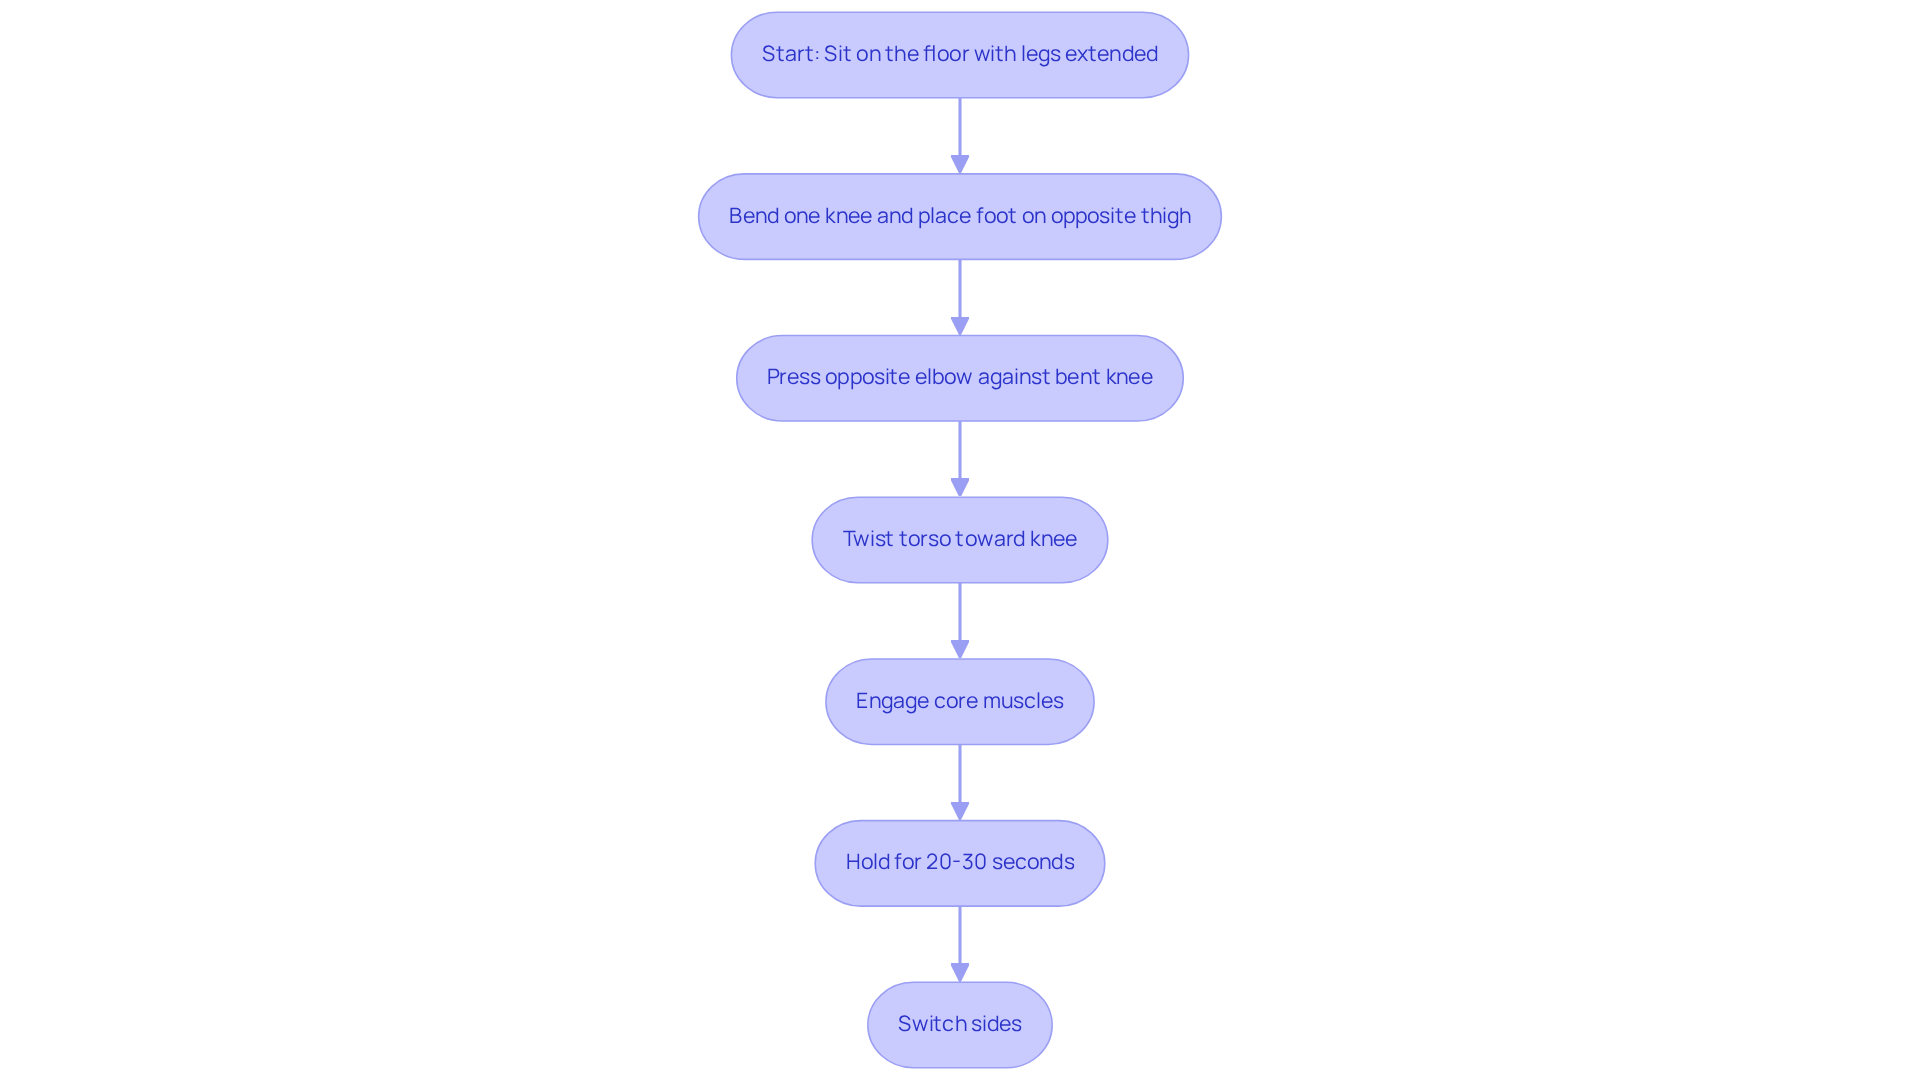
If you’re feeling the weight of lower back discomfort, you’re not alone. To perform the Seated Spinal Twist, start by sitting on the floor with your legs extended straight in front of you. Bend one knee and place that foot on the outside of the opposite thigh. Gently press your opposite elbow against the outside of your bent knee as you twist your torso toward that knee. Engage your core muscles for support to maintain stability throughout the twist. Hold this position for 20-30 seconds, then switch sides.
This simple twist can help ease the tension that often builds in your lower back, allowing you to move more freely. Regular practice of sciatica exercise can help you connect with your breath and stand a little taller, making it a valuable addition to any routine aimed at managing lower back discomfort. Remember to let your breath guide the twist, and avoid common mistakes such as collapsing the spine or twisting only the neck.
If you have tight hips, consider keeping the bottom leg straight or sitting on a folded blanket for added comfort. As Diana Bozalis Rodgers notes, “Root the sitting bones as you rise into the twist,” ensuring a mindful and effective practice. By incorporating this simple twist into your routine, you can take proactive steps toward alleviating discomfort and enhancing your overall well-being. Embracing this practice can be a gentle yet powerful step toward reclaiming your comfort and vitality.
Cat-Cow Stretch for Nerve Mobility
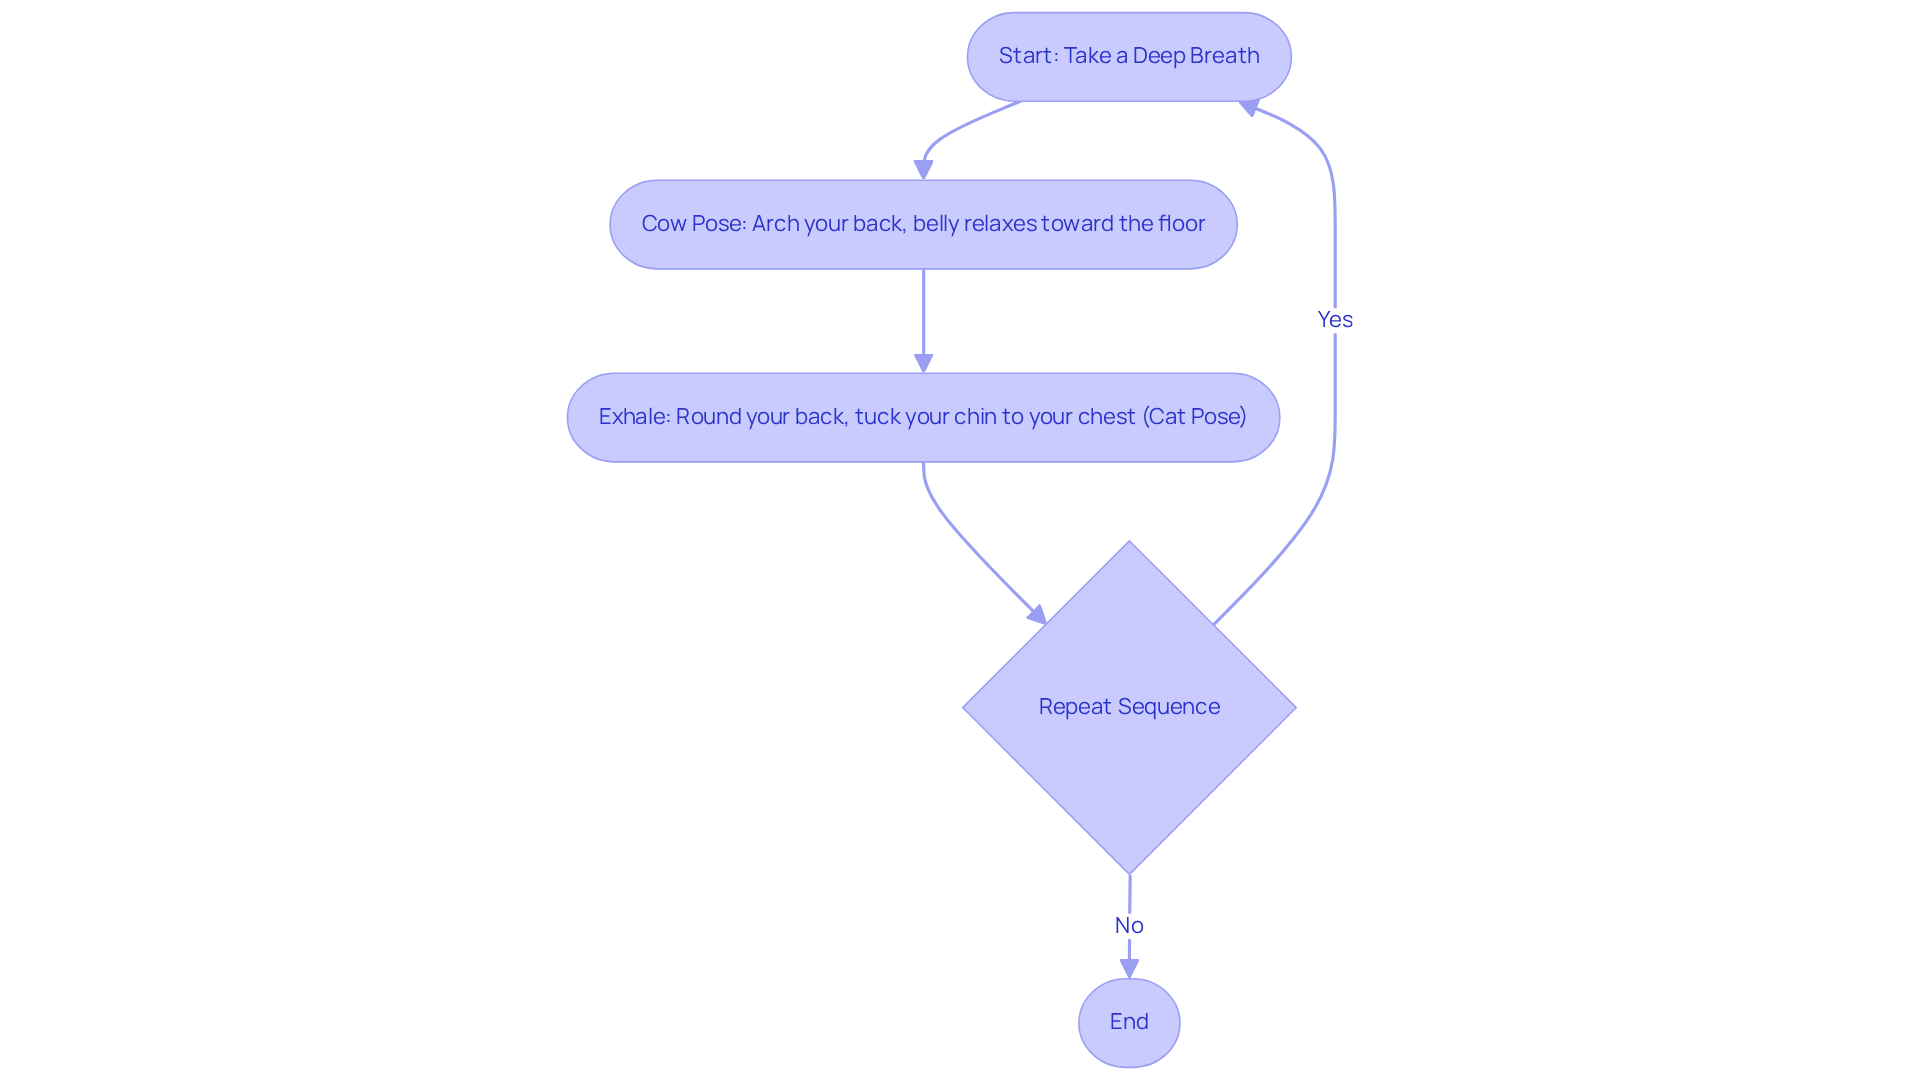
Many individuals struggle with nerve-related discomfort that can hinder daily activities. To perform the Cat-Cow Stretch, take a deep breath and gently arch your back, letting your belly relax toward the floor (this is Cow Pose). Then, exhale while rounding your back, tucking your chin to your chest (this is Cat Pose). Repeat this sequence for 10-15 repetitions. This stretch is particularly effective in enhancing spinal flexibility and relieving tension in the back, making it a beneficial sciatica exercise for those experiencing nerve-related discomfort.
You might be surprised to learn that this simple stretch can not only help your spine move better but also engage your core muscles, contributing to overall nerve health. Many people who have included this stretch in their routines have noticed a remarkable 68% reduction in pain within just 12 weeks, underscoring its effectiveness in pain management.
Furthermore, adjustments such as using yoga props or doing the pose in a seated position can make it more accessible for individuals with varying levels of mobility. This adaptability ensures that the Cat-Cow Stretch can fit into daily routines, promoting better posture and spinal alignment while serving as an effective sciatica exercise to alleviate discomfort associated with sciatica and other nerve-related conditions.
To make this stretch a part of your daily life, consider setting aside a few minutes each day, perhaps during your morning routine or as a break from prolonged sitting, to practice the Cat-Cow position. Moreover, incorporating lifestyle modifications, such as regular physical therapy and exercise, can amplify the advantages of this technique, aligning with evidence-based approaches for managing joint discomfort without medication. Embracing this practice can lead to a more comfortable and active life, allowing you to engage fully in your daily activities.
Hamstring Stretch to Reduce Sciatica Tension
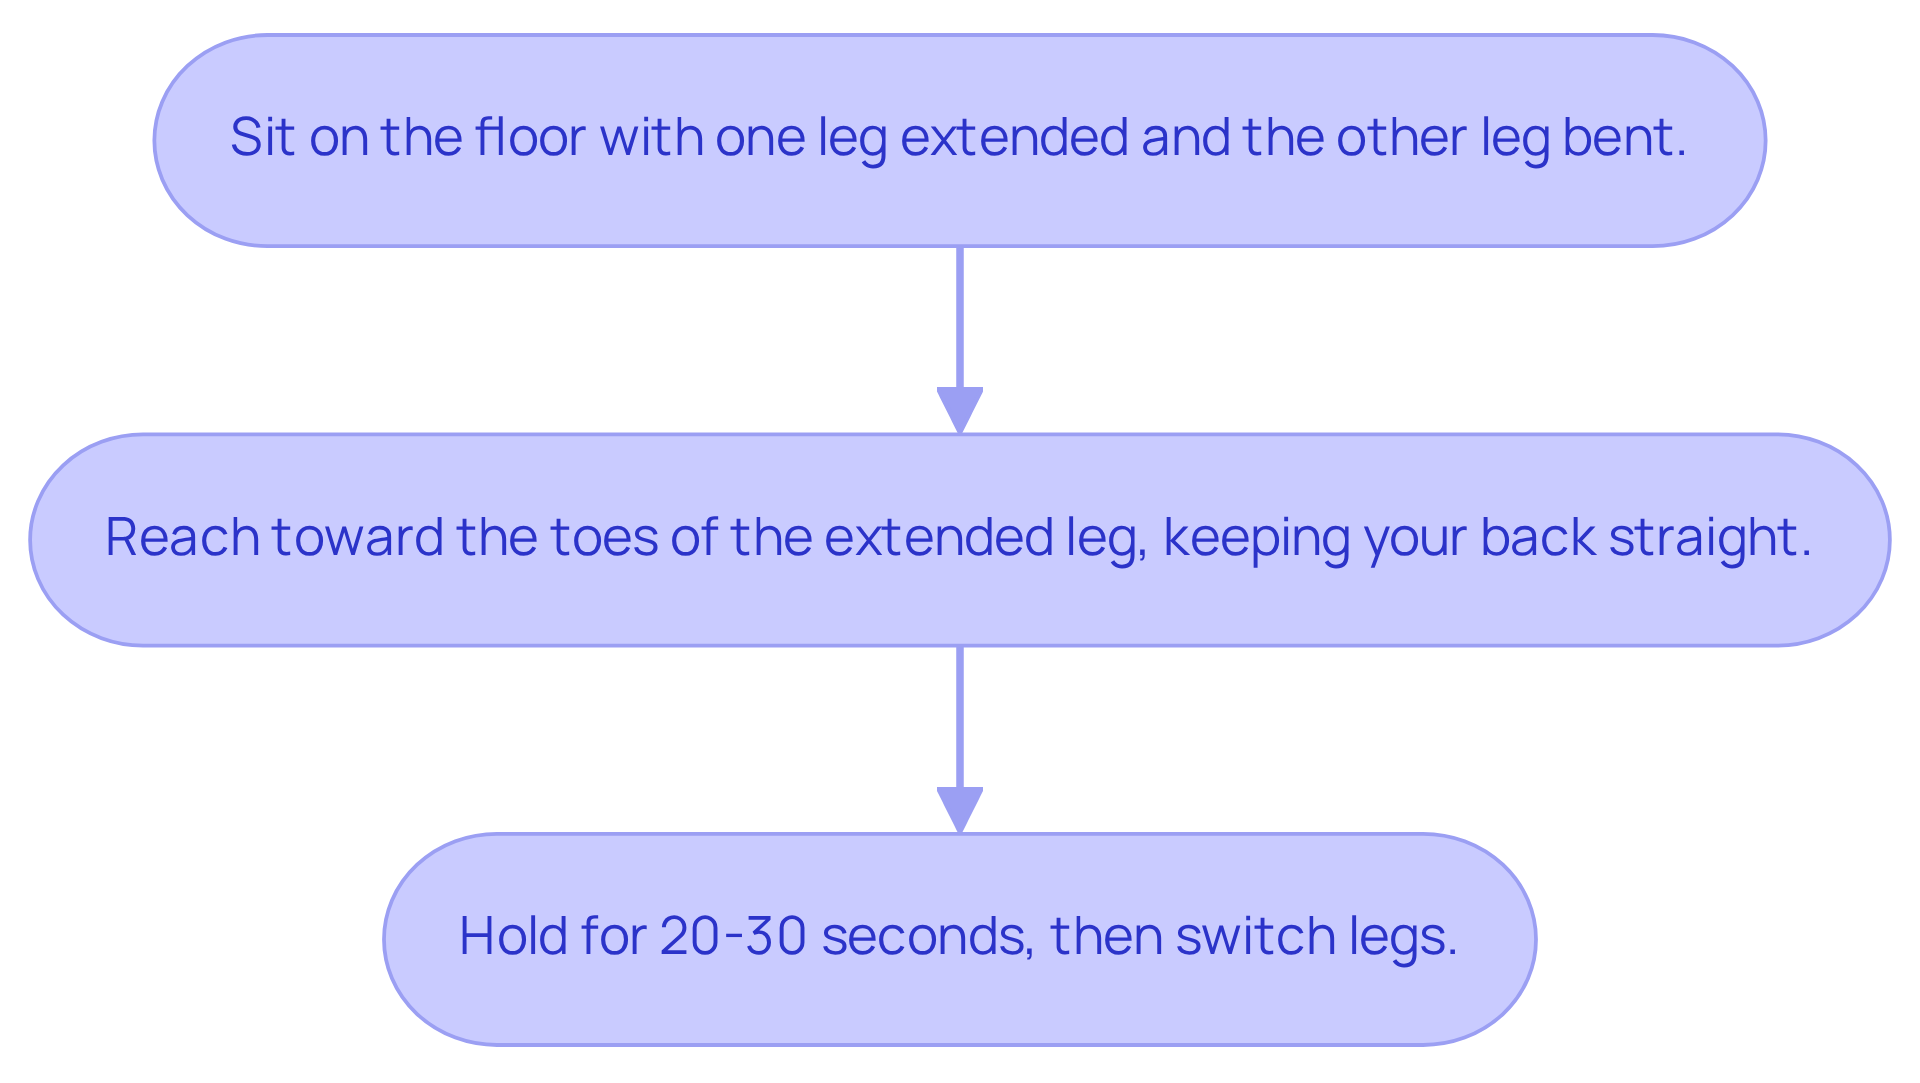
If you’re struggling with sciatica, you might find that engaging in sciatica exercise, like simple stretches, can make a world of difference. To perform the Hamstring Stretch, follow these steps:
- Sit on the floor with one leg extended and the other leg bent.
- Reach toward the toes of the extended leg, ensuring your back remains straight.
- Hold this position for 20-30 seconds before switching legs.
This stretch is a gentle way to help ease the tension in your hamstrings, which can contribute to your sciatica discomfort. Studies show that incorporating sciatica exercise, such as regularly stretching your hamstrings, can help relieve pressure on the sciatic nerve and ease lower back pain.
A consistent routine of sciatica exercises, ideally performed at least twice daily, can enhance flexibility and support spinal mechanics, ultimately leading to better mobility and reduced discomfort. Individuals who include sciatica exercises, such as hamstring exercises, in their daily routine often report significant improvements in sciatica symptoms, underscoring the importance of maintaining hamstring health for overall spinal stability.
Moreover, customized programs from physiotherapists can further improve the effectiveness of these exercises, ensuring they are executed correctly and safely. We understand that while flexibility exercises can be helpful, it’s important to approach them with care; if you feel any discomfort while stretching, it’s important to stop and reach out for guidance. By making this stretch a part of your routine, you can pave the way for a more comfortable and active life.
Single-Leg Balance Exercise for Stability
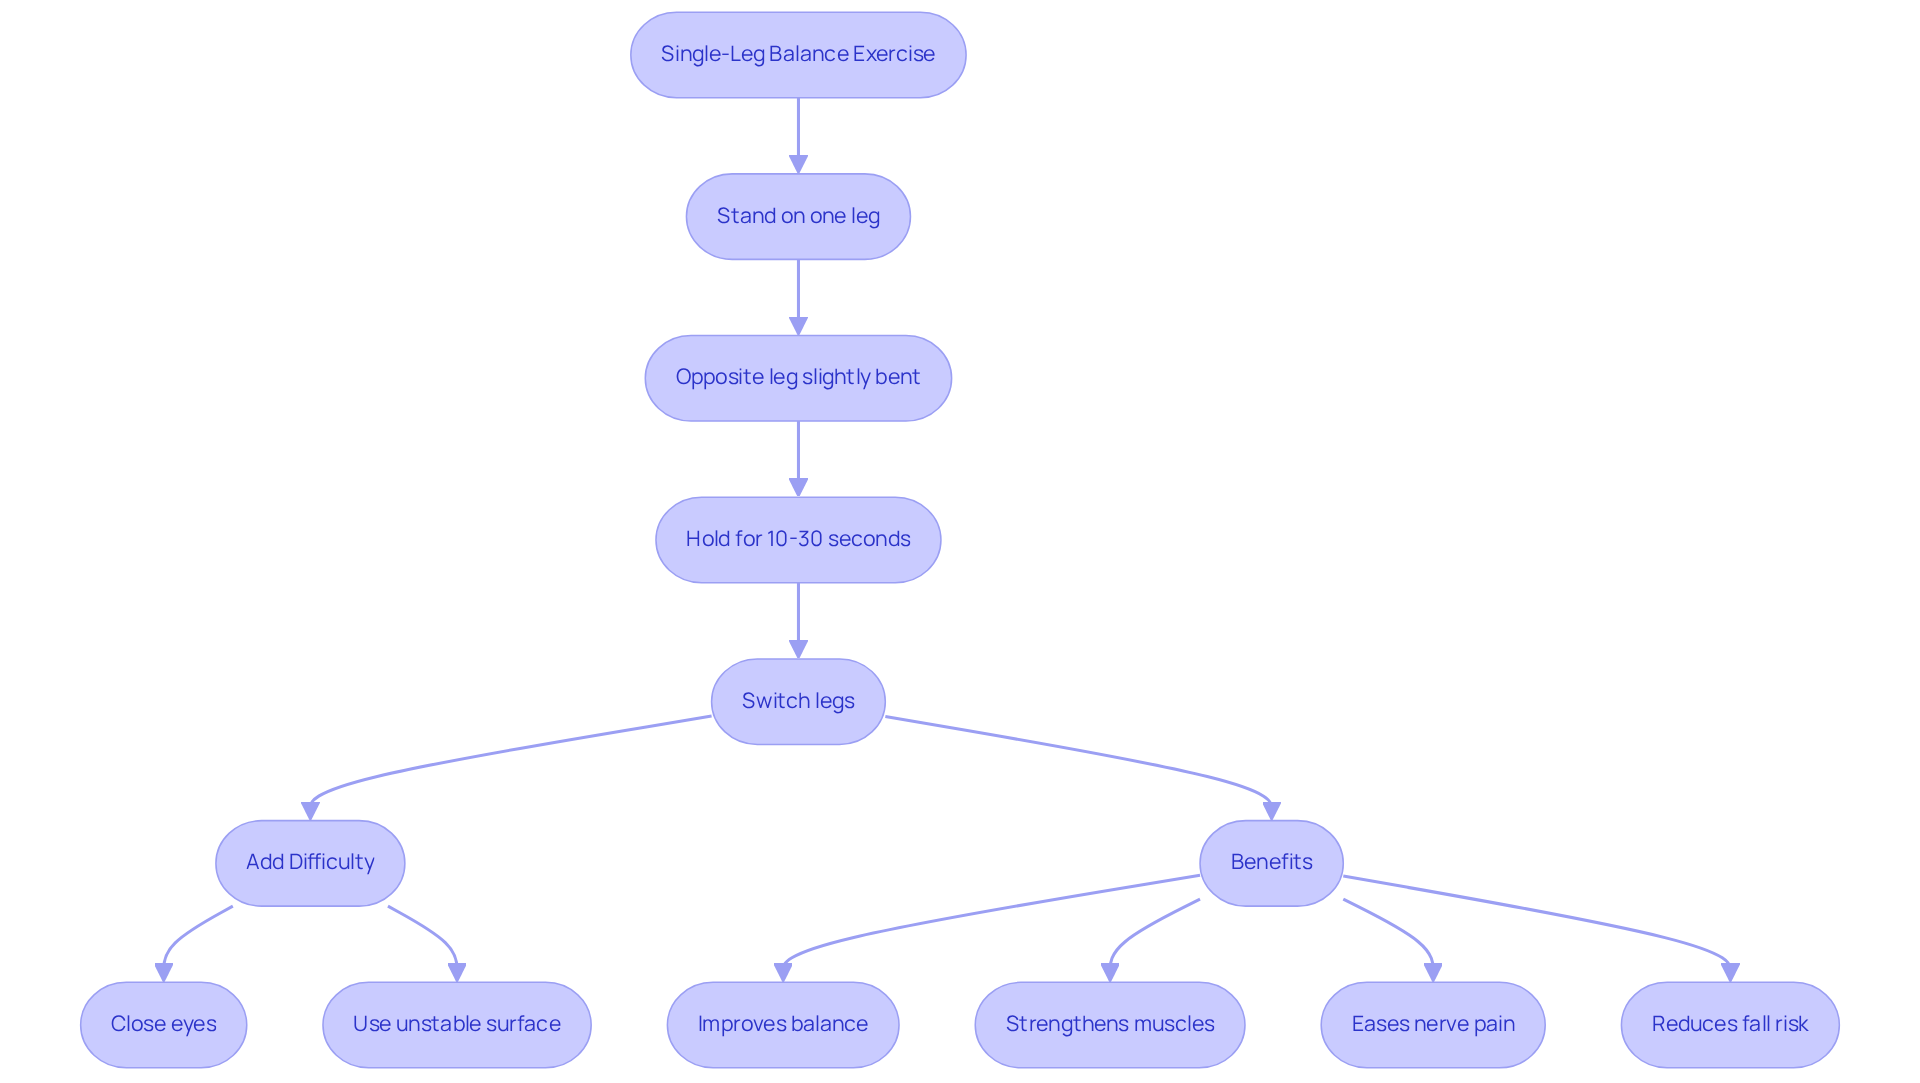
Struggling with balance can feel isolating, but you’re not alone in this journey. To perform the Single-Leg Balance Exercise, stand on one leg with the opposite leg slightly bent. Maintain this position for 10 to 30 seconds before switching legs. For added difficulty, consider closing your eyes or using an unstable surface. This sciatica exercise helps improve your balance and strengthens the muscles around your joints, which can ease nerve pain.
Imagine the fear of falling or losing independence due to balance issues. A recent study found that those who can’t hold a single-leg pose for just 10 seconds face serious health risks, underscoring the importance of balance training in maintaining overall health and mobility.
Many experts agree that adding single-leg exercises to your routine can really boost your stability. Practicing these activities two to three times a week can enhance your proprioception and lower the risk of falls, which is especially crucial for older adults facing reduced balance abilities. Moreover, incorporating customized physical activity programs and dietary changes can further improve the efficacy of the Single-Leg Balance Activity, promoting overall joint health and discomfort management.
Case studies further illustrate the effectiveness of single-leg balance training. Participants in a recent study demonstrated significant improvements in their balance scores after consistent practice, reinforcing the notion that sciatica exercise and other targeted activities can lead to better outcomes for those with chronic pain conditions. By practicing these single-leg exercises, you can manage your symptoms better and improve your overall quality of life.
Hip Flexor Stretch for Enhanced Mobility
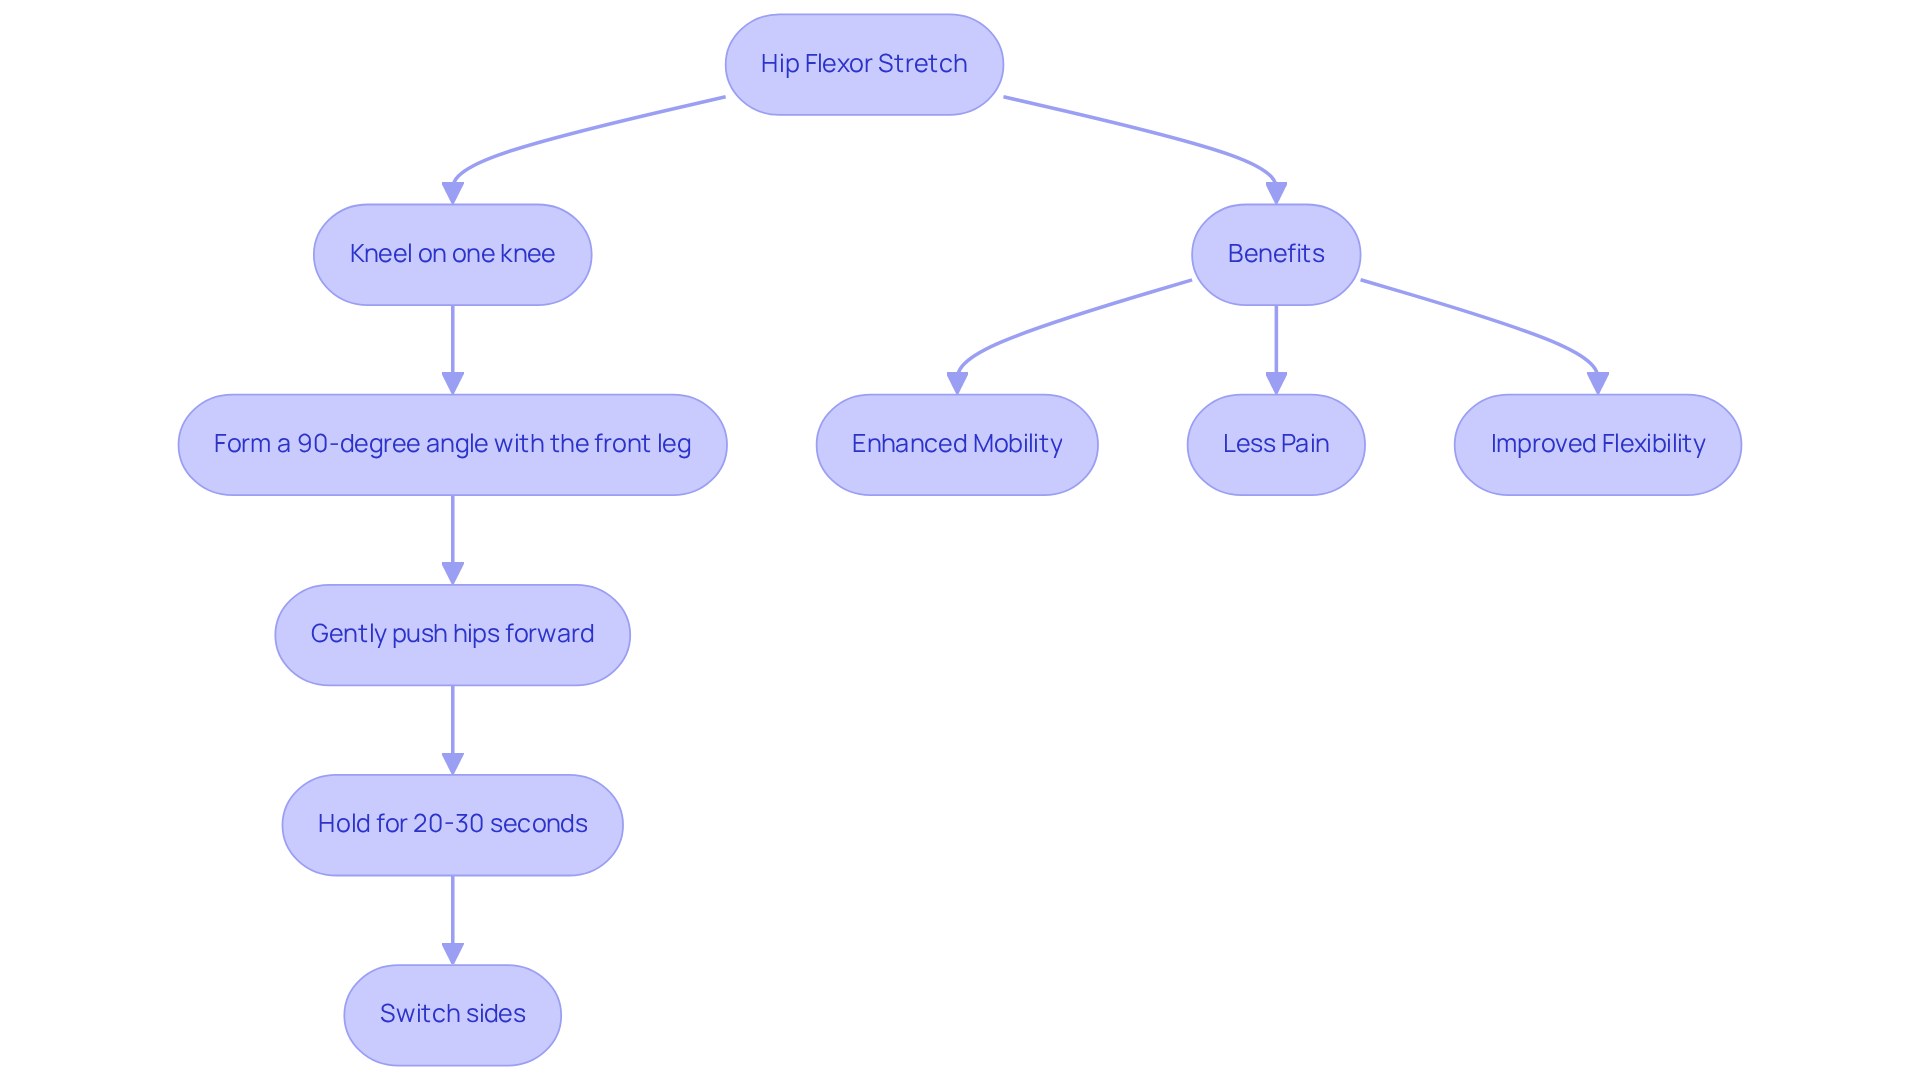
Tight hip flexors can hold you back, making everyday movements feel challenging and painful. To perform the Hip Flexor Stretch, kneel on one knee with the other foot in front, forming a 90-degree angle. Gently push your hips forward until you sense a tension in the front of the hip. Hold this position for 20-30 seconds before switching sides. This exercise is especially beneficial for alleviating tightness in the hip flexors, which can greatly enhance your overall mobility and lessen discomfort.
Studies show that when you include hip flexor exercises in your routine, you can recover faster and feel less pain. Specifically, those who follow a structured stretching program report measurable improvements in flexibility and leg strength, which are crucial for maintaining mobility and preventing further discomfort.
Case studies emphasize the effectiveness of sciatica exercises, particularly hip flexor exercises, in managing sciatica symptoms. For example, individuals performing the 90/90 hip exercise have demonstrated improved hip flexibility and decreased tightness, leading to enhanced movement and performance. Furthermore, incorporating dynamic movements, such as lunges and mountain climbers, can further engage the hip flexors, promoting stability and strength essential for daily activities.
Here at Ponte Vedra Spine & Discomfort Center, we understand how important it is to address the root causes of your discomfort with care and compassion. Regular stretching routines not only alleviate discomfort but also enhance athletic performance and daily movement capabilities. Embracing these exercises can help you reclaim your movement and ease your pain, allowing you to enjoy life more fully.
Child’s Pose for Relaxation and Pain Relief
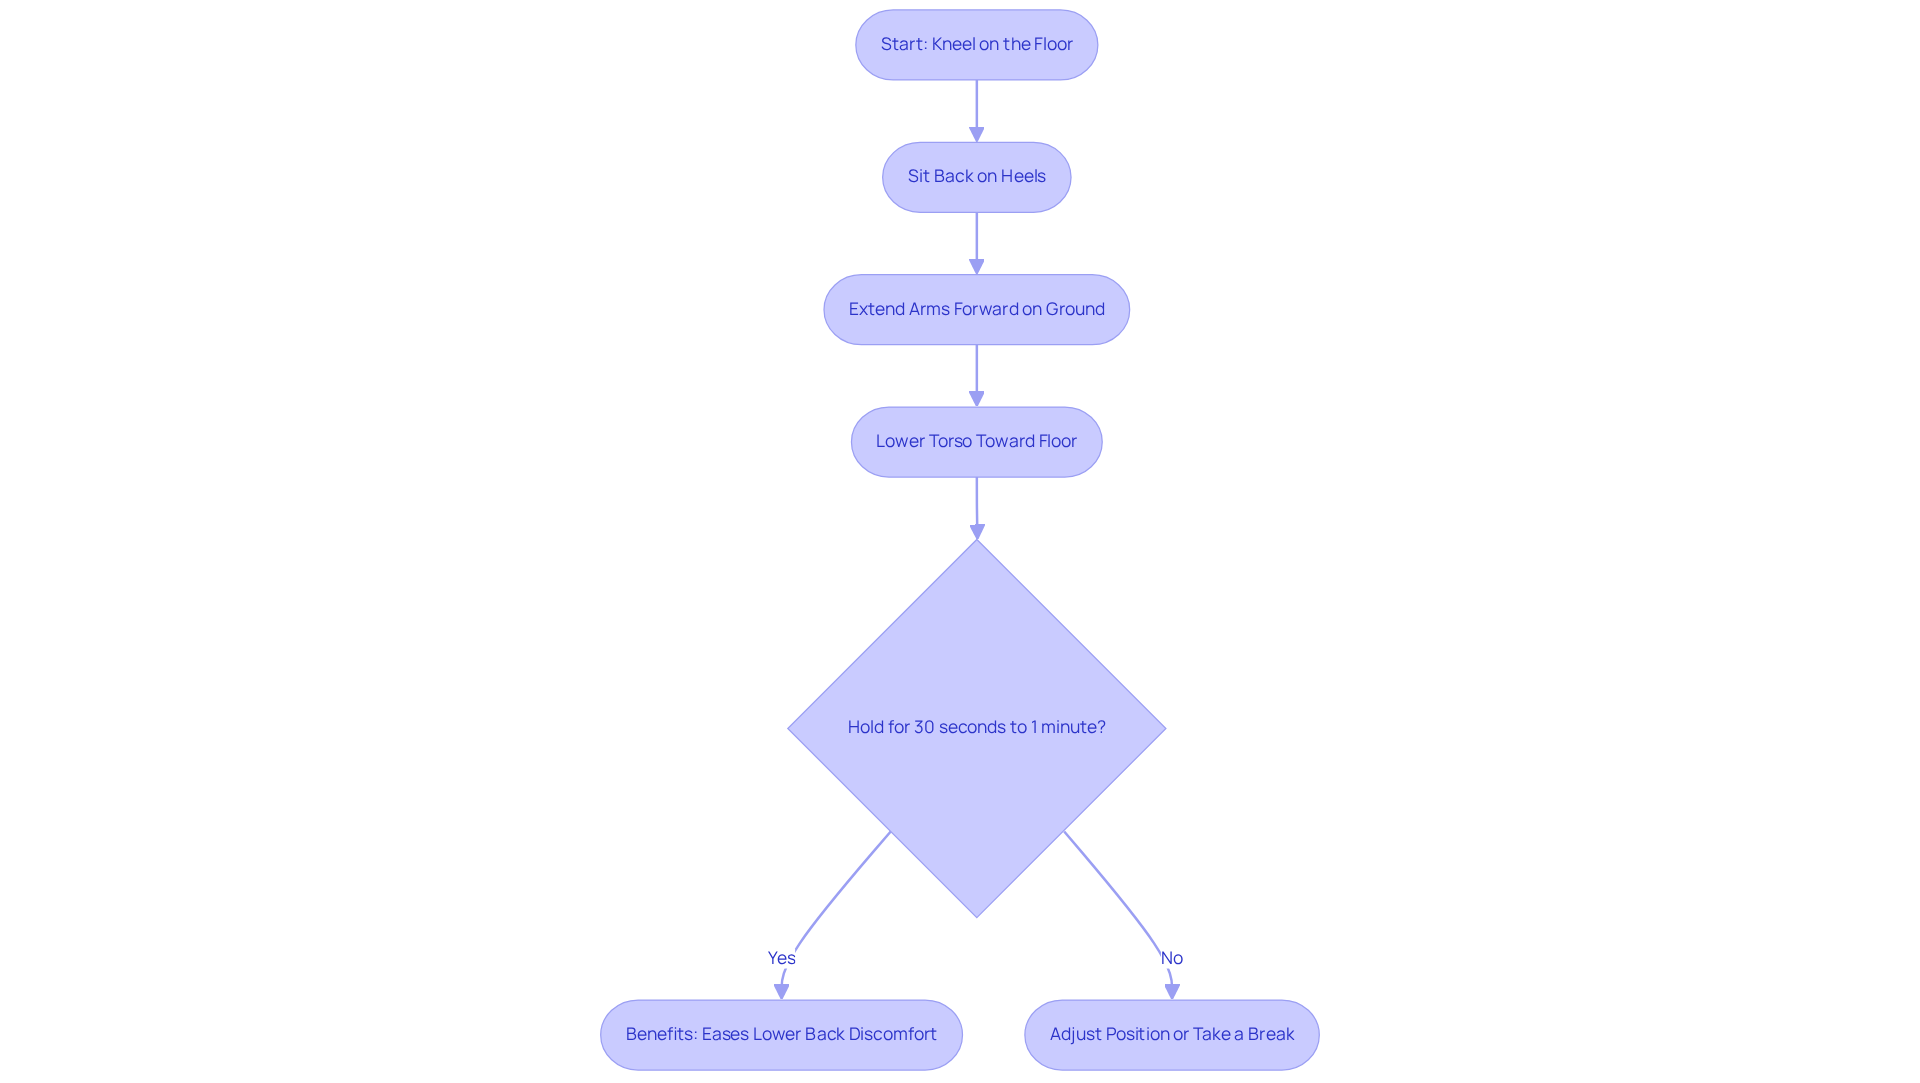
If you’re feeling discomfort in your lower back, you’re not alone; many people struggle with this issue, and there’s a gentle solution that can help. To perform Child’s Pose, start by kneeling on the floor and sitting back on your heels. Extend your arms forward on the ground, lowering your torso toward the floor. Hold this position for 30 seconds to 1 minute. This gentle stretch helps ease tension in your lower back and hips, offering soothing relief from discomfort.
The benefits of Child’s Pose extend beyond immediate relaxation; it has been recognized for its potential to alleviate lower back discomfort. Regular practice can enhance flexibility and cultivate a deeper mind-body connection, making it a valuable addition to your discomfort management routine. Evidence suggests that daily practice of this gentle pose is safe and effective for managing stiffness, particularly for individuals who can benefit from sciatica exercise.
Many of us find ourselves sitting for hours on end, leading to discomfort and pain in our lower backs. By integrating this simple pose into your day, you can take a proactive step towards alleviating that discomfort and enhancing your overall well-being.
Case studies indicate that Child’s Pose can be beneficial for those with lower back discomfort, especially when modifications are made to accommodate individual comfort levels. For instance, using a pillow or towel for support can help relax tension in the sacroiliac area, which is crucial for individuals with sacroiliac instability. Furthermore, integrating assistive devices like yoga blocks can further improve comfort and effectiveness during the exercise.
It’s important to listen to your body when practicing Child’s Pose; if you feel any discomfort, don’t hesitate to adjust or take a break. This method not only improves the effectiveness of the stretch but also prevents worsening of existing discomfort.
Embracing Child’s Pose can be a small yet significant step towards a more comfortable and balanced life, reminding you that relief is within reach.
Consult Dr. Eli Loch for Personalized Sciatica Exercise Plans
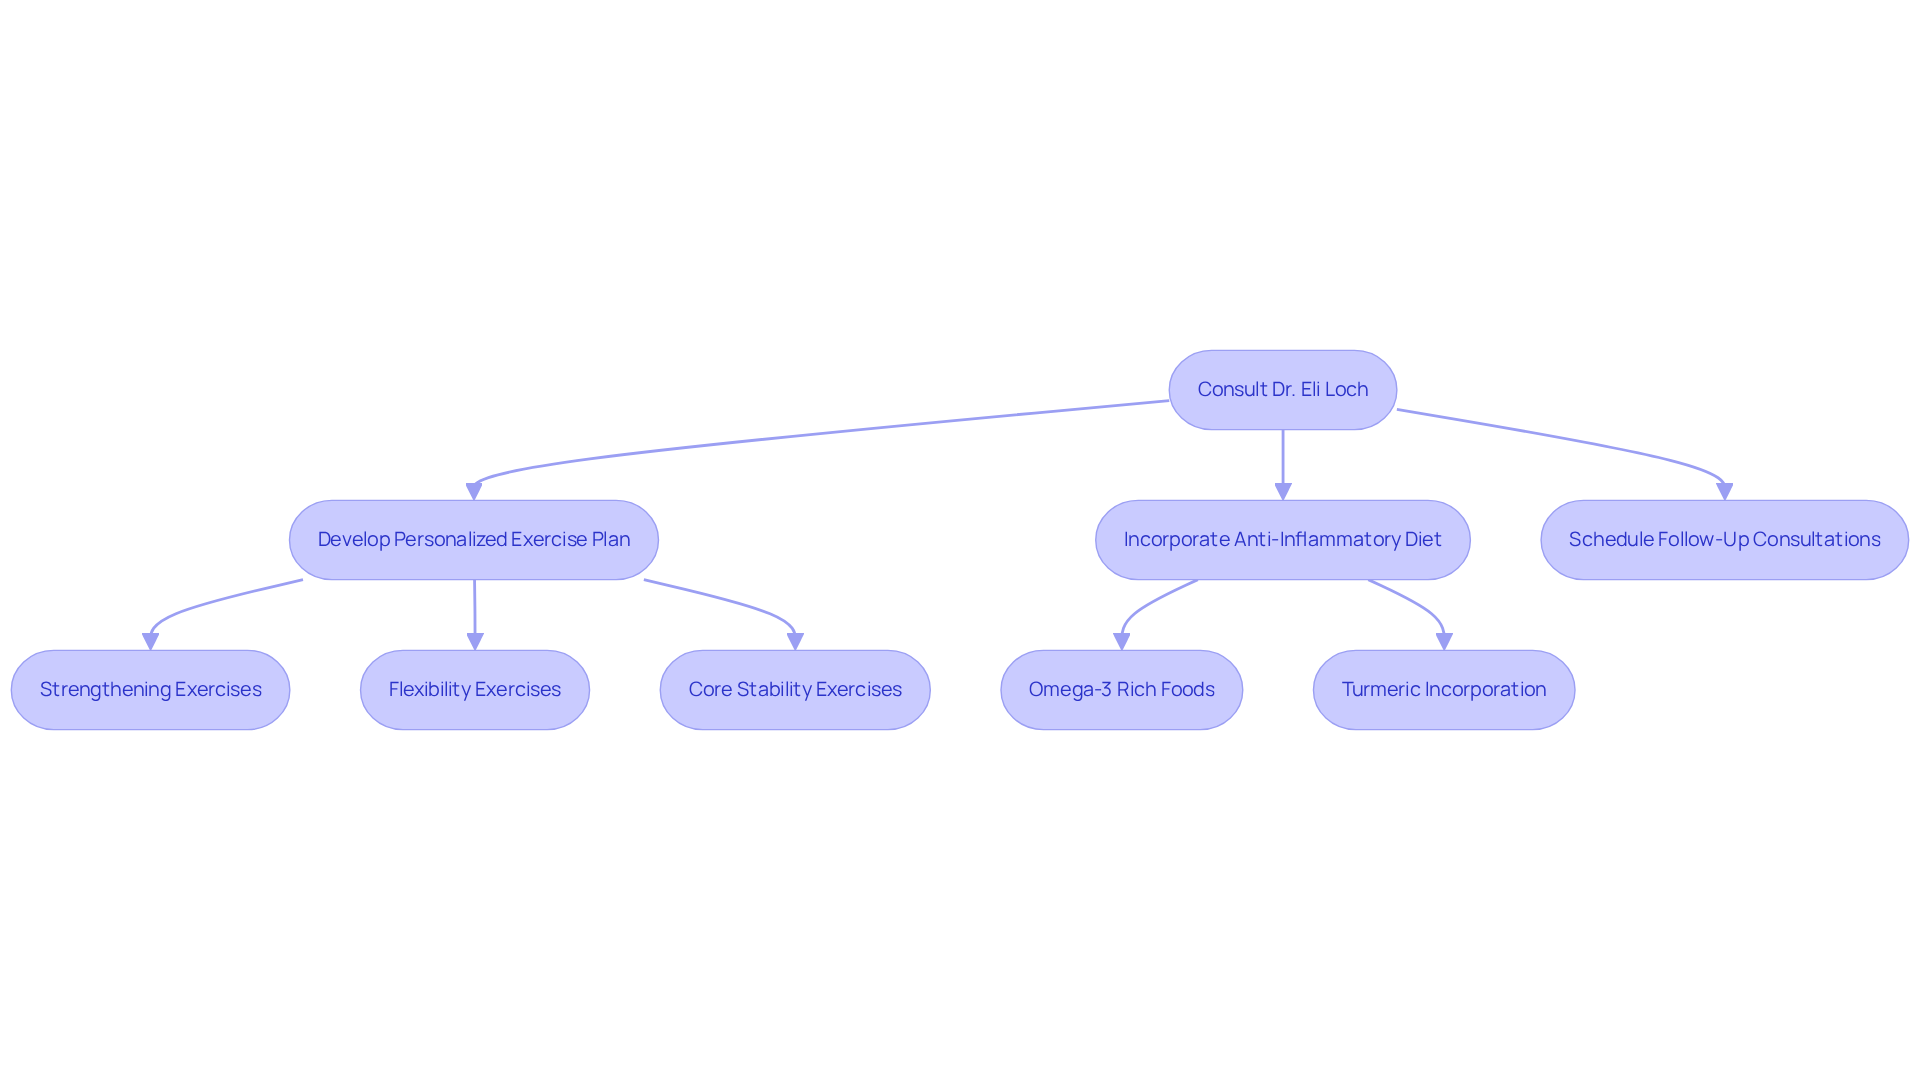
If you’re grappling with sciatica, know that you’re not alone, and there are compassionate experts ready to help you find relief. Consulting a specialist like Dr. Eli Loch at Ponte Vedra Spine & Pain Center is crucial for those experiencing this discomfort. With his extensive experience in interventional pain management, Dr. Loch can develop personalized activity plans tailored to your specific condition, enhancing the effectiveness of management strategies. Many patients have found comfort and relief under his care.
Research shows that targeted physical therapy routines, including sciatica exercises that strengthen your quads and glutes, can really help improve flexibility and ease pressure on the sciatic nerve, which often leads to better outcomes. For instance, a study indicated that supervised sciatica exercise programs yielded a short-term superior effect for leg discomfort compared to general advice, with an improvement of 11 points on a 0 to 100 scale.
Additionally, incorporating an anti-inflammatory diet rich in omega-3s and turmeric can further support recovery. Timely treatment is crucial, as many patients struggle with ongoing pain that can linger for months, affecting their daily lives. By seeking help sooner, you can pave the way for a smoother recovery journey.
By scheduling a consultation, you can discuss your symptoms and collaboratively create a comprehensive approach to alleviate your sciatica, ensuring that your treatment plan addresses the root causes of your pain and promotes recovery. Taking the first step towards treatment can transform your experience and lead you to a brighter, pain-free future.
Conclusion
Living with sciatica can feel overwhelming, making even simple tasks a challenge, but incorporating effective exercises into your routine can help ease that discomfort and improve your mobility. This article highlights ten targeted exercises, each designed to address specific aspects of sciatica pain, from stretching tight muscles to strengthening core stability. By embracing these exercises, you can take meaningful steps toward managing your symptoms and enhancing your quality of life.
Key exercises such as the Knee-to-Chest Stretch, Piriformis Stretch, and Cat-Cow Stretch not only provide immediate relief but also contribute to long-term benefits by promoting flexibility and reducing nerve tension. Each exercise is backed by insights that emphasize the importance of a comprehensive approach, including lifestyle modifications and professional guidance. Consulting with experts like Dr. Eli Loch at Ponte Vedra Spine & Pain Center can further enhance the effectiveness of these exercises through personalized treatment plans tailored to your needs.
Ultimately, by embracing these exercises and reaching out for professional support, you can embark on a journey toward relief and a more active life. By prioritizing targeted sciatica management strategies, you can reclaim your mobility and enjoy a more fulfilling life. Taking that first step towards a tailored exercise plan can lead to a future where discomfort is a thing of the past.
Frequently Asked Questions
What is the Knee-to-Chest Stretch and how is it performed?
The Knee-to-Chest Stretch involves lying on your back with knees bent and feet flat on the floor. You gently pull one knee toward your chest with both hands while keeping the other foot flat on the ground. Hold this position for 20-30 seconds before switching legs.
How does the Knee-to-Chest Stretch help with sciatica?
This stretch helps ease tension in the lower back and glutes, providing quick relief from nerve discomfort. Research indicates that holding the stretch for 30 seconds and repeating it 2-3 times on each side can significantly alleviate discomfort associated with sciatica.
What additional methods can be integrated with the Knee-to-Chest Stretch for managing sciatica?
Evidence-based alternatives include lifestyle changes, physical therapy, weight management, and anti-inflammatory diets, which can effectively manage joint discomfort without medication.
What is the Piriformis Stretch and how is it performed?
The Piriformis Stretch is performed by sitting on the floor with legs extended, bending one knee, and placing that foot over the opposite knee. You then gently pull the bent knee toward the opposite shoulder until you feel tension in the buttock. Hold for 20-30 seconds before switching sides.
How does the Piriformis Stretch alleviate sciatica pain?
This stretch relieves tightness in the piriformis muscle, which can compress the sciatic nerve. By addressing this tightness, individuals may experience reduced discomfort and improved mobility.
What percentage of people experience discomfort related to piriformis syndrome?
Approximately 46.79% of people worldwide experience discomfort in their thighs and buttocks due to piriformis syndrome, which can mimic sciatica symptoms.
What are the benefits of the Bridge exercise for sciatica?
The Bridge exercise strengthens the glutes and lower back, providing essential support to the spine and easing nerve pain. It helps stabilize the lumbar spine and reduces pressure on the sciatic nerve.
How should the Bridge exercise be performed?
To perform the Bridge, lie on your back with knees bent and feet flat on the floor, hip-width apart. Press through your heels to lift your hips toward the ceiling, squeezing your glutes at the top. Hold for a few seconds before lowering back down, aiming for 10-15 repetitions.
What are the overall benefits of incorporating these stretches and exercises into a routine?
Regular practice of these sciatica exercises can lead to significant relief from nerve-related symptoms, improved mobility, better posture, and enhanced core stability, making them valuable additions to any pain management strategy.
List of Sources
- Knee-to-Chest Stretch for Sciatica Relief
- Piriformis Stretch to Alleviate Sciatica Pain
- Bridges to Strengthen Core and Relieve Sciatica
- Seated Spinal Twist for Lower Back Flexibility
- Cat-Cow Stretch for Nerve Mobility
- Hamstring Stretch to Reduce Sciatica Tension
- Single-Leg Balance Exercise for Stability
- Hip Flexor Stretch for Enhanced Mobility
- How to Stretch Tight Hip Flexor Muscles
- Sciatica Stretches: Find Relief from Nerve Pain
- 10 Hip Mobility Exercises to Release Tight Hip Flexors | The Output by Peloton
- 4 Hip Flexor Stretches For Lower Back Pain And Sciatica
- Enhancing Recovery After Hip Replacement: Why Hip Flexor Stretches Matter for Better Mobility
- Child’s Pose for Relaxation and Pain Relief
- Consult Dr. Eli Loch for Personalized Sciatica Exercise Plans
- What is Sciatica Pain and How to Treat It: Insights from Dr. Shivang Desai
- Surgical or non-surgical management for sciatica – what you need to know – International Association for the Study of Pain (IASP)
- The Do’s and Don’ts of Sciatica: Relief Tips That Work
- Tips for Managing Sciatica Pain
- Exercising with Sciatica
Living with this?
We treat Sciatica & Nerve Pain in Ponte Vedra Beach.
Dr. Eli Loch, D.O. — double board-certified in anesthesiology and pain medicine. Reading about it only goes so far; a diagnosis tells you which of these actually applies to you.